
Happy Witch Halloween Mason Jar Craft
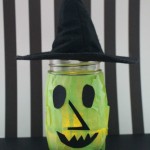
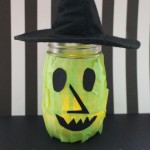
Create a spooky Halloween decoration with this Happy Witch Halloween Mason Jar Craft that transforms a simple Mason jar, green tissue paper and a tiny witch hat into a glowing witch lantern.
This Halloween craft gives kids a fun way to practice cutting, gluing and assembling while creating a festive decoration. We just love Halloween crafts for the whole family!

This post contains affiliate links.
Recommended Halloween Books for Kids
When you’re done playing, snuggle up and enjoy these Halloween Books with your child.
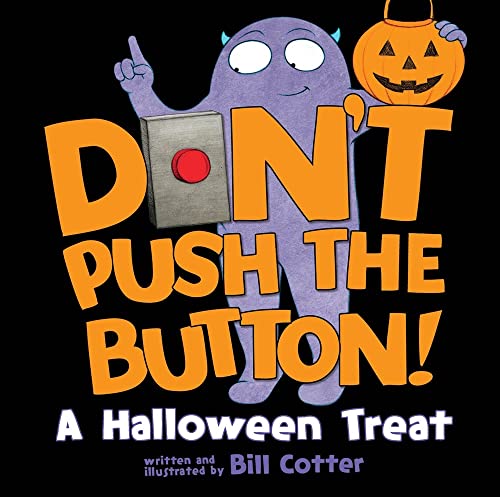
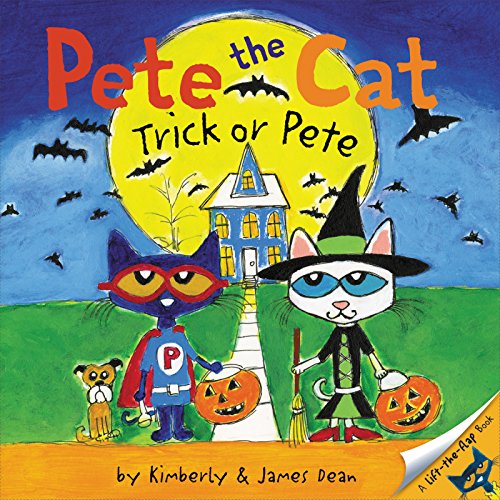
Don’t Push the Button! A Halloween Treat: A Spooky Fun Interactive Book For KidsPete the Cat: Trick or PeteCreepy Carrots! (Creepy Tales!)How to Catch a Monster
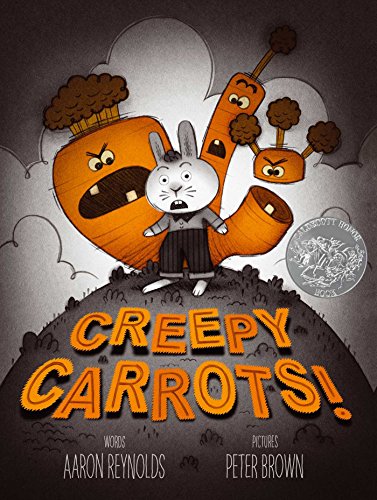
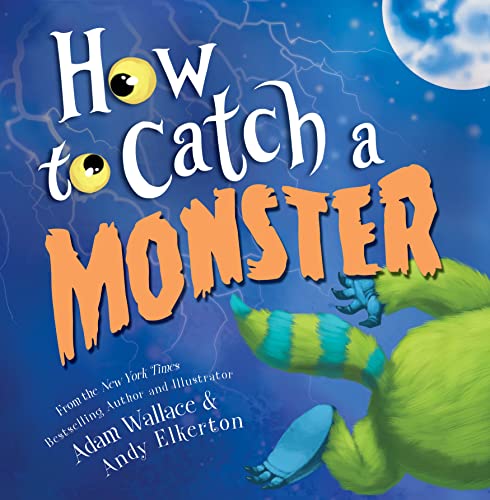
Bone SoupThe Spooky Wheels on the BusThe Berenstain Bears Trick or TreatSpooky Pookie (Little Pookie)
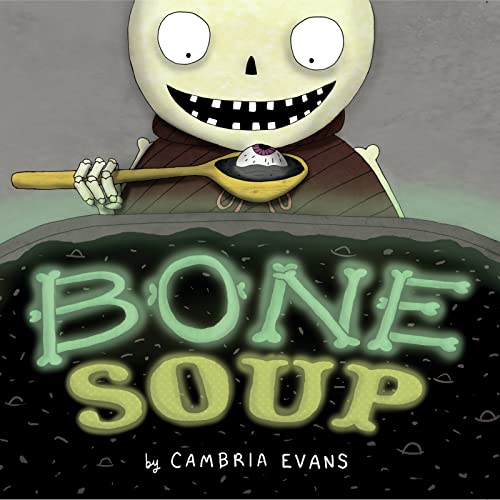
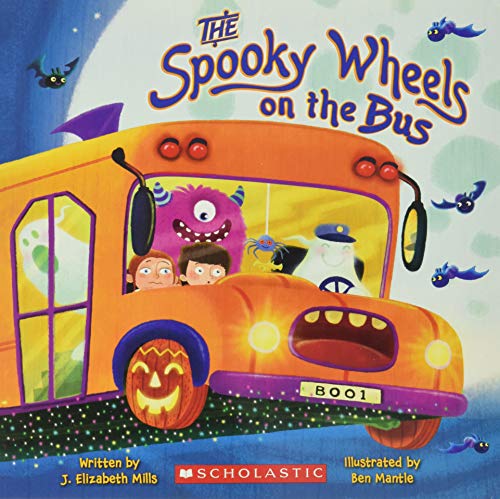
Or enjoy these Halloween Board Books with your toddler. It’s the perfect way to tie in the holiday to your Halloween activities!
Why You’ll Love This Happy Witch Halloween Mason Jar Craft
- Fine motor practice: Cutting tissue paper and gluing small pieces strengthens hand coordination.
- Creative expression: Kids can create their own witch face using different shapes.
- Sensory exploration: Tissue paper adds texture to this hands-on craft.
- Simple materials: Uses a few easy-to-find craft supplies.
- Festive decoration: The finished witch makes a fun Halloween display.
- Glowing effect: A battery-operated tea light turns the Mason jar into a fun lantern.
This Halloween Mason jar craft combines creativity and skill-building into one engaging project.
Creative Ways to Play with Halloween Mason Jar Craft
Try these fun ideas to keep the Halloween Mason jar craft engaging while encouraging creativity, exploration and imaginative play.
- Witch Face Designs: Create different expressions with the eyes, nose and mouth.
- Witch Character Play: Give the finished witch a name and personality.
- Glow Exploration: Turn the tea light on and off to explore the glowing effect.
- Halloween Storytelling: Create a story about your friendly witch.
- Face Shape Practice: Experiment with different shapes for the facial features.
- Witch Collection: Make several jars with different expressions.
These creative variations keep kids engaged while encouraging imagination and hands-on exploration.
Activities to Pair with Happy Witch Craft
Here are activities that pair perfectly with this Halloween Mason jar craft: a hands-on way to build skills through play.
Related Halloween Activities
- Halloween Sensory Bin: Explore spooky textures and themed materials.
- Halloween Play Dough: Create pumpkins, monsters and other Halloween shapes.
- Halloween Picture Books: Read a spooky or silly Halloween story together.
Creative Extensions
- Witch Parade: Line up several finished witches for a Halloween display.
- Halloween Lantern Display: Arrange the glowing jars together.
- Character Drawing: Draw pictures of the witch created from the Mason jar.
This added layer of creativity keeps kids engaged while encouraging exploration and problem-solving.
60+ Halloween Coloring Pages Skeleton Theme Preschool Classroom Lesson PlansJack-o-Lantern Coloring PagesHalloween Puzzles


Fine Motor and Learning Activities
- Cutting Practice: Cut green tissue paper into small pieces.
- Glue Control: Apply glue to small facial features.
- Shape Recognition: Identify the oval eyes and other facial shapes.
- Face Design: Arrange facial features to create different expressions.
Gross Motor Activities
- Reach and Create: Reach around the jar while adding tissue paper.
- Witch Movement: Pretend to fly like a witch while telling a story.
- Display Challenge: Carry the finished jar to its display spot.
Play and Display Activities
- Glowing Decoration: Add the battery-operated tea light and display the witch.
- Halloween Decor: Use the finished jar as part of a seasonal display.
- Witch Story Play: Use the jar as a character during imaginative play.
These activities extend the Halloween Mason jar craft while supporting creativity, motor development and early learning.
Happy Witch Halloween Mason Jar Craft
We’re not big into the ghouls and gore of Halloween. Instead, my family prefers to focus on the fun and light-hearted side of the holiday.
As the mom of boys, it can be tough to get those kiddos to set down for a longer project. But this easy Halloween mason jar craft will keep even the busiest of kids seated long enough to complete!
Other fun Halloween projects include flying bat window silhouettes and toilet tube Halloween crafts.
Supplies
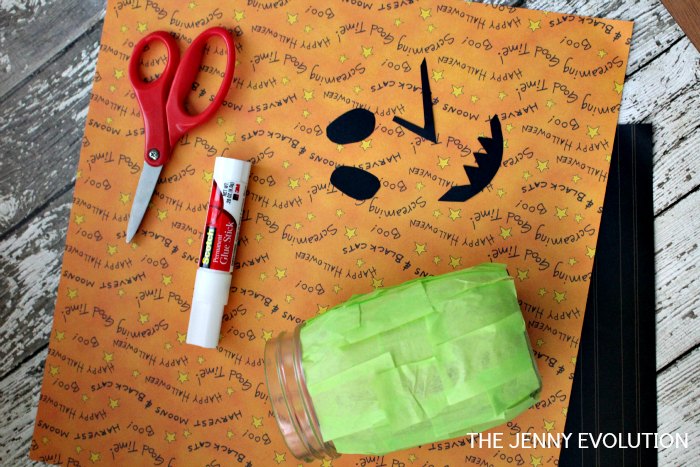
- Mason Jar
- Green tissue paper
- Black construction or stock paper
- Small black felt witch hat
- Glue stick
- Scissors
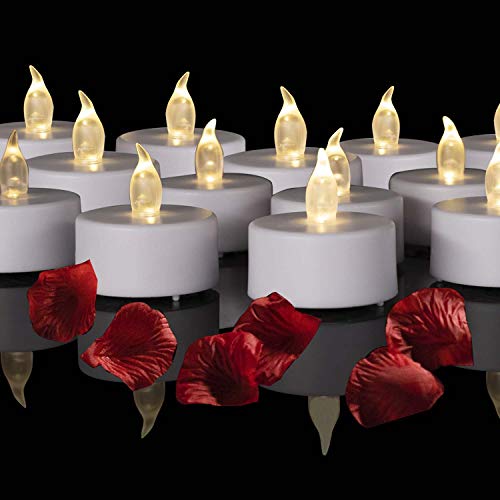
- Battery operated tea light
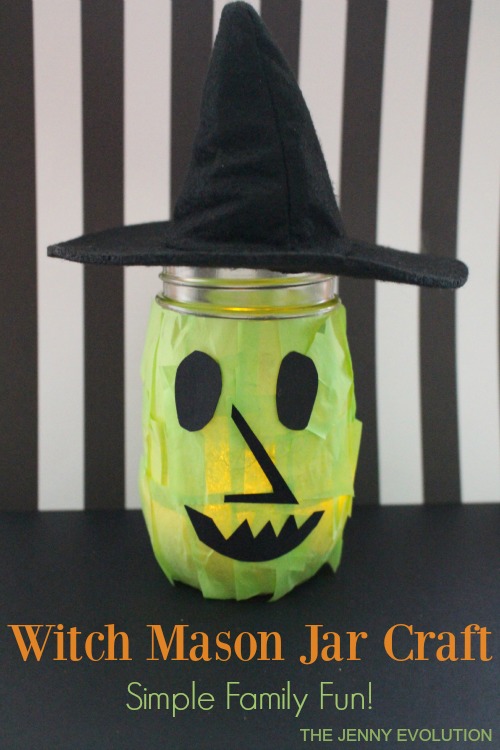
Directions
1. Using a scissors, cut up a sheet of green tissue paper into small pieces.
2. With a glue stick, glue the green tissue pieces all over the Mason jar.
3. Cut out 2 oval shapes for the witch eyes, and your desired shapes for the nose and mouth from the sheet of black paper.
4. Apply the glue stick to the back of the eyes, nose and mouth and attach to the Mason jar. Press firmly.
5. Add a battery operated tea light.
6. Place the witch hat on top and ENJOY!!
Easy Printable Halloween Fun!
As the spookiest season of the year approaches, dive into a treasure trove of bewitching printables that will add a dash of magic to your Halloween celebrations and learning.
- Halloween Coloring Pages
- Halloween Mystery Puzzles
- Halloween Jokes Cootie Catcher
- Witch Coloring Pages
- Halloween Fine Motor Activities – Flip and Fill Game
- Spider Preschool Lesson Plan
- Halloween Cats Coloring Pages
- Skeleton Preschool Lesson Plan
- Halloween Handwriting Activities
- Jack-o-Lantern Coloring Pages
- Halloween Multisensory Handwriting Activities
More Witch Crafts for Kids
Get ready to stir up some magical fun with these enchanting witch crafts for kids!
- Witchy Popcorn Balls for Halloween
- Witch Hat Bookmark
- Handprint Witch
- Paper Plate Witch
- Cauldron Bath Bombs for Kids
- Origami Witch’s Hat
More holiday fun include Best Halloween Costumes for the Whole Family!
Happy Witch Halloween Mason Jar Craft
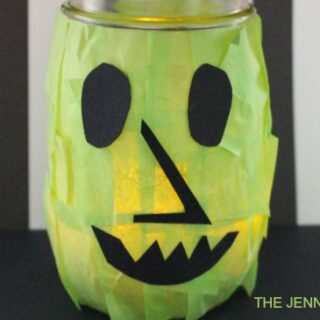
Get the whole family participating in the fun with my easy Happy Witch Halloween Mason Jar Craft.
Materials
- Mason Jar
- Green tissue paper
- Black construction or stock paper
- Small black felt witch hat
- Battery operated tea light
Tools
- Glue stick
- Scissors
Instructions
- Using a scissors, cut up a sheet of green tissue paper into small pieces.
- With a glue stick, glue the green tissue pieces all over the Mason jar.
- Cut out 2 oval shapes for the witch eyes, and your desired shapes for the nose and mouth from the sheet of black paper.
- Apply the glue stick to the back of the eyes, nose and mouth and attach to the Mason jar. Press firmly.
- Add a battery operated tea light.
- Place the witch hat on top and ENJOY!!
Recommended Products
As an Amazon Associate and member of other affiliate programs, I earn from qualifying purchases.



Be sure to check out our spooky collection of Halloween ideas, activities and recipes for the entire family.