Milk Jug Snowman Craft


Turn a recycled milk jug into an adorable winter decoration with this fun and easy Milk Jug Snowman craft that kids will love making.
Using simple materials and a few creative touches, this hands-on activity encourages creativity, fine motor skills and imaginative play while transforming everyday items into a festive snowman that even lights up for extra winter magic.
Don’t miss out our other fun family-friendly kids crafts!

This post contains affiliate links.
Milk Jug Bunny Craft is another fun seasonal activity!
You’ll Love This Milk Jug Snowman Craft
- Eco-friendly creativity: Upcycling a milk jug teaches kids how everyday items can turn into something fun and festive.
- Hands-on fine motor practice: Cutting shapes, gluing details and twisting pipe cleaners strengthen coordination and hand control.
- Creative personalization: Kids can design their snowman’s face, earmuffs and sparkle details to make each one unique.
- Sensory appeal: Glitter foam, pipe cleaners and lights add texture, visual interest and excitement.
- STEM-friendly fun: Adding lights introduces simple problem-solving and cause-and-effect learning.
- Display-worthy result: The finished snowman makes a cheerful winter decoration kids feel proud to show off.
- Great for family crafting: Parents enjoy a meaningful, engaging project that encourages creativity and reuse.

This Milk Jug Snowman combines sustainability, creativity and winter magic into a memorable craft kids love and parents appreciate.
Activities to Complement Milk Jug Snowman Craft
Related Snowman Craft Activities
- Snowman Face Matching: Provide paper eyes, mouths and noses for kids to match and place before gluing them onto the milk jug, supporting visual discrimination and planning skills.
- Cotton Ball Snowmen: Create flat snowmen using cotton balls, glue and paper features as a simpler companion craft that still reinforces fine motor skills.
- Build-a-Snowman Paper Craft: Cut and assemble paper snowman parts to reinforce body awareness and correct placement of features.
Winter Art Extensions
- Snowflake Painting: Pair the snowman with snowflake art using forks, sponges or Q-tips to extend the winter theme.
- Winter Scene Backgrounds: Draw or paint snowy backgrounds where the milk jug snowman can be displayed as part of a larger scene.
Fine Motor & Learning Activities
- Snowman Name Building: Write letters of names or sight words on paper snowballs and stack them in order.
- Winter Cutting Practice: Use snowman, mitten or snowflake cutting strips to strengthen scissor control.
- Button Counting Snowmen: Count and glue paper “buttons” onto a snowman outline to support early math skills.
Play & Exploration Activities
- Snowman Sensory Bin: Add fake snow, scoops, cups and mini snowmen for hands-on sensory play.
- Snowman Emotion Faces: Swap facial features to create different expressions and talk about emotions.
- Winter Light Exploration: Turn off the lights and observe how the milk jug snowman glows to explore light and shadows.

These activities extend the Milk Jug Snowman craft while supporting creativity, fine motor development, early learning skills and winter-themed exploration.
Snowman Books
When you’re done playing, snuggle up and enjoy these adorable Snowman Books for Children with your own child.
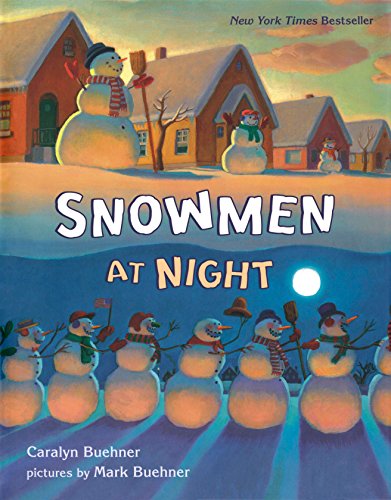
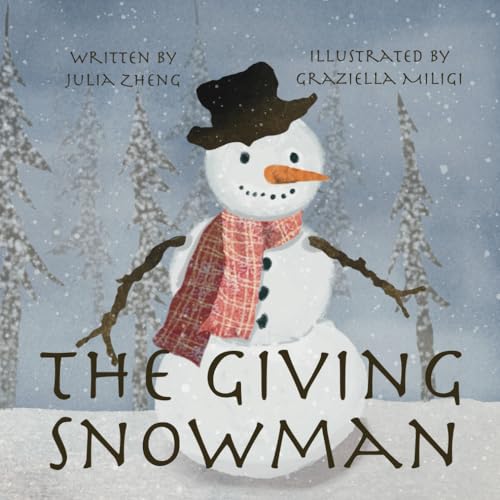
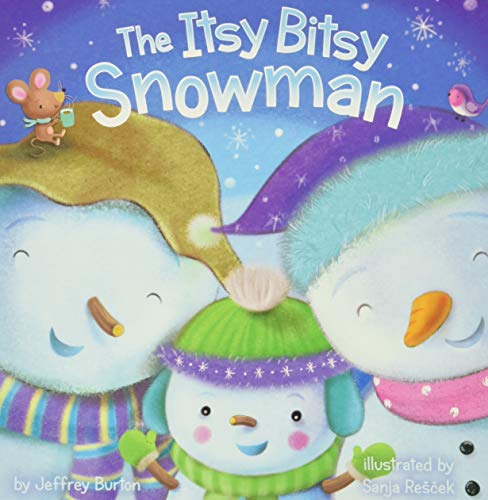
Snowmen at NightHow to Catch a SnowmanThe Giving Snowman: A Children’s Bedtime Story about GratitudeThe Itsy Bitsy Snowman

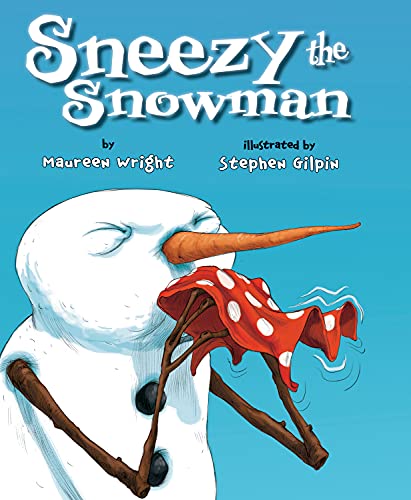
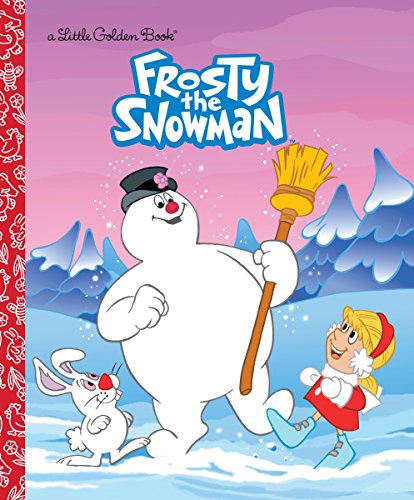
The Biggest Snowman EverSneezy the SnowmanThere Was a Cold Lady Who Swallowed Some Snow!Frosty the Snowman


Or enjoy these wonderful Snow Children’s Books, Winter Books for Preschoolers, or Childrens Books about Winter — it’s the perfect way to tie in the season to your Winter activities!

Materials You’ll Need for Milk Jug Snowman Craft
- Clean, empty milk jug with lid
- Black construction paper
- Orange construction paper
- White pencil for tracing designs
- Scissors
- Glue stick
- Glittery self-adhesive foam sheets
- Lid from a small jar (for tracing or crafting)
- Pipe cleaners
- Battery-operated or LED string lights
- X-acto knife for precise cuts
How to Make Milk Jug Snowman
Use the milk jug lid to trace six circles onto the black construction paper (two for the eyes, four for the mouth). If you’re making multiple snowmen, trace additional circles as needed.

Cut out all the traced circles.
From the orange construction paper, cut out a small carrot-shaped piece for the snowman’s nose.
Attach the eyes and nose to the front of the milk jug using glue.
Trace circles onto the glitter foam sheet using a small jar lid as a guide.

Carefully cut out the glitter foam circles.
Peel off the backing from the glitter foam circles.
Press one end of a pipe cleaner onto the adhesive side of one circle.
Attach this circle to one side of the milk jug to create the first earmuff.
Stretch the pipe cleaner across the top of the milk jug and press the other end onto another adhesive circle.
Stick the second circle onto the opposite side of the milk jug to complete the earmuffs.
For a light-up snowman, cut a square into the back of the milk jug using the X-acto knife and insert a string of lights.
Place your finished snowman on display!
Printable Snow Activities
Embrace winter wonder with these Printable Snow Activities, offering creative and educational fun for everyone.
More Snowman Crafts
More snowman crafts deliver creative, hands-on projects that add extra winter fun to snowy days indoors.
- Snowman Craft With Foam Dice
- Easy Snowman Corner Bookmark
- Snowman Ornaments for Kids
- The Happiest Paper Snowman Craft
- Cotton Ball Snowman
- Snowman Art with Pointillism this Winter
- DIY K-Cup Snowman
- Tea Light Snowman Ornament

Milk Jug Snowman Craft
Turn a recycled milk jug into an adorable winter decoration with this fun and easy Milk Jug Snowman craft that kids will love making.
Materials
- Clean, empty milk jug with lid
- Black construction paper
- Orange construction paper
- White pencil for tracing designs
- Glue stick
- Glittery self-adhesive foam sheets
- Lid from a small jar (for tracing or crafting)
- Pipe cleaners
- Battery-operated or LED string lights
Tools
- Scissors
- X-acto knife for precise cuts
Instructions
- Use the milk jug lid to trace six circles onto the black construction paper (two for the eyes, four for the mouth). If you’re making multiple snowmen, trace additional circles as needed.
- Cut out all the traced circles.
- From the orange construction paper, cut out a small carrot-shaped piece for the snowman’s nose.
- Attach the eyes and nose to the front of the milk jug using glue.
- Trace circles onto the glitter foam sheet using a small jar lid as a guide. Carefully cut out the glitter foam circles. Peel off the backing from the glitter foam circles. Press one end of a pipe cleaner onto the adhesive side of one circle.
- Attach this circle to one side of the milk jug to create the first earmuff.
- Stretch the pipe cleaner across the top of the milk jug and press the other end onto another adhesive circle.
- Stick the second circle onto the opposite side of the milk jug to complete the earmuffs.
- For a light-up snowman, cut a square into the back of the milk jug using the X-acto knife and insert a string of lights.