Stained Glass Clover Craft for Kids


Create a festive clover craft with this fun and easy stained glass-style project for St. Patrick’s Day.
Using simple materials like tissue paper and contact paper, this craft brings a colorful touch to any window.
We’re always on the search for adorable St Patrick’s Day crafts and activities to do around the holidays and this stained glass clover craft for kids definitely fits the bill!

This post contains affiliate links.
This stained glass clover craft is simple enough for preschoolers to do with adult help and delightful enough for older kids as well.
With simple materials and a dash of creativity, children can create their own vibrant clover masterpieces, adding a touch of festive charm to any space.
For a delicious treat, make these fun Shamrock St. Patrick’s Day Sandwiches or Oreo Shamrock Shakes.
St Patricks Day Sensory Bottle adds some sensory fun to your celebrations!
Table of Contents
- Recommended St. Patrick Day Picture Books
- What Clover is Lucky
- Which Clover Is Irish
- Why Clover Leaf Is Lucky
- Clover or Shamrock
- Stained Glass Clover Craft Materials
- How to Make 4 Leaf Clover Craft
- Easy Printable St. Patrick’s Day Fun
- More Clover Craft Ideas
Recommended St. Patrick Day Picture Books
When you’re done playing, snuggle up with these adorable St. Patrick’s Day Picture Books for your little leprechaun.
A Fine St. Patrick’s DayHow to Catch a LeprechaunFiona’s LuckO’Sullivan Stew


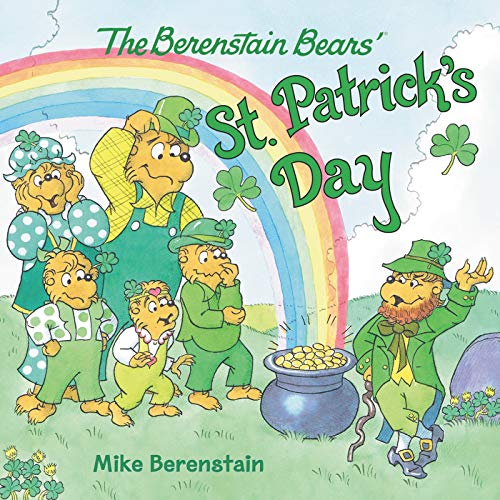
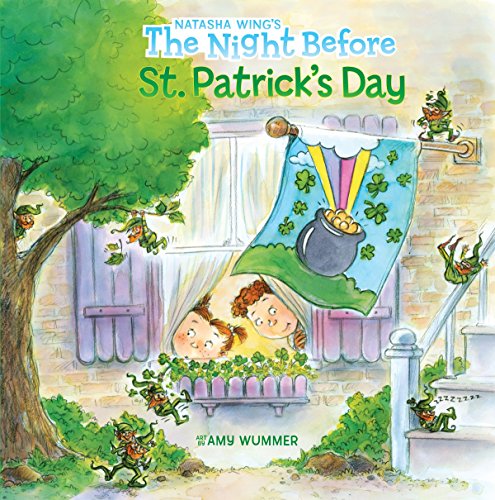
You’re My Little Lucky CharmThe Berenstain Bears’ St. Patrick’s DayThe Night Before St. Patrick’s DayPeppa Pig: Peppa Loves St. Patrick’s Day


Also enjoy these wonderful Leprechaun Books or St. Patrick’s Day Board Books with your toddler. It’s the perfect way to tie in the holiday to your Irish activities!
What Clover is Lucky
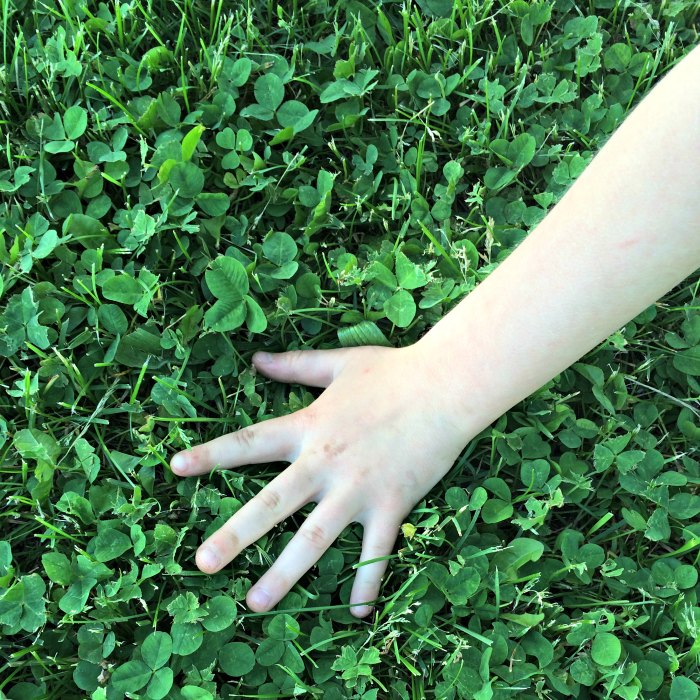
The four-leaf clover is considered lucky, as it is rare and believed to bring good fortune to those who find it.
Which Clover Is Irish
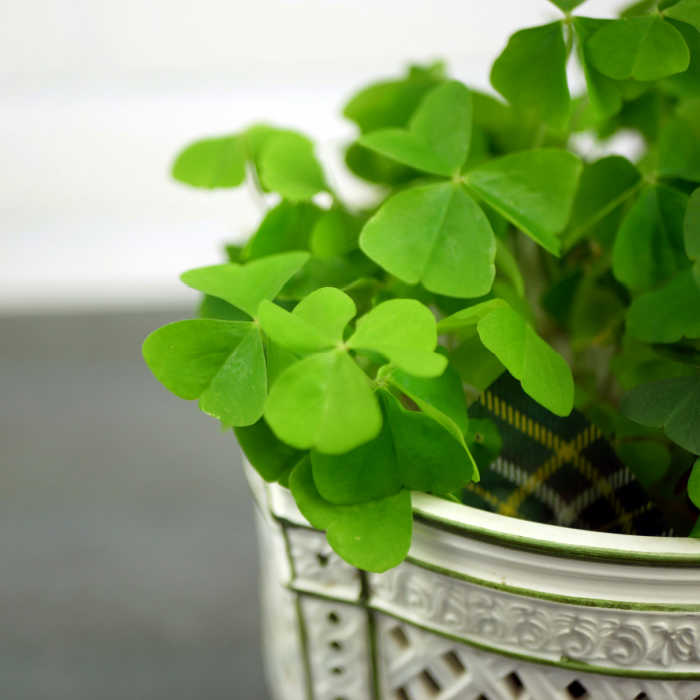
The three-leaf clover, or shamrock, is commonly associated with Ireland and Irish culture, particularly due to its significance in St. Patrick’s Day celebrations and folklore.
Why Clover Leaf Is Lucky
The idea of the clover leaf being lucky dates back to ancient times, where it was believed to possess magical properties by cultures around the world.
The association of luck with the clover leaf likely stems from its rarity to find a clover with four leaves, which is considered a symbol of good fortune and prosperity.
This belief has been passed down through generations, contributing to the notion of the clover leaf as a lucky charm.
Clover or Shamrock
Clover and shamrock are often used interchangeably, but they refer to different plants. Clover is a broad term for plants that include various species with three-lobed leaves.
Shamrock specifically refers to a three-leafed clover and is often associated with Ireland and St. Patrick’s Day.
While all shamrocks are clovers, not all clovers are shamrocks.
The term “shamrock” is more culturally significant and symbolic, especially in Irish tradition, where it represents luck and the Holy Trinity.
Stained Glass Clover Craft Materials
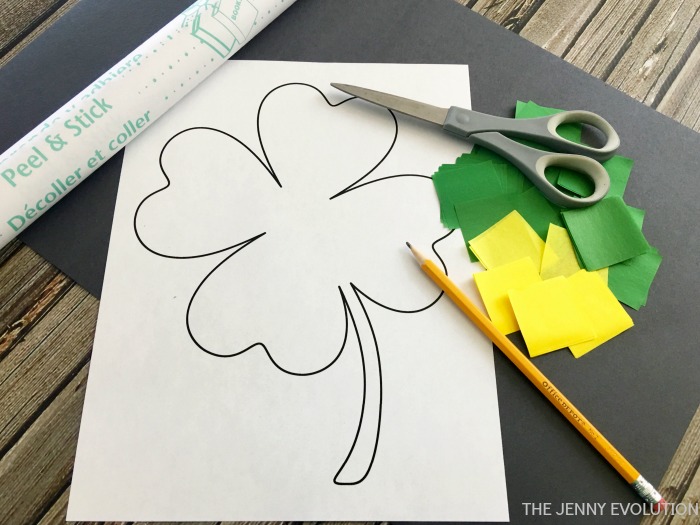
- Green and yellow tissue paper squares
- Black construction paper
- Clear contact paper
- Scissors
- Pencil
- Clover stencil
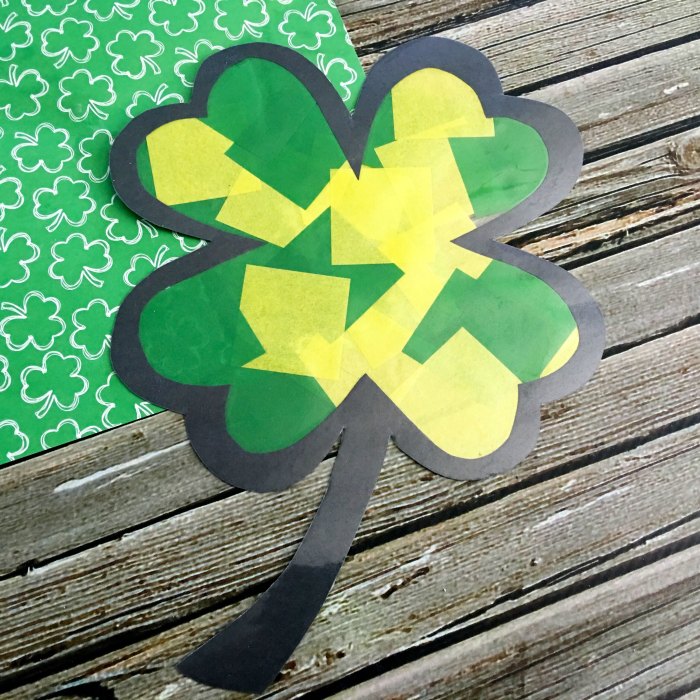
How to Make 4 Leaf Clover Craft
1. Cut your clover out about a 1/4″ inch bigger than the black line.
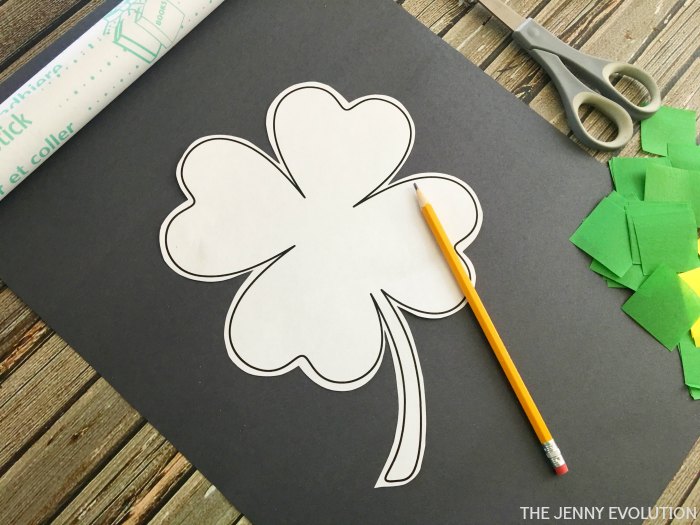
2. Set your clover onto your black paper and trace with a pencil.
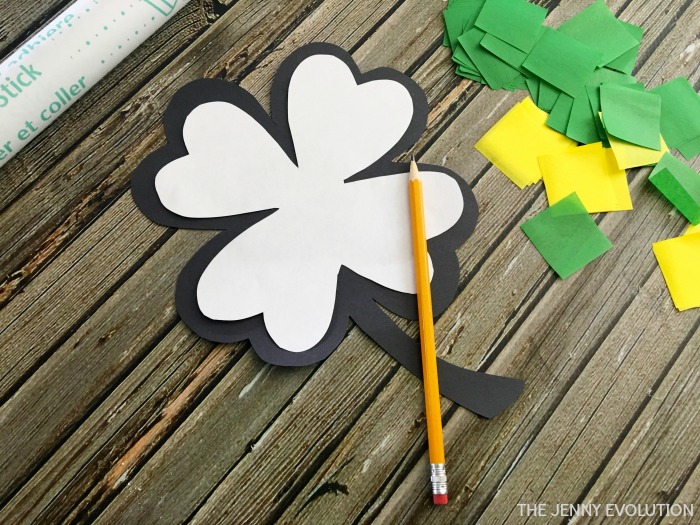
3. Now cut your stencil a little smaller than the black line.
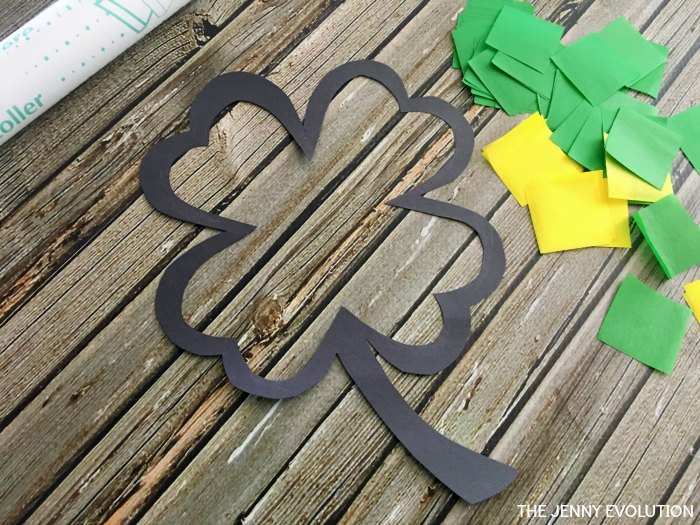
4. Place your clover into the black clover, trace just the four leaves and cut out the inner part of your clover (no need to cut out anything from the stem).
5. Lay out a clear unwrapped piece of contact paper with the sticky side up.
6. Begin sticking your tissue paper squares onto the clover until it’s covered.
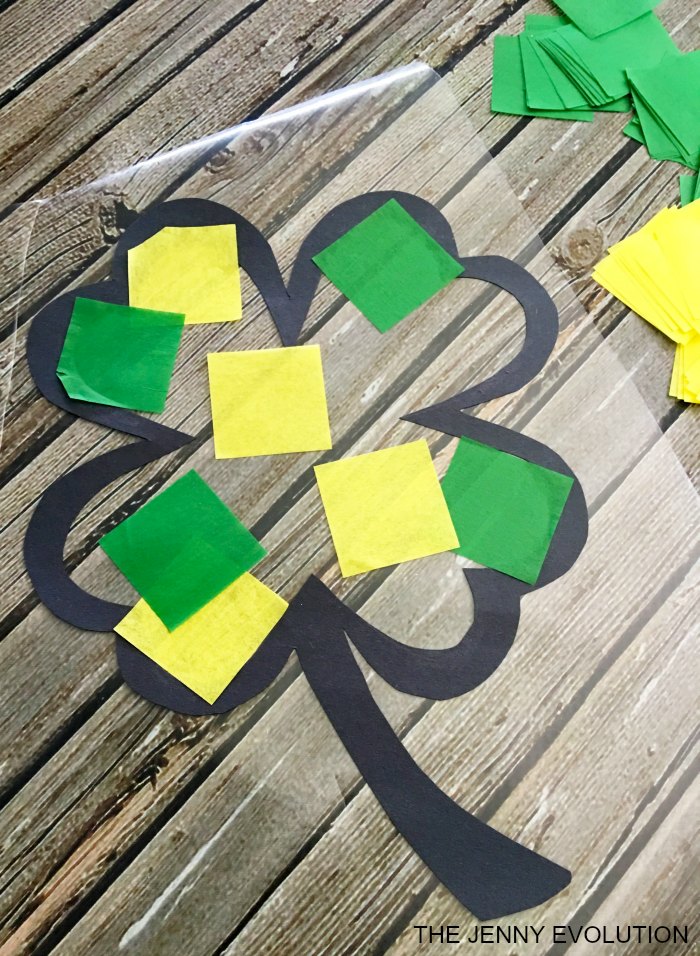
7. Once it’s covered, place another piece of clear contact paper sticky side down onto your clover.
8. Press down onto your clover to make sure it’s sealed up.
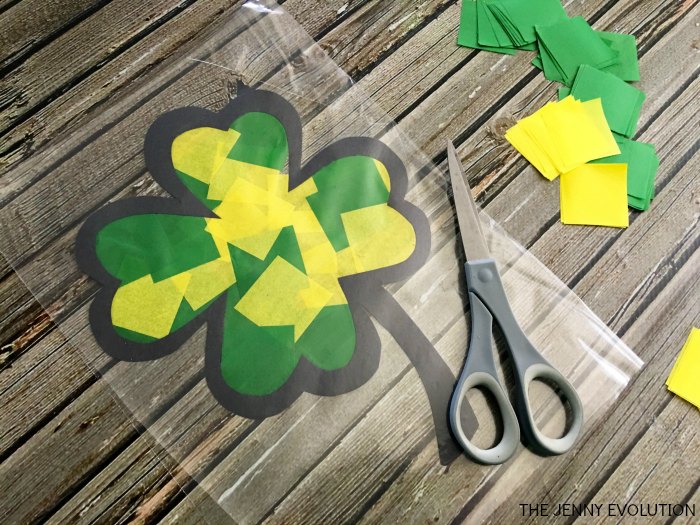
9. Now cut your clover out.
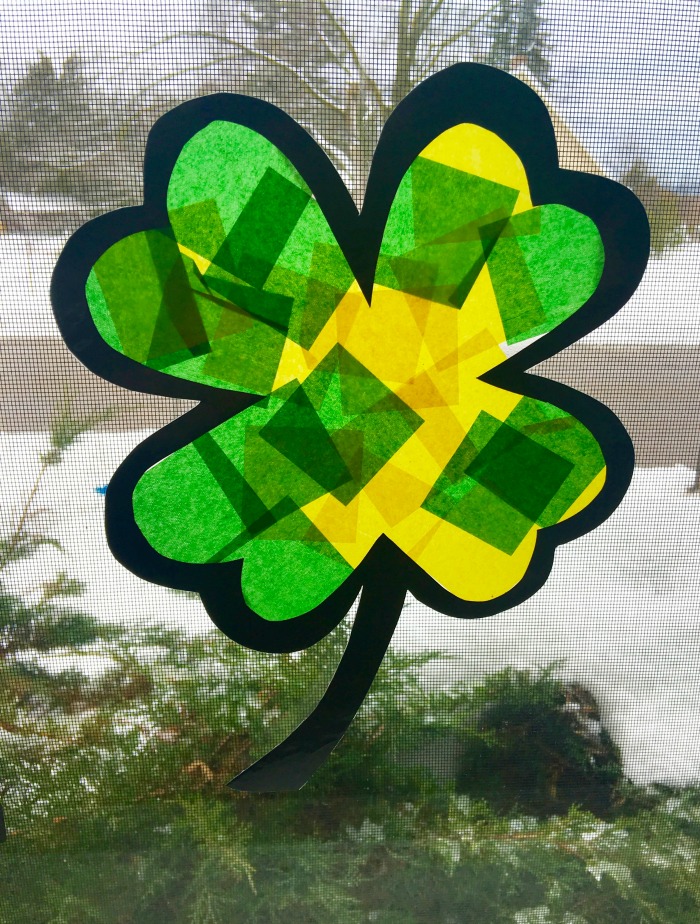
10. Place a small piece of tape on the back and hang onto your window.
Easy Printable St. Patrick’s Day Fun!
Don’t let the fun stop! These St. Patrick’s Day printables are designed to make this holiday even more enchanting for your children.
- St. Patrick’s Day Playdough Mats
- St. Patrick’s Day Preschool Activities
- St Patrick Day Yoga Cards
- St. Patrick’s Day Roll and Color Math Games
- St. Patricks’ Day Notebooking
More Clover Craft Ideas
Dive into the spirit of St. Patrick’s Day with these charming clover crafts for a touch of Irish luck and festive flair.
- Shamrock Wand
- Fingerprint Shamrock Painting
- Four Leaf Clover Paper Craft
- 3D Rainbow Paper Shamrock
- Salt Dough Clover Craft
- Shamrock Lacing
- Simple Four Leaf Clover Craft
- Easy Rainbow Shamrock Craft with Oil Pastels
- Free Printable Four Leaf Clover Template
Don’t miss out our other fun family-friendly kids crafts!
Great idea! I’ve been wondering what to decorate our big front window with since our snowflakes are looking kinda sad, but it’s not quite spring. I like doing these with my 4 year old. 🙂 Thanks for sharing on the Family Joy link up.
Hi! I love this craft. So pretty! But where do I find the 4 leave clover stencil?
I just googled free clover stencils and found the one I wanted to use.