
Halloween Cookie Cutter Painting
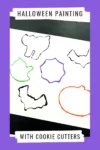
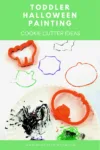
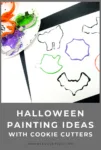
Halloween Cookie Cutter Painting is a fun and creative craft that lets kids turn everyday cookie cutters into colorful Halloween art.
Dipping the cutters in vibrant paint and stamping shapes onto cardstock encourages fine motor skills, color exploration and imagination, and the finished spooky shapes can be displayed as festive Halloween decorations or used for homemade cards — a terrific Halloween Craft and sensory activity.
This post contains affiliate links.
Why You’ll Love This Halloween Cookie Cutter Painting Craft
- Creative and festive: Kids use Halloween-themed cookie cutters to make fun shapes in vibrant holiday colors.
- Hands-on fine motor practice: Dipping, pressing and lifting the cookie cutters helps develop hand-eye coordination and dexterity.
- Exploration of color and patterns: Children can mix and match paint colors, layering shapes for unique designs.
- Simple and affordable materials: Uses common cookie cutters, cardstock, and craft paint for an easy setup.
- Parent-friendly activity: Minimal prep and cleanup make this craft stress-free for adults to supervise.
- Customizable results: Kids can color in, decorate, or add details to their shapes for a personalized touch.
- Display-worthy art: The finished creations make colorful, festive decorations for Halloween.
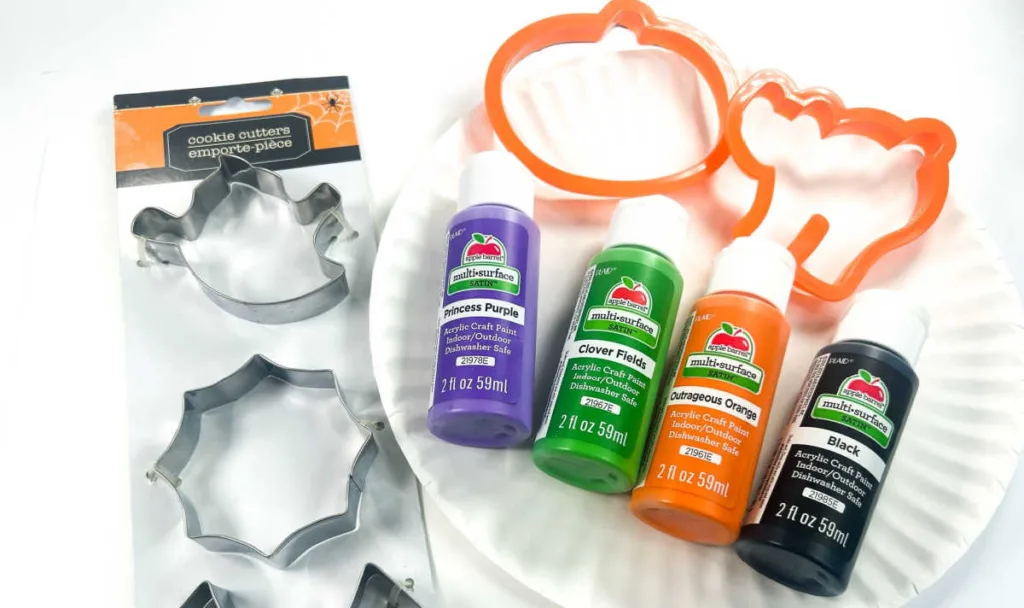
This Halloween Cookie Cutter Painting Craft combines creativity, skill-building, and seasonal fun, making it a hit for both kids and parents.
Creative Ways for Toddlers to Paint with Cookie Cutters for Halloween
Painting with cookie cutters can be a fun and creative activity for toddlers, especially during Halloween.
Here are some creative ways for toddlers to paint with cookie cutters for Halloween:
- Stamping Prints: Dip the cookie cutter into washable, child-safe paint and let your toddler stamp it onto a piece of paper. They can create patterns or make pictures using different cookie cutter shapes like pumpkins, ghosts, or bats.
- Cookie Cutter Collage: Apply a thin layer of paint to the cookie cutter and press it onto a piece of paper. Afterward, move the cookie cutter slightly and stamp it again. Repeat this process to create a collage of overlapping shapes and colors.
- Cookie Cutter Stencils: Instead of pressing the cookie cutter onto paper, place it on the paper and have your toddler use a paintbrush to fill in the shape. This helps with fine motor skills and precision.
- Cookie Cutter Rolling: Pour some paint onto a tray or shallow dish. Dip the cookie cutter in the paint, then roll it gently on the paper to create a rolling effect with the shape.
- Cookie Cutter Printing on Fabric: If you have plain fabric or canvas, your toddler can dip the cookie cutter in fabric paint and stamp it onto the fabric to create Halloween-themed designs.
- Mixing Colors: Encourage your toddler to dip the cookie cutter into different colors of paint to create multicolored shapes. This can be a great way to explore color mixing.
- Cookie Cutter Border: Create a border around a piece of paper using cookie cutter stamps. Your toddler can fill in the center with their own Halloween-themed drawings or additional stamps.
- Sensory Painting: Mix some non-toxic, edible paint with ingredients like yogurt or pudding to make edible paint. Let your toddler use cookie cutters to stamp and “paint” on a surface, and they can even enjoy tasting their creations.
- Three-Dimensional Art: After painting, press the cookie cutter onto a separate piece of paper and let it dry. Then, cut out the shape and attach it to a Halloween-themed greeting card or artwork for a three-dimensional effect.
Remember to use child-safe, washable paints and supervise your toddler closely during this activity to ensure they are using materials safely.
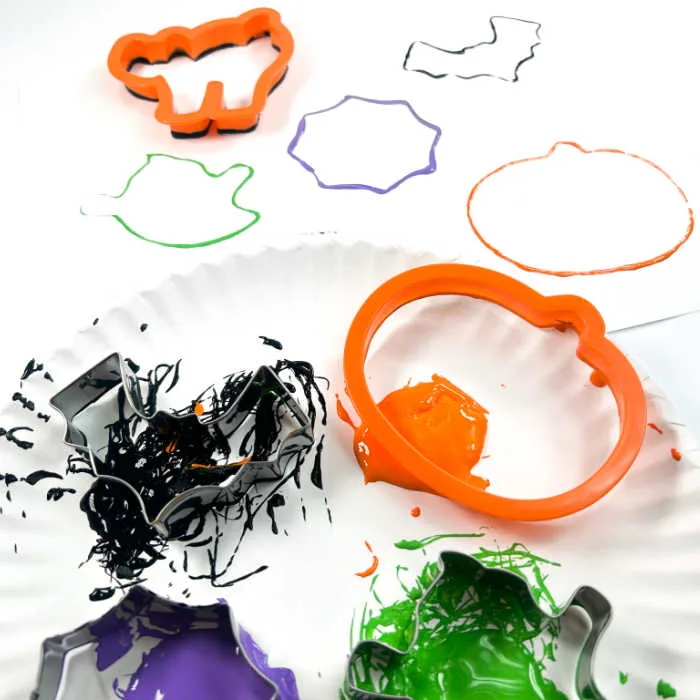
Cookie cutter painting is not only a creative outlet but also an opportunity for sensory exploration and fine motor skill development.
Fun Activities to Extend Creativity and Learning
Here are activities that go well with Halloween Cookie Cutter Painting — a hands-on Halloween art project where kids use cookie cutters and paint to create spooky shapes, perfect for exploring color mixing, stamping, and pattern-making.
Related Halloween Crafts
- Pumpkin Stamp Art: Use pumpkin-shaped cookie cutters with orange paint to create a pumpkin patch scene.
- Ghost & Bat Stencils: Trace or stamp ghosts and bats onto black or white cardstock for additional spooky designs.
- Spooky Scene Collage: Combine painted shapes to form a haunted house or graveyard scene.
Painting & Creativity Extensions
- Layered Colors: Dip cookie cutters in multiple colors for a gradient or ombre effect.
- Pattern Practice: Repeat shapes in rows or sequences to explore patterns and symmetry.
- Texture Play: Use brushes or sponges inside the stamped shapes to add texture or details.
Fine Motor & Learning Activities
- Shape Recognition: Identify and name each stamped shape to reinforce early learning.
- Hand-Eye Coordination: Practice careful stamping and lifting without smudging.
- Color Mixing Exploration: Encourage kids to blend colors on the plate before stamping.
Display & Group Activities
- Halloween Gallery Wall: Arrange finished paintings on a wall or bulletin board for a classroom display.
- Seasonal Gift Art: Frame individual pieces or create a Halloween card using stamped shapes.
- Storytelling with Shapes: Use the painted shapes to inspire a short Halloween story or scene.
These activities extend Halloween Cookie Cutter Painting while supporting fine motor skills, creativity, color recognition, and imaginative play.
Recommended Halloween Books for Kids
When you’re done playing, snuggle up and enjoy these Halloween Books with your child.
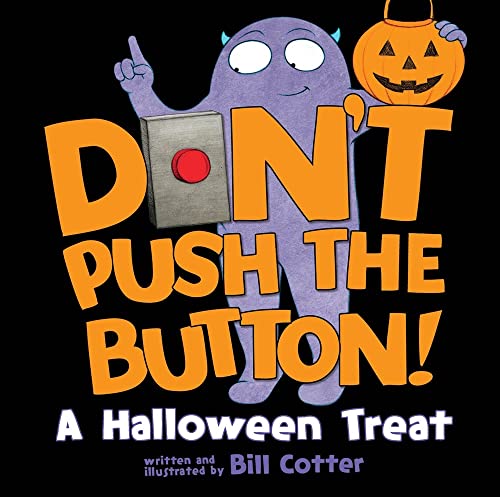
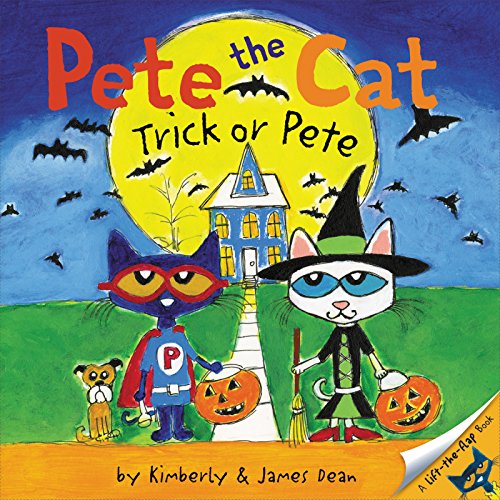
Don’t Push the Button! A Halloween Treat: A Spooky Fun Interactive Book For KidsPete the Cat: Trick or PeteCreepy Carrots! (Creepy Tales!)How to Catch a Monster
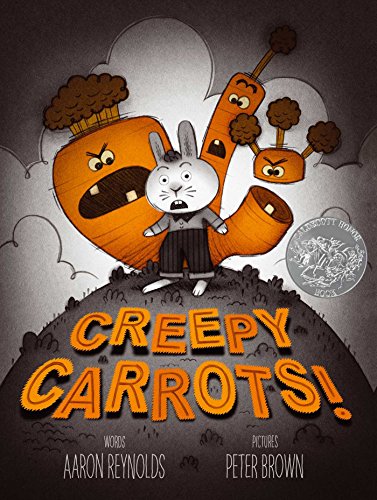
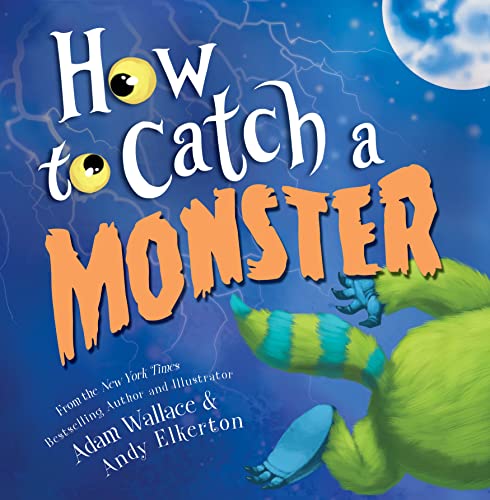
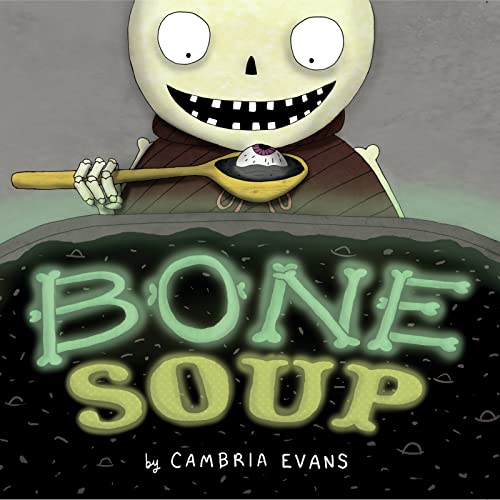
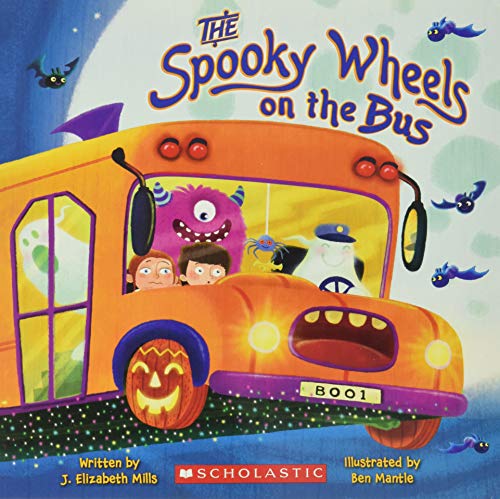
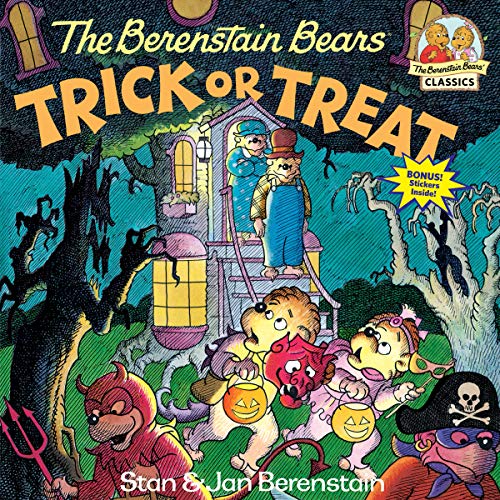
Bone SoupThe Spooky Wheels on the BusThe Berenstain Bears Trick or TreatSpooky Pookie (Little Pookie)
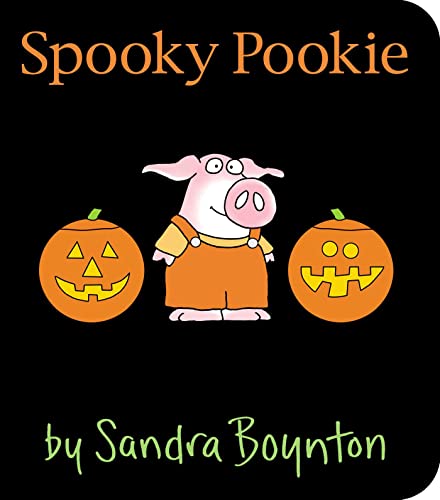
Or enjoy these Halloween Board Books with your toddler. It’s the perfect way to tie in the holiday to your Halloween activities!
Halloween Cookie Cutter Painting
Supplies You’ll Need
- Halloween cookie cutters (variety of shapes)
- Paper plate
- Halloween colored craft paint (purple, black, green, orange)
- Cardstock paper
Halloween Cookie Cutter Painting Directions
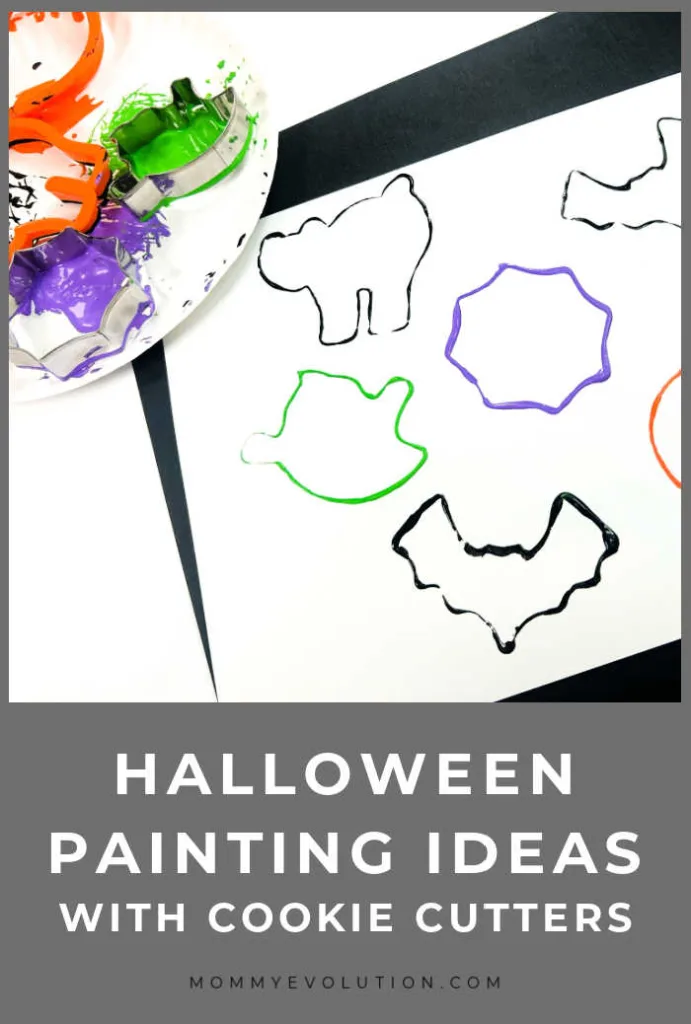
Pour the paint onto a paper plate, keeping the colors spaced apart.
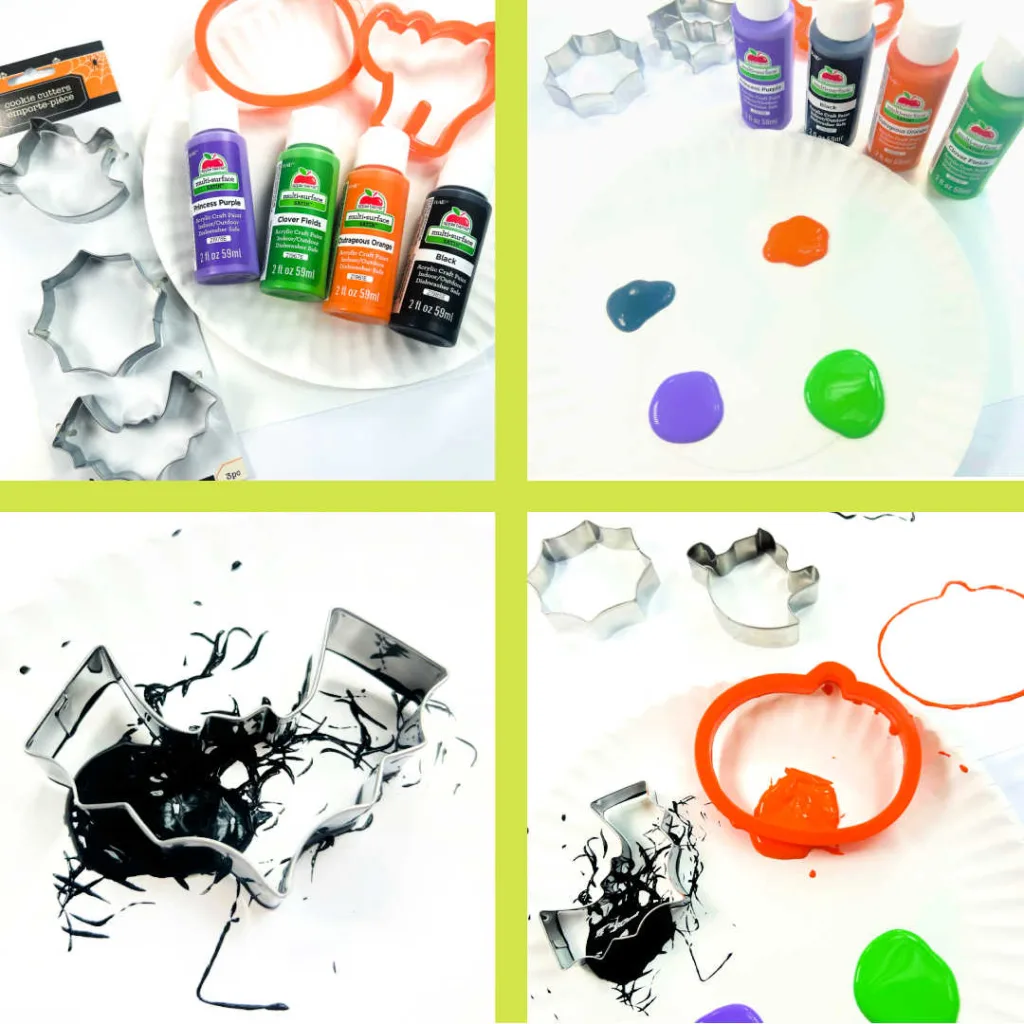
Dip a cookie cutter into the paint, coating the bottom edges evenly.
Press the painted cookie cutter gently onto the cardstock, then lift carefully.
Repeat with different cookie cutters and colors as desired.
Set the paper aside to dry, then display your artwork.
Optional: Color in or decorate the shapes once dry.
Easy Printable Halloween Fun!
As the spookiest season of the year approaches, dive into a treasure trove of bewitching printables that will add a dash of magic to your Halloween celebrations and learning.
- Halloween Coloring Pages
- Halloween Mystery Puzzles
- Halloween Jokes Cootie Catcher
- Witch Coloring Pages
- Halloween Fine Motor Activities – Flip and Fill Game
- Spider Preschool Lesson Plan
- Room on the Broom Coloring Pages
- Halloween Cats Coloring Pages
- Skeleton Preschool Lesson Plan
- Halloween Handwriting Activities
- Jack-o-Lantern Coloring Pages
- Halloween Multisensory Handwriting Activities
More Preschool Halloween Crafts
More preschool halloween crafts provide simple, hands-on projects that let little ones celebrate spooky fun safely and creatively.
- Halloween Picture Frame
- Spider Web Dots
- Egg Carton Ghost
- Preschool Halloween Sensory Bin
- Halloween Sensory Activities
Don’t miss out our other fun family-friendly kids crafts!