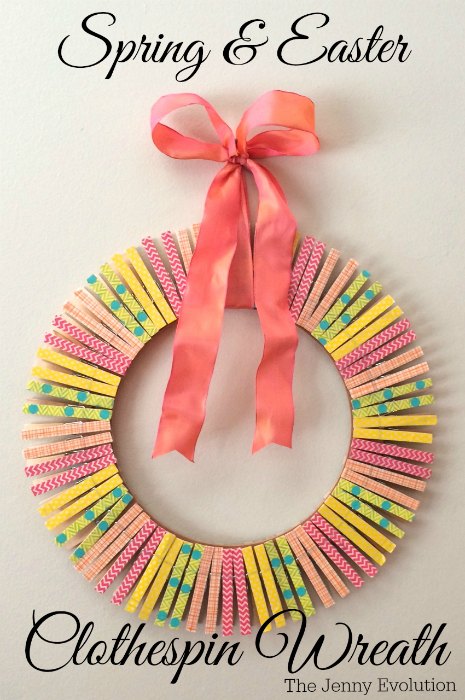
Spring Clothespin Wreath Tutorial

Create a bright and cheerful spring clothespin wreath with this simple tutorial, perfect for adding a seasonal touch to your home décor!
This post contains affiliate links.
I’ve gotten into the habit of making a new wreath for every major change of the season.
But I was getting bored. Time to mix things up!
I came across this fun clothespin wreath from Grow Creative and thought, what if I switched it up a bit.
Rather than painting the clothespins, I thought I’d try crafting tape — and I couldn’t be happier with the results!
Looking for more inspiration, don’t miss my round-up of 40 DIY Spring Easter Wreaths.
For an elegant spring wreath, try making one using these velvet Easter egg spring decorating ideas.
Table of Contents
Spring Clothespin Wreath Materials
Gather these simple materials to create a vibrant spring clothespin wreath perfect for seasonal decorating!
How to Make Clothespin Wreath
Making a clothespin wreath is rather easy.
First, place a strip of decorated or crafting tape on the top of the clothespin and trim to fit the length.
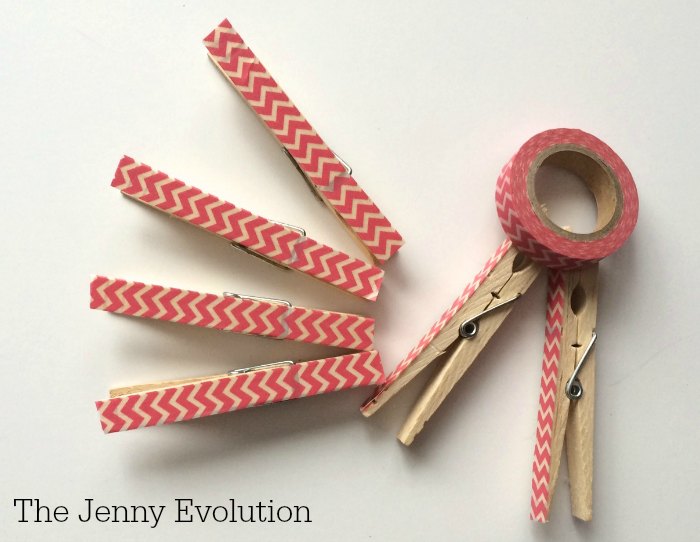
Crafting tape is usually thin enough that you won’t need to trim the sides.
However, the decorated tape is wider than the clothespins.
It’s simple enough to trim the tape along the edge of the clothespin once you have it on.
Just a quick snip and it’s done.
Just be sure you have a good pair of scissors.

Start by deciding what kind of pattern you want to make.
I decided that I wanted to do two by two for the colors.
But you could just as easily do one of each pin to make a pattern around the ring.
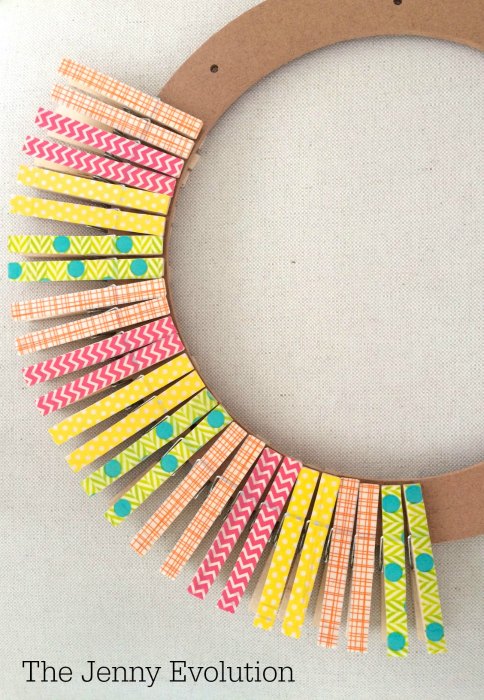
Take your floral craft ring and start placing the clothespins around.
Be sure to keep the clothespin close together so there’s no gap around the inner part of the wreath.
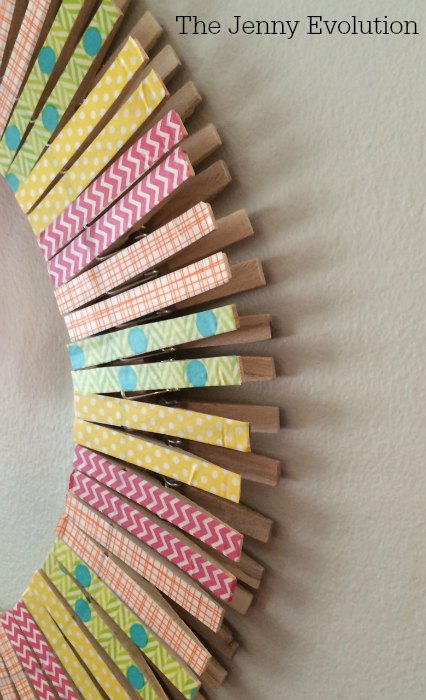
I liked the natural wood showing on the clothespins for the wreath.
And actually, when you step away, you really only notice the color on top of the clothespins.
When you’re done, add some thick ribbon to hang it from.
Be sure to leave some length for the ribbon to hang down.
It adds a touch of softness to the clothespin wreath.
You could also easily add some fabric flowers to the edge of the wreath to add a little something extra.
But I’m quite pleased with the pop of color. Welcome to our home, Spring!
The whole process took me about two hours (and approximately 76 clothespins) — but that’s with two boys constantly interrupting me.
So I’m guessing if you can actually focus, you’ll easily get this clothespin wreath completed within an hour.
More Spring Decorations
Add a festive touch to your home with more creative Spring decorations!
Super cute!
Very cute. I love the different patterns of the tape. Stopping by from Inspire Me Monday. have a great week!
Thanks. What I really like about the clothespins is I can easily change up the pattern next year!
This is such a super cute idea!
Thanks! I had a lot of fun trying it out. And I was honestly surprised at how easy it was to create. Happy crafting!
This is so cute! So glad I found your link at the Tip Me Tuesday party. I can’t wait to make one of these.
We’ve been enjoying our wreath for weeks 🙂 Can’t believe how well it came it!
I love tihs! It’s so colorful and happy! It’s great that it can be changed up so easily for next year, too. I’d love it if you would like to share this on the Spring Craft Blog Hop.
Thanks! We have been loving how it looks in our family room 😀
So colorful and looks easy to do. Thanks for sharing at #HomeMattersParty
Absolutely! I really had fun with this project and am so pleased with how it turned out.
I love all the bright colors! Andd what a clever way to make a wreath. Thanks for sharing at Motivational Monday!
My clothespin wreath has really added a spot of color in our family room.
So Cute..great idea! I need to make one for my laundry room! Thank you for sharing at share it One More Time
LOL — That would be an awesome place for a clothespin wreath.
This Spring Easter wreath is so fun! I love the colors and that is it easy to make. 🙂 Thank you for linking up at “A Little Bird Told Me” Wednesday link party. You have been featured on Mama’s Happy Hive. 🙂
Thanks 😀 We’re enjoying the welcoming spring colors in the family room — I’m ready for spring!!!!
How cheerful is this wreath?? I just love it. So glad you linked up to Snickerdoodle Sunday- hope to see you again this weekend!
Sarah (Sadie Seasongoods)
Thanks! It really has brightened up our family room. Come on, Spring!
Wow I adore this idea and you have made it seem so simple! Your Spring Clothespin Wreath ROCKS!!! Thank you for sharing it on #PureBlogLove, I hope to see another fantastic blog post again this Thursday night!!! I have pinned you links <3
Besos
Heidy
Thanks, Heidy. We’ve been loving how much it brightens up the room. I’m ready for Spring!
Hey, Jennifer! Just popping by to let you know that this post has been featured over at the #HomeMattersParty this week – congratulations! We’d love for you to check it out at http://theroadtodomestication.com/2015/04/03/home-matters-linky-party-31/ Happy Friday!!!
Wonderful! Thanks for letting me know. I’m so glad you liked my clothespin wreath. We’ve been so pleased with how it brightens up our family room.
I love this wreath – so cute and such a simple idea using the craft tape. Would definitely like to make one myself. Thank you for sharing at Share It One More Time. Cathy
It’s surprising how easy it was to make… and it really brightens up our family room 🙂
So cute! I definitely need to get some spring decor around the house, and I love this project. Thanks for sharing at the #HomeMattersParty 🙂
Absolutely! It really has brightened up the room.
I love this bright and cheery wreath! Thank you for sharing on #purebloglove. We enjoy having you every Thursday night at 8PM, EST through Sunday night. ~Cydnee
Thanks. It certainly has brightened up our family room!
Hi,
I’d love to feature your spring clothespin wreath in an article I’m writing for the house and home section of Long Island Weekly, a newspaper in New York. It’s such a cute project and a perfect way to perk up your home for spring. I’m not sure how else to contact you besides leaving a comment on this page, so when you see this, let me know if you’re interested in being featured. I’ve provided my email address in the box.
Thanks!
What a pretty wreath! I love the various colors and patterns of the tape!
Cute idea! I think I’d like to hang it in my laundry room when spring is past! Thanks for bringing this by Throwback Thursday last week!
Mollie
Ha! That’s a great idea for keeping it around all year 🙂
So cute! Love how easy this comes together! Thanks for sharing with us this week at #Snickerdoodle! Pinned to share.
So cute and easy to put together! Thanks for sharing with us at #Snickerdoodle. Pinned to share.
This came together so nicely. And I love the technique, since you could decorate the pins for a lot of different holidays or seasons.
Super cute wreath! I have a bag of clothespin without a purpose. This is a great (easy) craft idea. Visiting from Made By You Mondays party.
What a cute wreath and so perfect for spring.
Thanks for sharing at Over The Moon Party,
Bev
Very cute and creative wreath for Spring. Thank you for sharing at Merry Monday!
The Clothespin Wreath look very cute and easy to do. Great idea for Spring and Easter Day. Thanks for sharing!