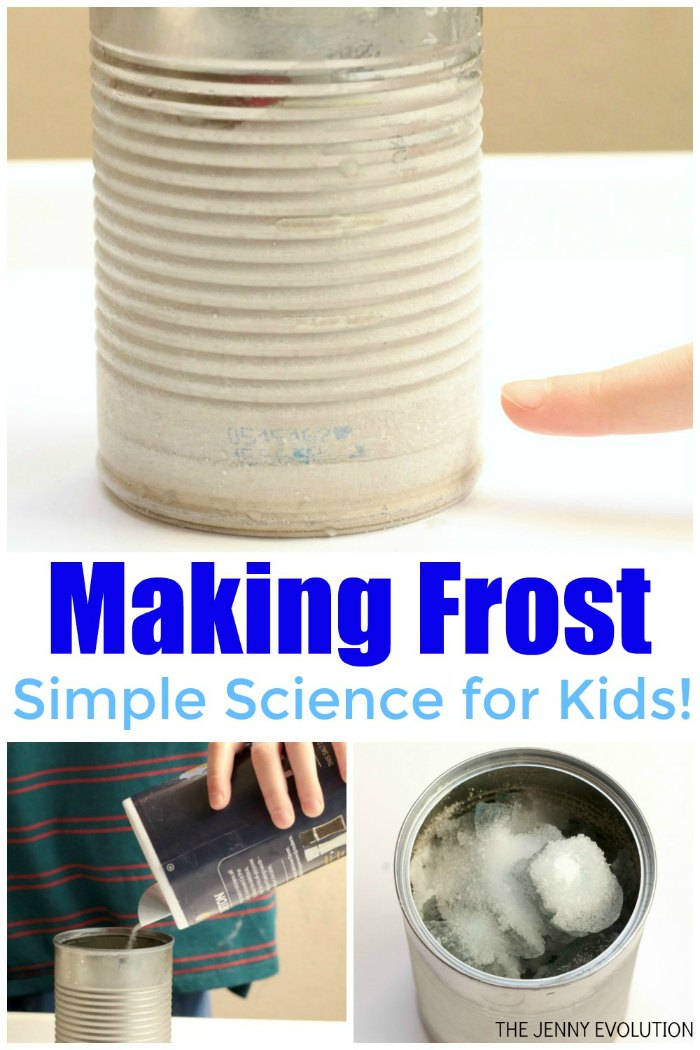
Frost Experiment! Make Frost in Your Kitchen

Bring winter science indoors with this exciting frost experiment that lets kids make their own frost right in your kitchen or classroom!
In this hands‑on activity, children use simple materials like crushed ice, salt and an empty can to watch frost form on the outside as they learn how temperature and moisture work together to create ice crystals — perfect for curious minds and a snowy‑day STEM project.
Don’t miss out our other fun family-friendly kids crafts!
 \
\
This post contains affiliate links.
Whether you live in a location where winters are mild, or if it is much to cold to play outside, you can still have all the fun of playing in the frost and snow in your own kitchen when you do this frost experiment.
Why You’ll Love This Frost Experiment
- Hands‑on science fun: Kids get to make their own frost right in the kitchen using ice, salt, and a can — turning a simple setup into an exciting science moment.
- Curiosity and wonder: Watching frost form on the can sparks questions and amazement as children see science in action.
- Easy to prep: With basic household materials like crushed ice, salt and a can, this experiment is low‑prep and budget‑friendly.
- Science learning: Kids learn about how salt lowers the melting point of ice and how frost forms when water vapor freezes on a cold surface.
- Sensory experience: The cold frost forming on the can offers a tactile sensory moment that’s especially fun for young learners.
- Great for all ages: Toddlers, preschoolers and even older kids enjoy predicting and observing results together.
- Perfect for winter: This activity brings a winter sensation indoors — ideal for cold days when playing outside isn’t possible.
This simple, science‑rich activity turns everyday kitchen materials into a memorable learning experience kids and parents will both enjoy.
How This Frost Experiment Works
Air holds water vapor, which is what you’ll see condensing on windows and doors when the humidity is high.
When the surface that the water vapor clings to is below freezing, it sticks on the surface as frost and ice rather than water droplets or dew.
In this experiment, the ice lowers the temperature of the can to right about freezing.
Adding salt to the ice lowers the melting point of ice, which means that the water vapor is actually below freezing temperature.
This means that when the water vapor comes in contact with the can, it freezes and turns to frost within just a few minutes.
Extensions & Activities for Frost Experiment
1. Experiment with Variables
Try changing one thing at a time and observe what changes:
- Use crushed ice vs. ice cubes — which produces frost faster?
- Try different amounts of salt.
- Use two cans side by side: one with salt and one without — compare results. This turns the activity into a basic scientific investigation with predictions and observations.
2. Graph the Time
Time how long it takes for frost to appear and create a simple chart.
Kids can graph results for different salt levels or ice types.
3. Condensation vs. Frost Comparison
Explain that condensation is water droplets forming on a cold surface and frost is water vapor freezing directly into ice.
Use a second bare can with ice only to observe which one gets condensation and which gets frost.
4. Observation Journal
Have kids draw or write what they see, feel, and predict before, during, and after the experiment.
What does the frost look like? Does it feel wet or icy? Does more frost form at different times?
5. Science Talk Prompts
Ask questions like:
- Why did the salt make the can colder?
- What do you think would happen on a hot, dry day vs. a humid one?
- What other surfaces might get frost?
Quick Science Concepts You Cover
- States of matter (water vapor → solid frost)
- Melting point depression (salt changes how ice melts)
- Condensation vs. freezing
- Scientific observation and prediction
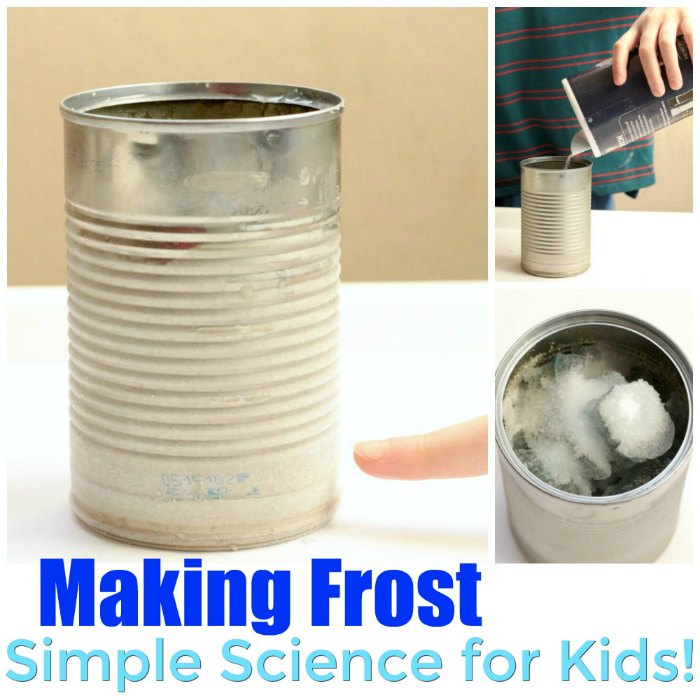
How to Make Frost Experiment in Your Kitchen
Follow these tips to make your own frost in a can!
What you’ll need
- Salt
- Crushed ice
- Aluminum can
- Plastic tray (to contain any mess)
How to Conduct Frost Experiment
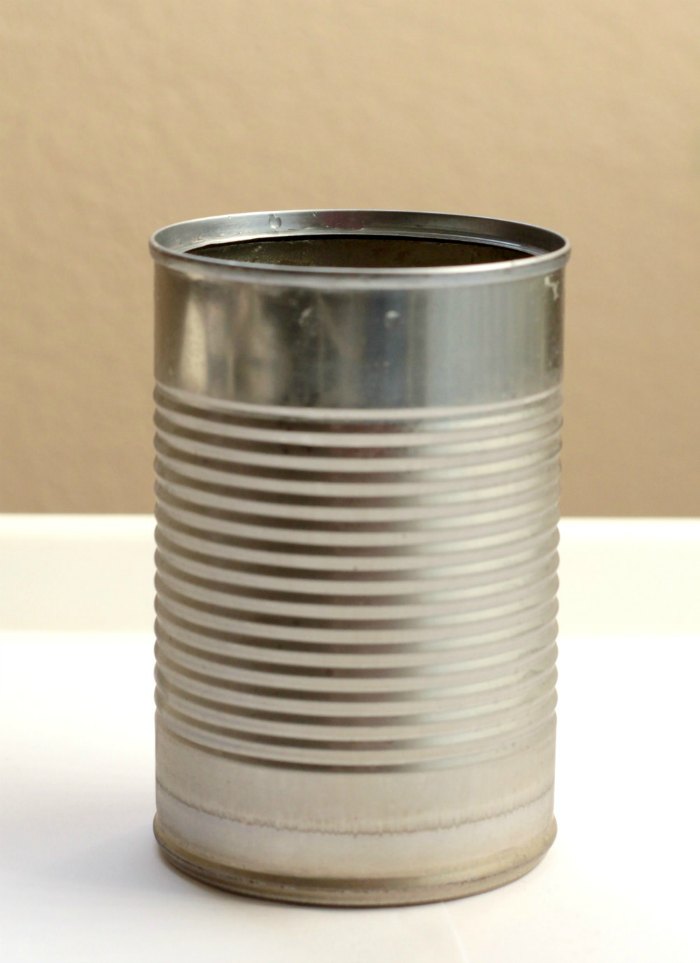
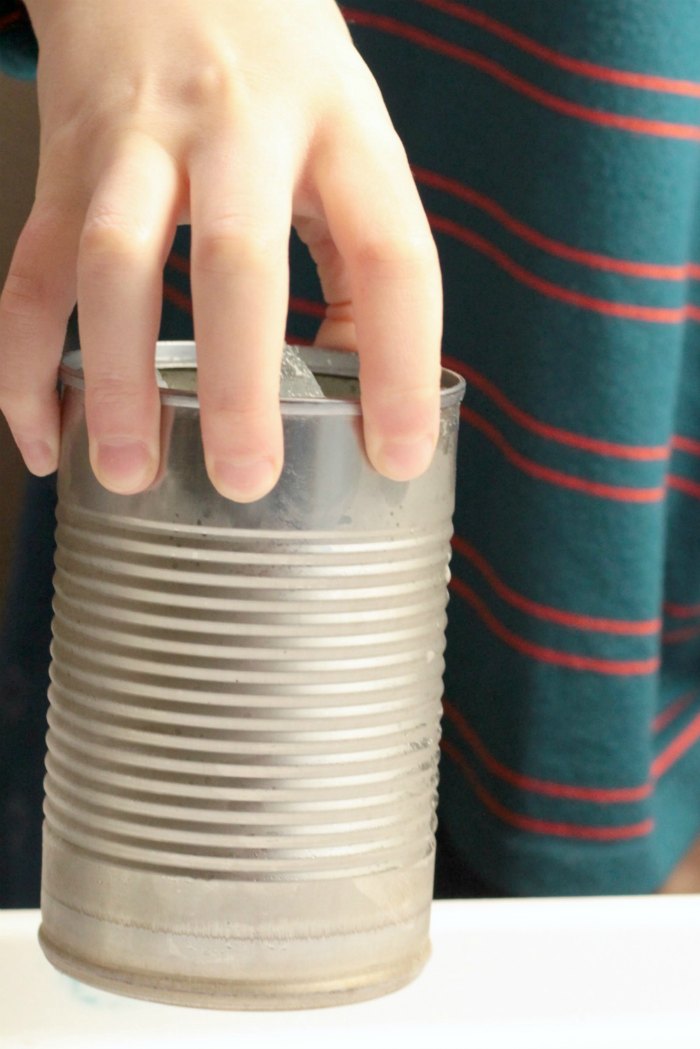
First, you’ll need an empty can.
Just save a can from when you are cooking one day, or empty a new one out and serve the contents for dinner.
Wash the can out so no food remains.
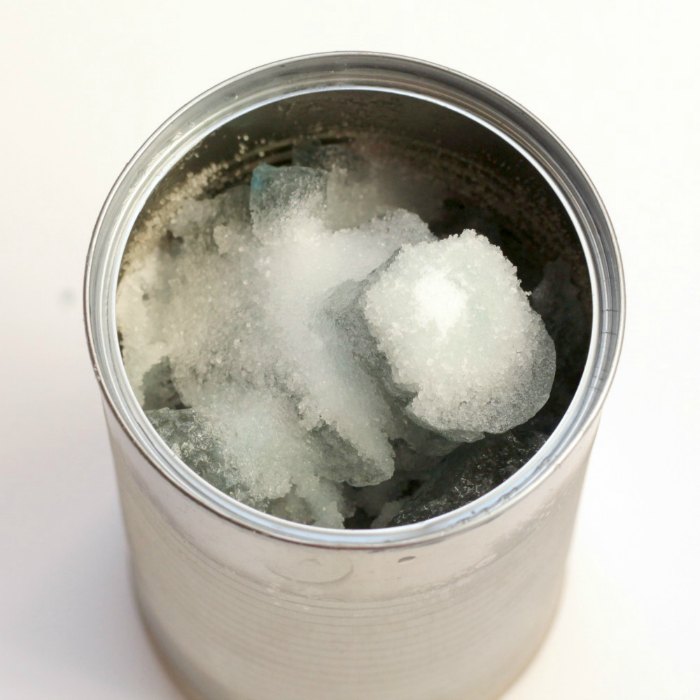
Fill the can with crushed ice.
Ask the kids if they think ice will form.
Some might say yes, but others might say no.
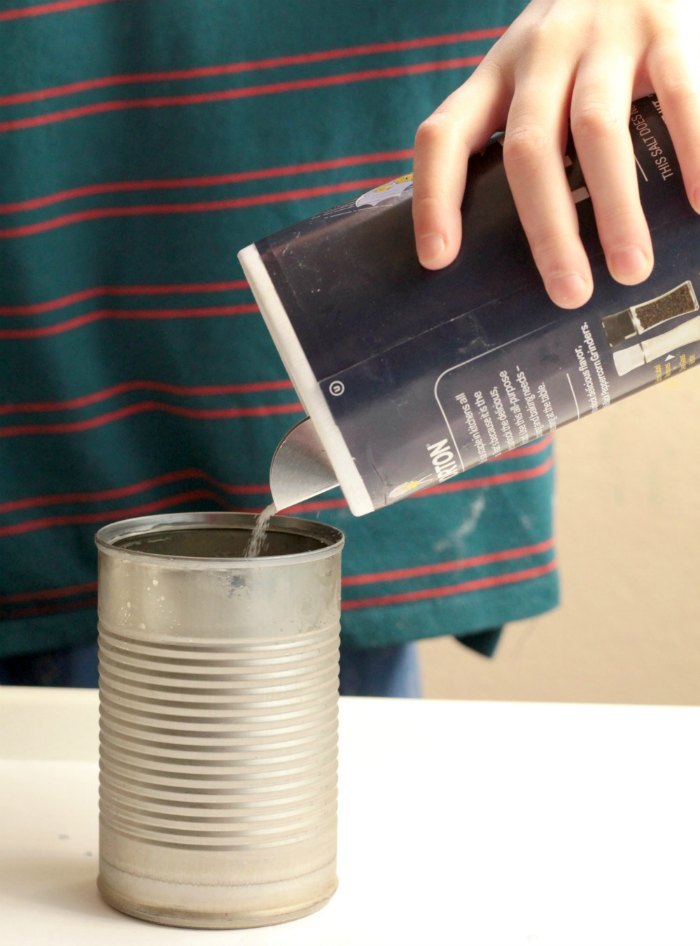
Instruct the kids to add salt to the ice.
What do they think will happen after the salt is added?
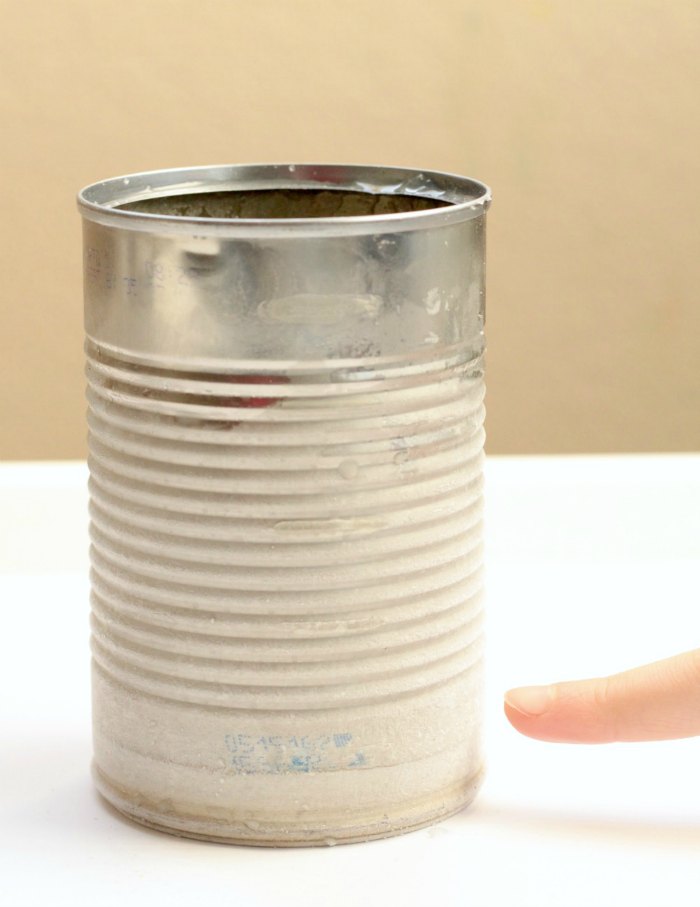
In about five minutes, frost should start to form.
If your frost is reluctant to appear, give your salted ice a good shake to get things moving.
Frost will form rapidly after the can is shaken.
After the frost forms, inspect it with a magnifying glass.
Does the frost look like little snowflakes?
More Science Experiments for Kids
Discover exciting hands-on learning with More Science Experiments for Kids, packed with fun activities that spark curiosity and creativity.
- Balloon and Bottle Experiment
- Why Do Pine Cones Open and Close
- Candy Cane Experiment for Kids
- Salt Water Experiment | Ocean Science
- Simple Volcano Experiment: Fizzing Lava Rocks
- Crazy Cool Walking Water Science Experiment
- Earth Day Science Experiment
- Static Electricity Butterfly Experiment
- Experiments with Weights and Measures
We just love Simple STEM Activities to Do at Home!
Outdoor Science Lab for Kids: 52 Family-Friendly Experiments for the Yard, Garden, Playground, and Park STEAM Play & Learn: 20 fun step-by-step preschool projects about science, technology, engineering, art, and math!STEAM Kids: 50+ Science / Technology / Engineering / Art / Math Hands-On Projects for KidsTinkerlab: A Hands-On Guide for Little Inventors


Printable STEM Activities
You can also emphasize the importance of STEM learning right in your home or classroom with these fun activities.
I love that this science experiment is simple and doesn’t require me to run to the store for a whole bunch of supplies. My kids love science experiments but I never have time to gather all the supplies. We have everything for this experiment so we will be giving it a try. Thanks for sharing!
I know! Trying to have everything on hand can be SO difficult. Definitely let me know how the kiddos like this experiment 🙂