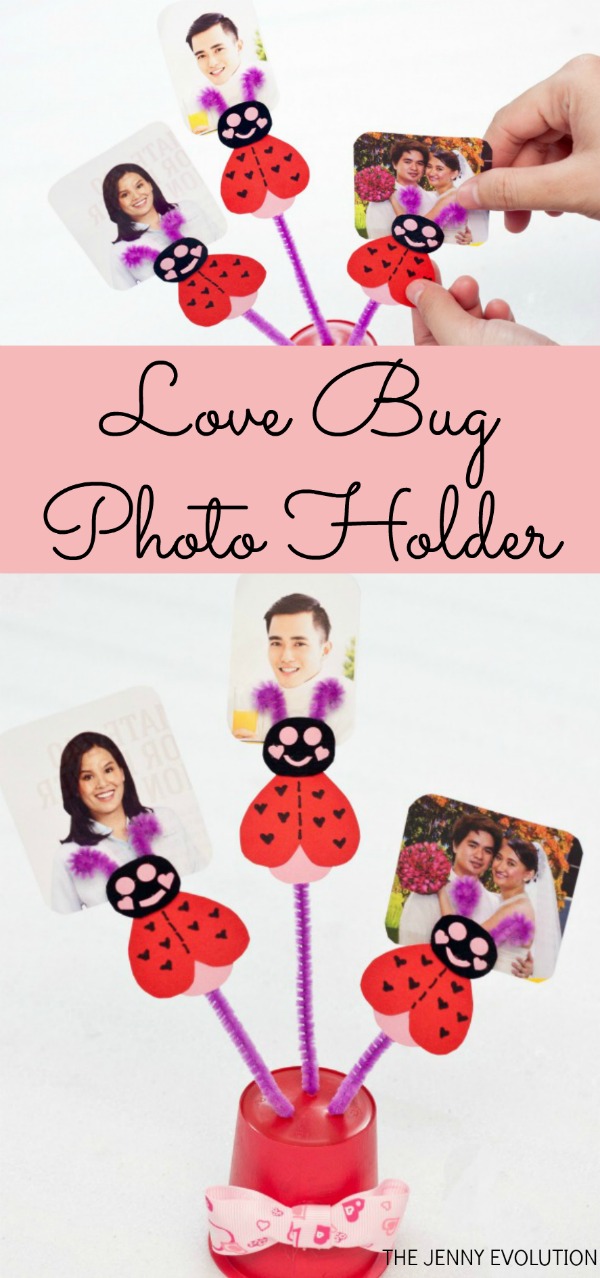
Adorable Love Bug Valentine Photo Holder Craft
I’m just in love with this adorable love bug Valentine Photo Holder craft, if I do say so myself!
I’m always looking for a fun craft I can do with the kids but that will also make a unique gift around Valentine’s Day. But really, this would be cute any time during the Spring!
Don’t you just love making Valentine Crafts!
Today, I will be teaching you how to make a unique Valentine gift that your loved one will surely love and that is fun to put together.
This post contains affiliate links.
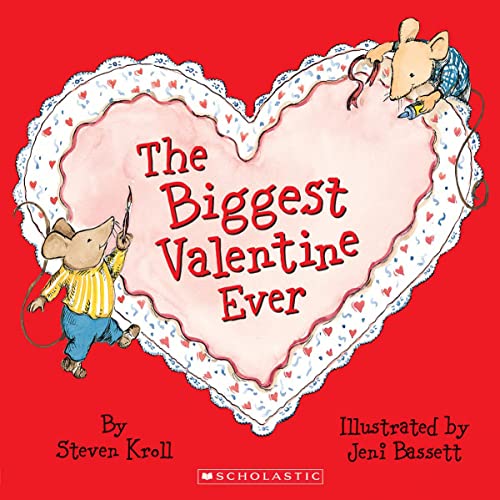
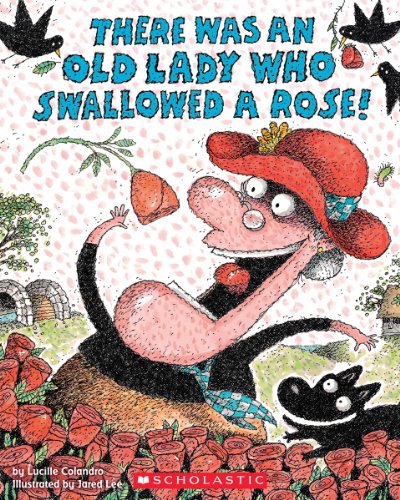
Adorable Children’s Valentines Day Books
When you’re done playing, why not snuggle up and enjoy these Valentine Books with your child.
Love, Ruby ValentineLittle Blue Truck’s ValentineRoses Are Pink, Your Feet Really StinkThe Biggest Valentine Ever


Love You by HeartHappy Valentine’s Day, Mouse! Lap Edition (If You Give…)Mickey Mouse Clubhouse: Minnie’s ValentineThere Was an Old Lady Who Swallowed a Rose!


Or enjoy these wonderful Valentine Board Books with your toddler. It’s the perfect way to tie in the holiday to your Valentine activities!
Valentine Photo Holder Craft
Photos are printed memories. But how many photos do you have just sitting on your phone, doing nothing.
It’s time to break out some of those great shots and put them on display!
Wouldn’t it be great if you can give an old school photo that can be displayed at the side table of your bed or even on the side of your office desk?
Sounds sweet, right?
This Valentine photo holder craft uses simple materials, but it will give you the sweetest end product, so what are you waiting for?
Let us begin now!
Materials needed for this tutorial:
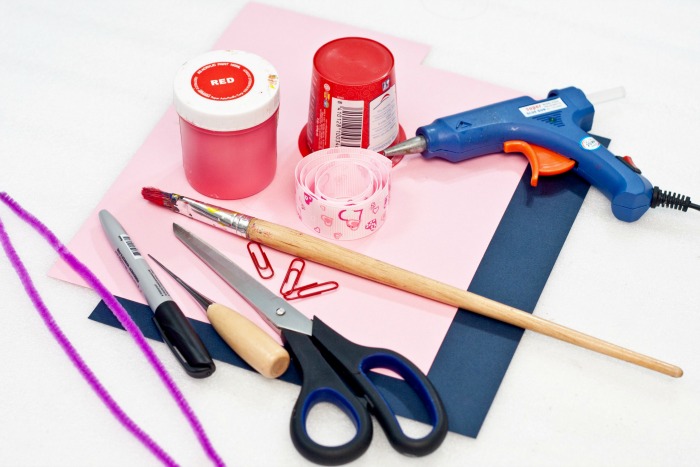
- a piece of a clean yogurt cup
- pink, red, and black construction paper
- 2 pcs. purple pipe cleaner
- red acrylic paint
- paint brush
- a black Sharpie or any black permanent marker
- 3 pcs. red paper clips
- 1.5-cm in width pink grosgrain ribbon with heart design
- an awl hole crafting tool
- a pair of scissors
- hot glue
Step 1: Paint the walls of the yogurt cup with red acrylic paint.
Let it dry for an hour. You can double coat this if necessary.
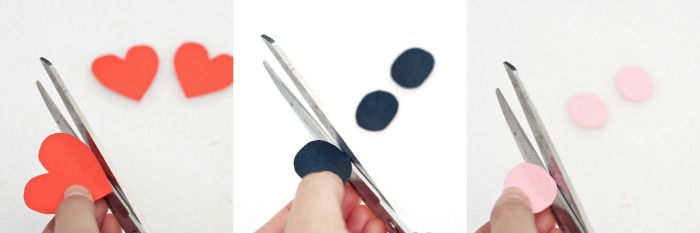
Step 2: Cut three medium-sized hearts from the red construction paper. This will be the bug’s wings.
Step 3: Cut three medium-sized oblongs from the black construction paper.
This should be proportionate to the heart since it will serve as the head of the bug.
Step 4: Cut three medium sized pink circles. This is the abdomen of the bug.
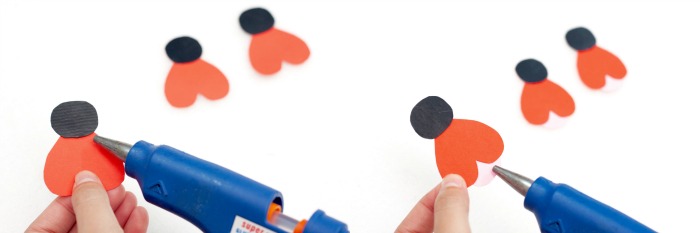
Step 5: Glue the head on the tip of the heart wings. Do these for the remaining two.
Step 6: Glue the pink circle on the rear end of the bug’s wings or at the opposite side of the head.
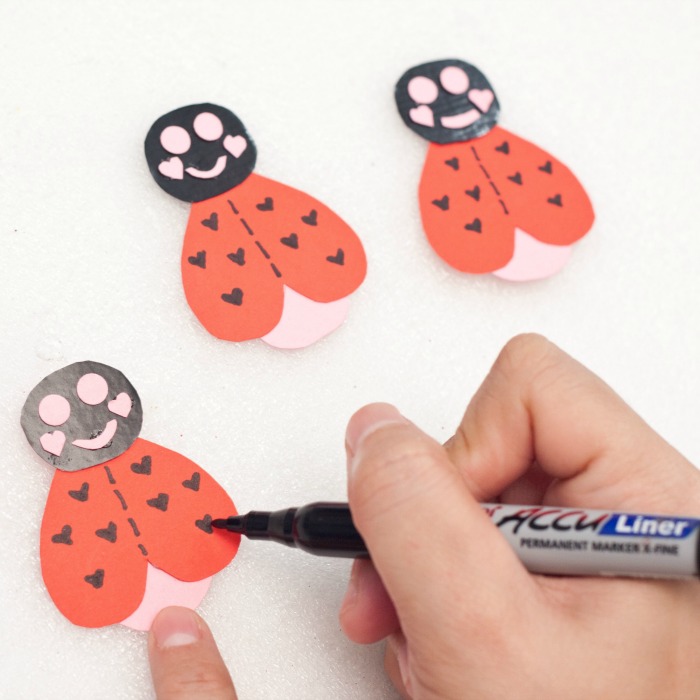
Step 7: Add some details on the face of the love bug.
You can create some cut-outs from the pink construction paper for the eyes, lips, and dimples.
Other details that can be made on the wings can be done using a permanent marker.
Step 8: Cut six pieces of 3 centimeters long purple pipe cleaners. This is the antenna of the love bug.
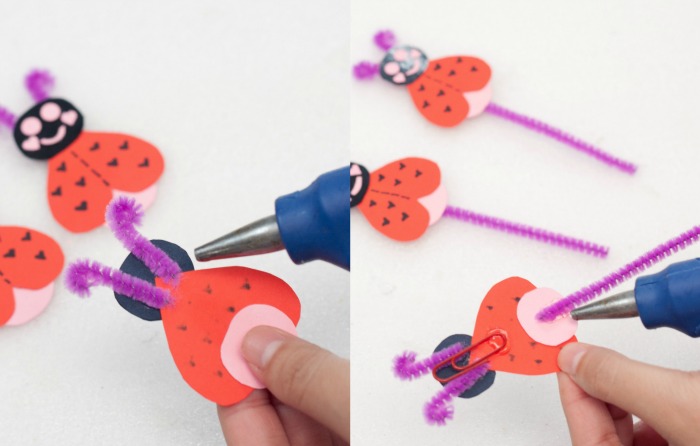
Step 9: Curl one end of the six pipe cleaners and glue a pair of antenna on the head of the bug from the back of the head.
Step 10: Hot glue the red paper clip on top of the antenna at the back. This should be placed in between the two antennae.
Step 11: Cut the purple pipe cleaner into 5-centimeter, 7-centimeter, and 9-centimeter, respectively.
Glue the pipe cleaner on the gut of the bug at the back. This is the stem of the love bug photo holder.
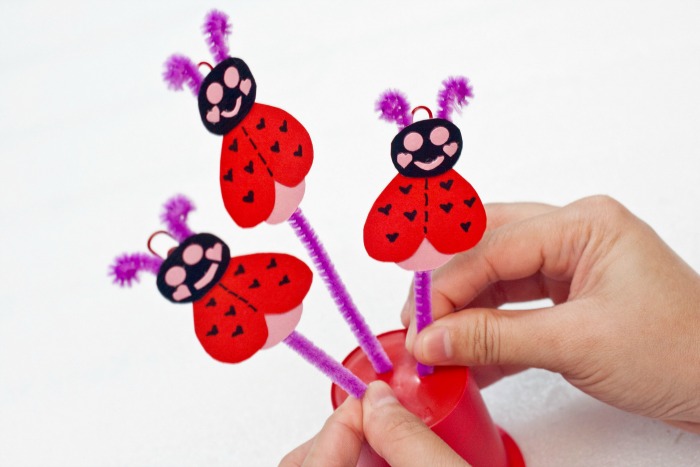
Step 12: Create three holes on the bottom part of the yogurt cup using the awl hole crafting tool.
Step 13: Insert the love bugs on the holes on the yogurt cup base.
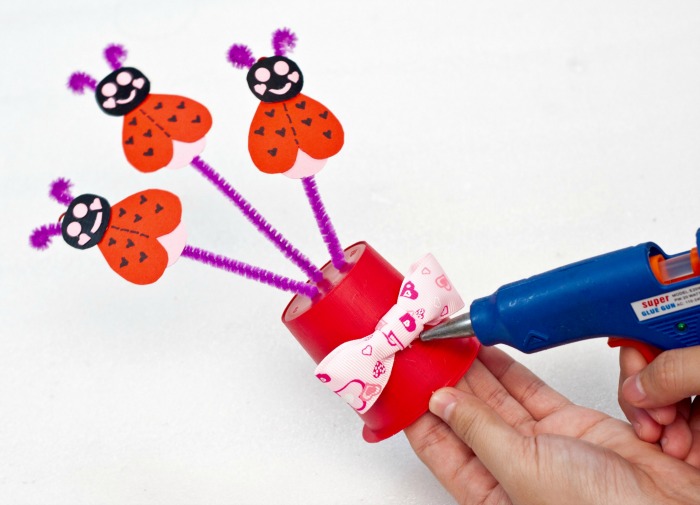
Step 14: Create a bow from the pink grosgrain ribbon and glue it in front of the base cup, right in the middle of it.
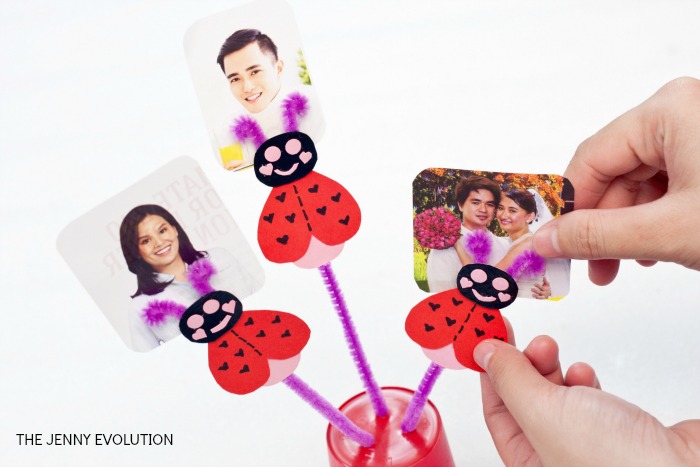
Step 15: You can now insert your photos through the clips at the back of the love bug.
Step 16: Tada! Done and ready for display!
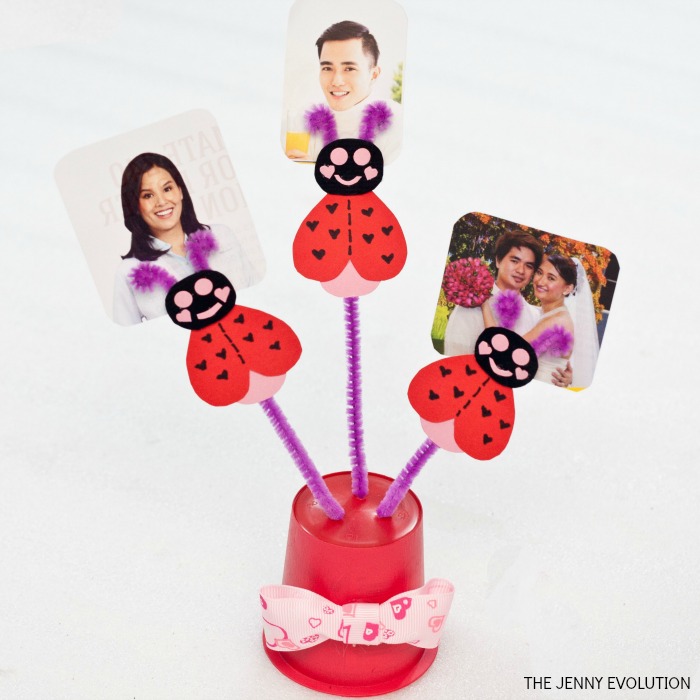
This adorable love bug tabletop photo holder is a perfect gift for your loved one this Valentine’s Day.
You can insert some memorable moments together which your other half would greatly appreciate.
They can now display this on their office table or even on their bedside to remind them how special you are to them.
Isn’t it sweet?
This can also be given to your parents, or other family members and even to friends.
Have fun and spread the love!
You can find even more fun DIY Valentine Crafts on Mommy Evolution!
These are adorable! Perfect for Valentine’s Day pictures. Pinned and Tweeted. Thanks for sharing at Snickerdoodle Sunday.
Very cute!!!!! Pinning and sharing! 🙂
Super cute! Pinned and tweeted! Thank you so much for sharing this with us at our linky party. We hope to see you next Monday @ 7 because we can’t wait to see your new creations! Happy Saturday! Lou Lou Girls
So creative! I love that it is a photo craft! Thank you so much for sharing 🙂
Congratulations! You are one of my features 🙂
Joanita @ Snickerdoodle Sunday
How adorable these are! I just love them! Thanks for linking up at #HomeMattersParty
Soooo cute! Such a great idea too. Holly 🙂
How fun is this! These are just darling and look easy enough to pull off! Thanks for sharing this with us on Throwback Thursday! Hope to see you next week!
Mollie
these are so adorable…. so so good! Thanks for joining us at #SaucySaturday