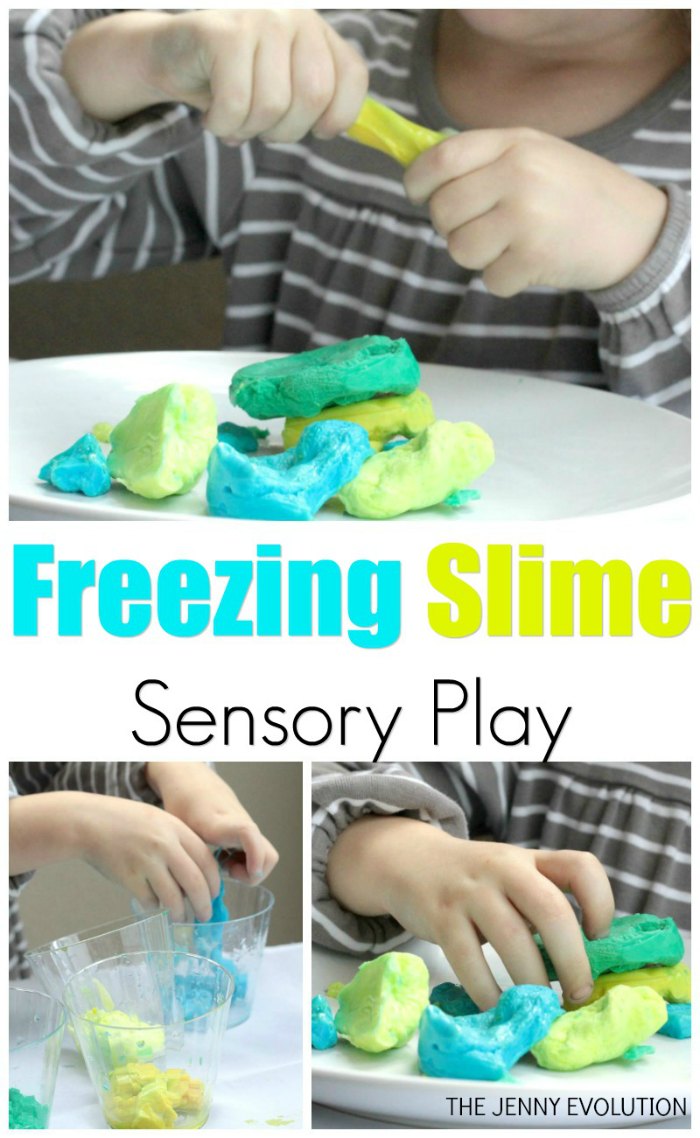
Frozen Slime Science Sensory Play
Frozen slime is one of those “cool” sensory activities your kids will absolutely love… because we’re actually freezing slime!
Slime is a staple of sensory activities, but we’re always on the lookout for a fun twist to the project.
For this version, we made the simple adaptation of freezing the slime to see what made it different.
The kids had a blast with the slime and were quite surprised at how freezing the slime changed how it acted.
Don’t miss out our other fun family-friendly kids crafts!
This post contains affiliate links.
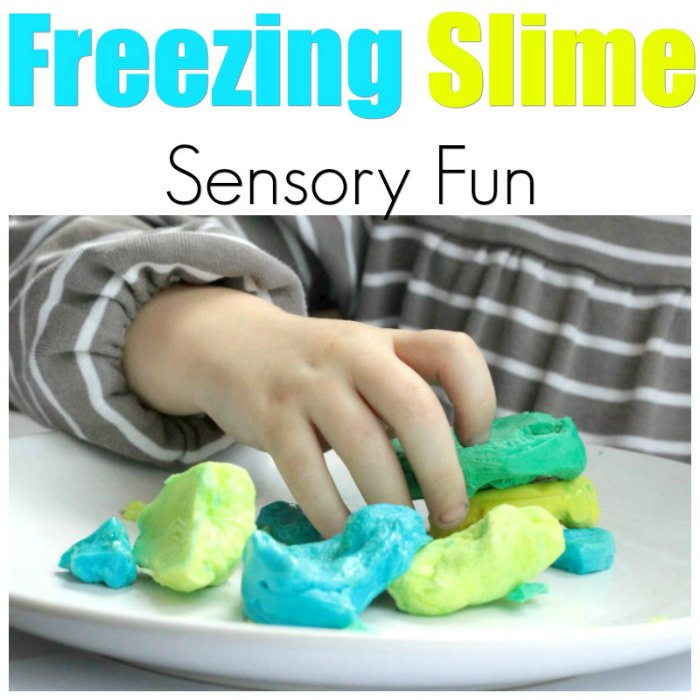
Frozen Slime Sensory Play
How to Make Frozen Slime Sensory Play
Follow these tips to make your own frozen slime sensory activity!
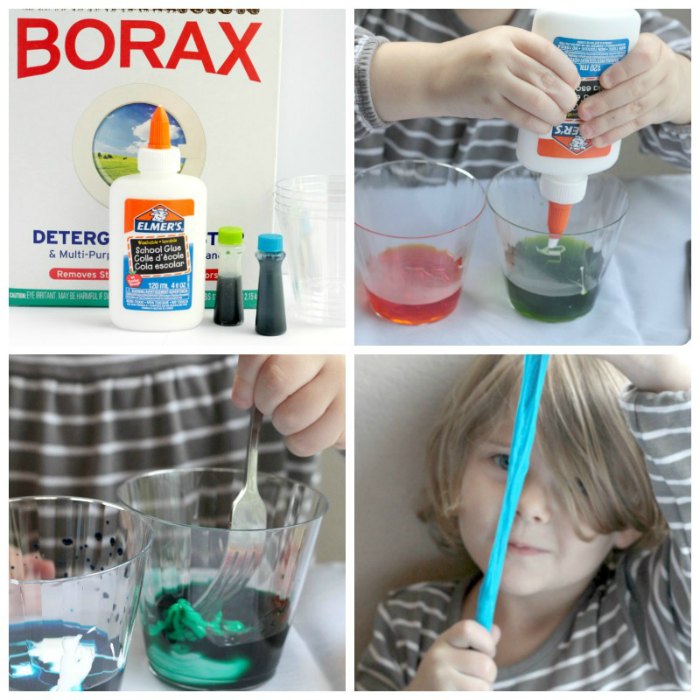
What you’ll need:
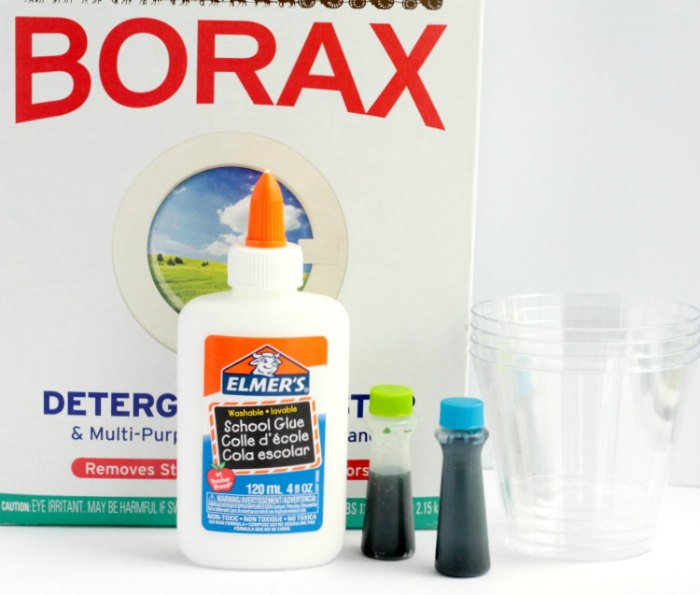
- Borax powder (Borax is dangerous in large amounts, but this recipe only uses a teaspoon and you can instruct children not to put the slime in their mouths. Use this taste-safe, borax-free slime recipe if you have young kids who might try to eat the slime)
- Warm water
- Food coloring
- White school glue
- Small plastic cups
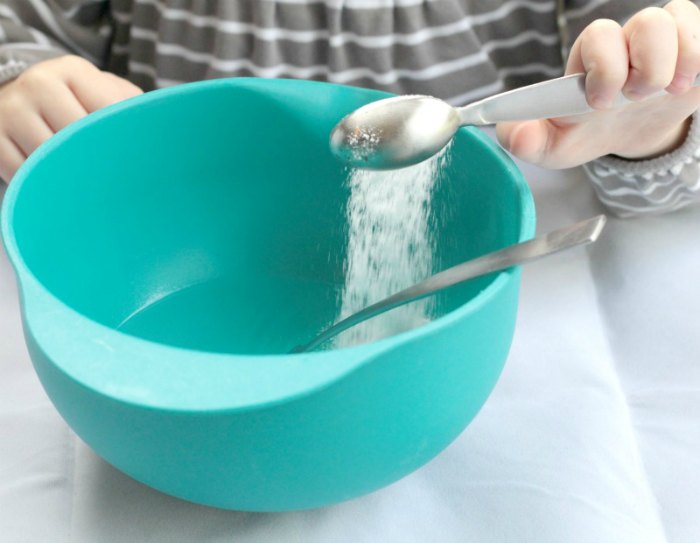
Mix 2 teaspoons of Borax into one cup of warm water.
Divide the water into four small cups.
Outdoor Science Lab for Kids: 52 Family-Friendly Experiments for the Yard, Garden, Playground, and Park STEAM Play & Learn: 20 fun step-by-step preschool projects about science, technology, engineering, art, and math!STEAM Kids: 50+ Science / Technology / Engineering / Art / Math Hands-On Projects for KidsTinkerlab: A Hands-On Guide for Little Inventors


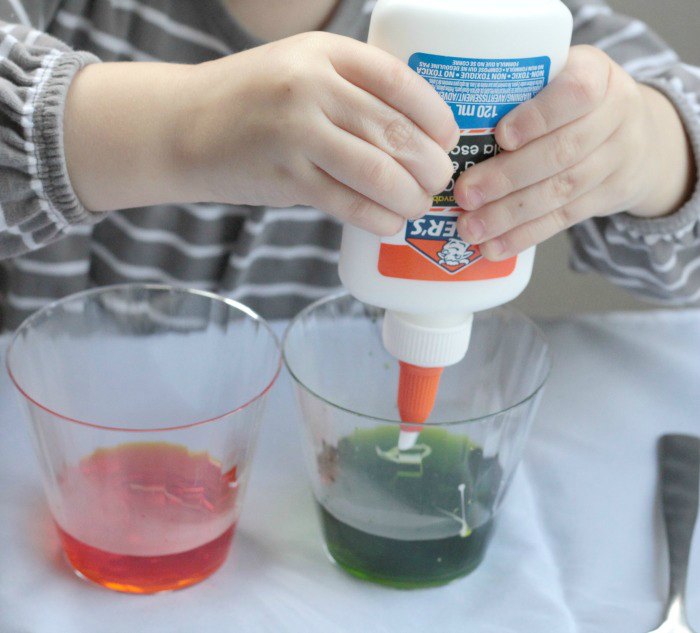
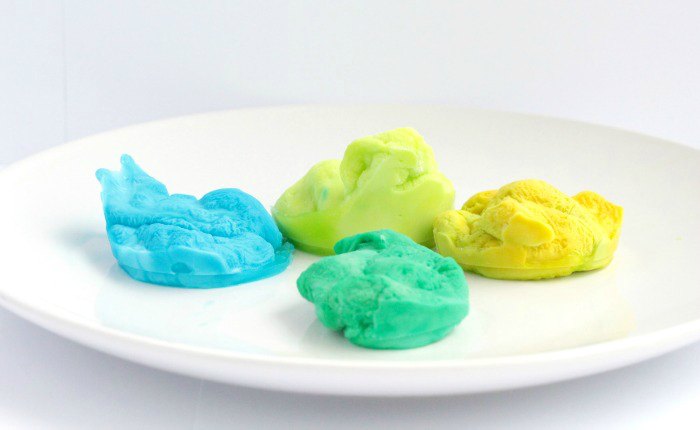
Add your chosen colors of food coloring to each cup (we did green, blue, yellow, and a mix of green and blue).
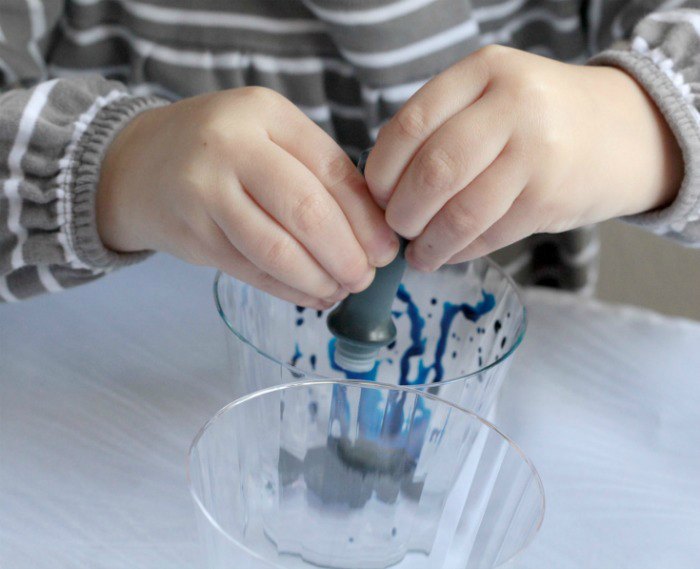
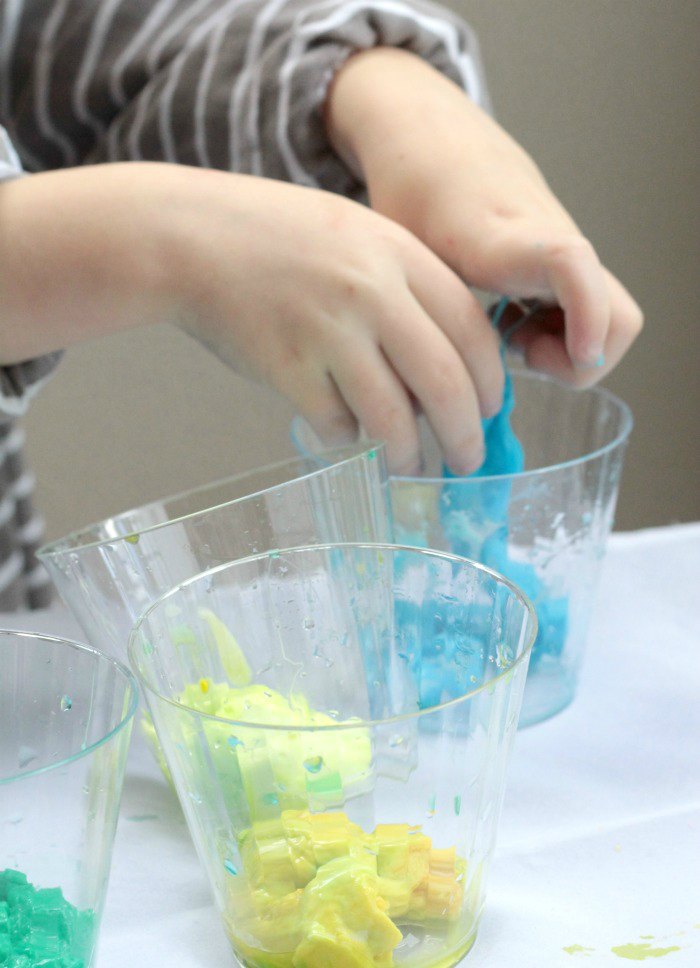
Let the children squeeze the glue directly into the cups of water.
The glue will instantly start to turn into slime, which was fascinating for my kids.
They absolutely loved watching the little squiggly bits of glue turn to slime before their eyes.
We used one 4 ounce container of glue divided between four cups and it was the perfect amount.
After the glue is divided, work the clumps of slime between your fingers to mix the glue and colors together (this is an adult job).
Once the glue is all mixed, pour out the leftover water and hand the slime back to the kids.
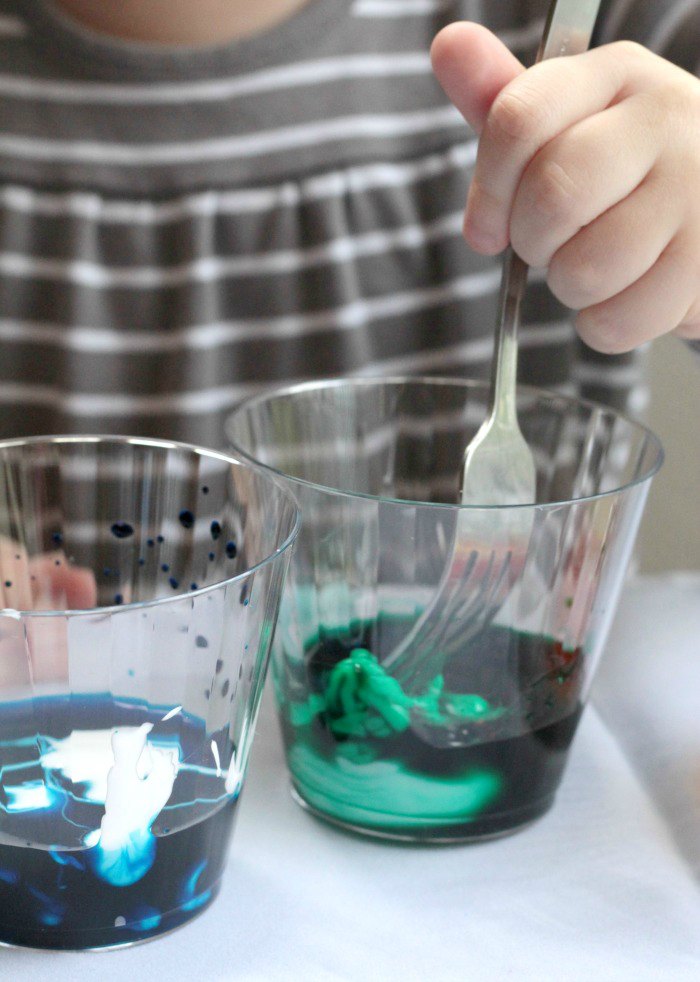
Let the kids play with the slime and watch it stretch.
Awesome Science Experiments for Kids: 100+ Fun STEM / STEAM Projects and Why They WorkAwesome Kitchen Science Experiments for Kids: 50 STEAM Projects You Can Eat!Awesome Engineering Activities for Kids: 50+ Exciting STEAM Projects to Design and BuildAwesome Physics Experiments for Kids: 40 Fun Science Projects and Why They Work

The slime feels cool and smooth to the touch, which kids also love.
After a few minutes of play, place your cups of slime in the freezer.
Freeze for about 2 hours.
After your slime has frozen, give it back to the kids to play with.
Let them explore how the slime is different.
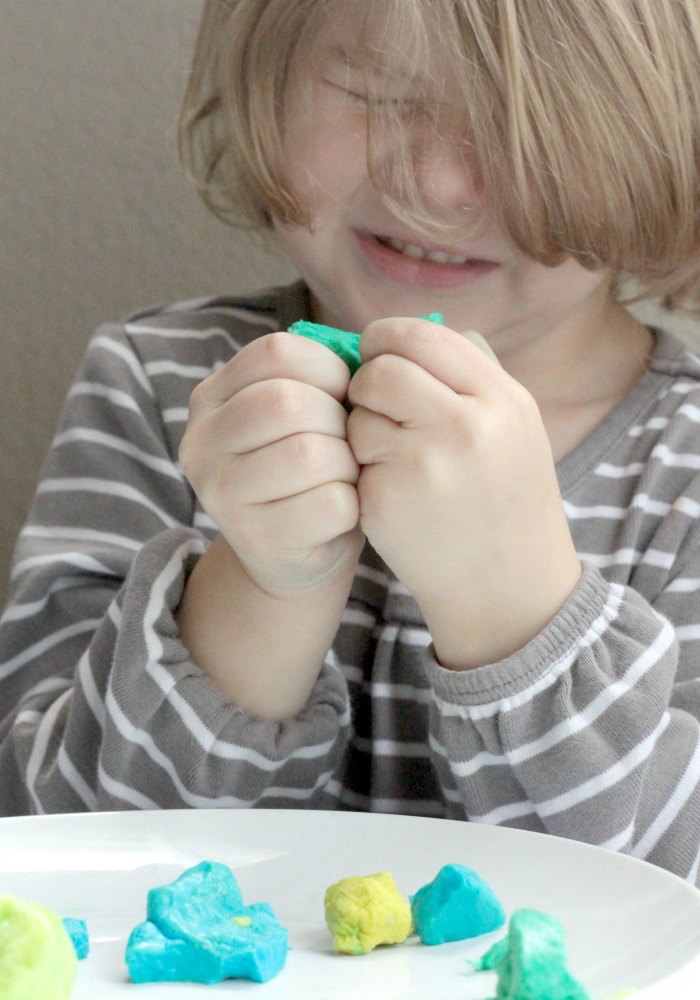
My kids loved how the slime was suddenly harder and a lot more brittle.
My kids even stacked the broken pieces of slime like building blocks to make towers.
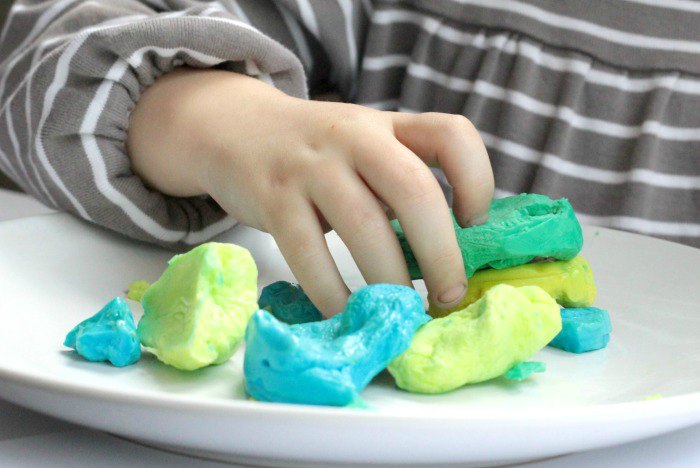
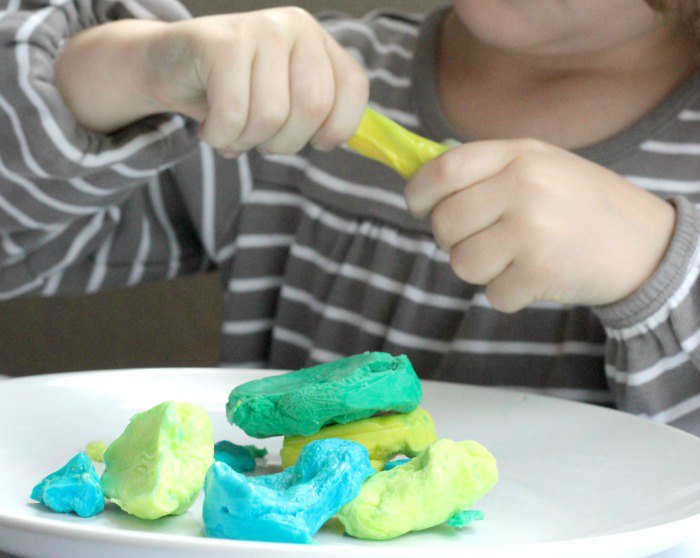
Here, we’re trying to stretch the frozen slime. It didn’t work yet!
Over time, the slime starts to become stretchy again.
We were surprised that there was no weeping or water mess as the slime melted.
It simply went from not stretchy at all to more and more stretchy as the kids handled it.
We loved our frozen slime activity and can’t wait to try it again!
More Sensory Activity Ideas
Sensory play is a powerful way for children to learn, develop and engage with their surroundings, and it’s also a whole lot of fun!
Take your child on a sensory adventure that sparks imagination, creativity and learning.
- Sensory Play for Toddlers and Preschoolers: Easy Projects to Develop Fine Motor Skills, Hand-Eye Coordination, and Early Measurement Concepts
- The Ultimate Sensory Play Recipe Book: Learning Through Play
- Exciting Sensory Bins for Curious Kids: 60 Easy Creative Play Projects That Boost Brain Development, Calm Anxiety and Build Fine Motor Skills
- Play to Progress: Lead Your Child to Success Using the Power of Sensory Play
- Sensory Adventures: A Guide to Increasing Literacy Through Sensory Play
- Playful Wonders: 50 Fun-Filled Sensory Play Activities
- The Book of Nature Connection: 70 Sensory Activities for All Ages
- 52 Weeks of Sensory Play
2 Comments