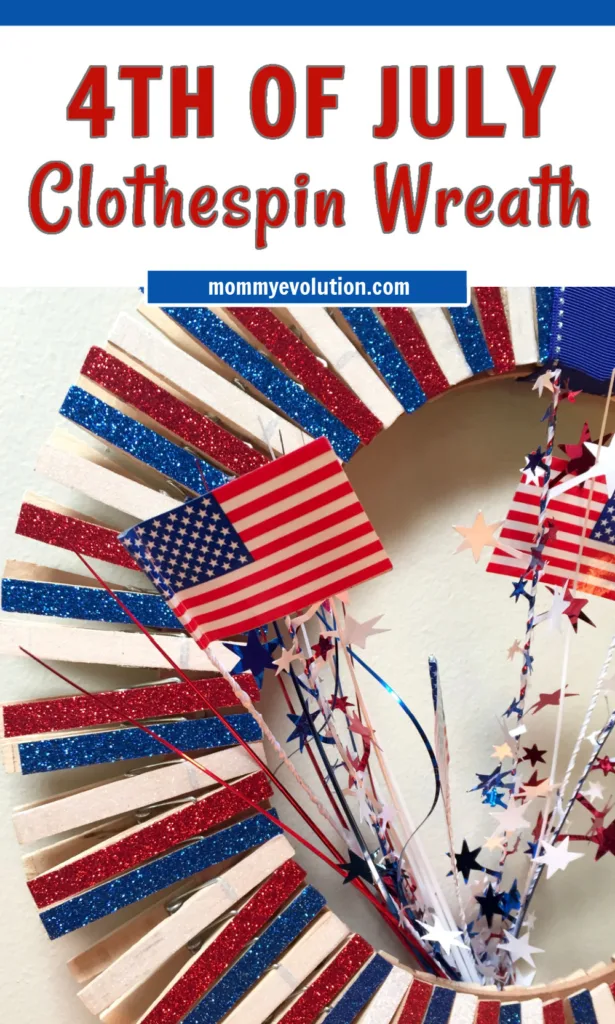
Clothespin 4th of July Wreath


Nothing says summer like seeing those fabulous red, white and blue colors everywhere! Bring that sparkle inside with my Clothespin 4th of July Wreath.
Not only is it simple to make, but it’s also a fun activity that the whole family can enjoy together.
Join us for more 4th of July activities and crafts, too!
This post contains affiliate links.
This DIY Clothespin 4th of July wreath is the perfect project to add a splash of red, white, and blue to your home decor.
Why You’ll Love This Clothespin 4th of July Wreath
This patriotic wreath craft transforms simple clothespins into a festive red, white and blue decoration that adds creative charm to your holiday celebrations.
- Simple everyday materials: Basic supplies like clothespins, paint and a wreath form make this craft easy and budget-friendly to create.
- Perfect patriotic décor: The bold red, white and blue design makes it a fun decoration for the Fourth of July, Memorial Day or summer celebrations.
- Encourages creativity: Kids and adults can personalize the wreath with paint, ribbons or festive embellishments.
- Hands-on crafting fun: Painting and clipping clothespins onto the wreath form helps strengthen fine motor skills and coordination.
- Great for family crafting: This easy project works well as a group activity for summer gatherings or holiday prep.
From its patriotic colors to its simple construction, this clothespin wreath craft adds festive creativity and handmade charm to your holiday décor.
Clothespin 4th of July Wreath
I actually made this clothespin 4th of July wreath last year if you can believe it, but I’m just getting around now to sharing it all with you.
I put the wreath in storage at the end of the summer and pulled it out this June. It made me so happy to see those summer colors glittering.
I just did some minor adjustments on some of the clothespins that had shifted and it was ready to go!
You can also take off the completed clothespin and reuse the floral craft ring if you want. Just keep the red, white and blue decorated clothespin in a ziplock bag and use them again next year.
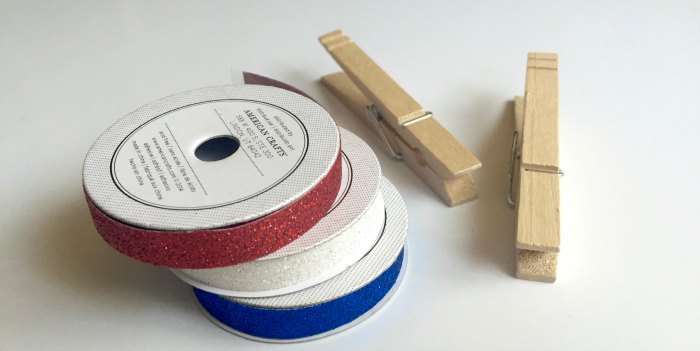
Materials for Clothespin Wreath
How to Make Clothespin Wreath
Making a clothespin wreath is rather easy. First, place a strip of decorated or crafting tape on the top of the clothespin and trim to fit the length.
Crafting tape is usually thin enough that you won’t need to trim the sides. However, the decorated tape is wider than the clothespins.
It’s simple enough to trim the tape along the edge of the clothespin once you have it on. Just a quick snip and it’s done.
Just be sure you have a good pair of scissors.
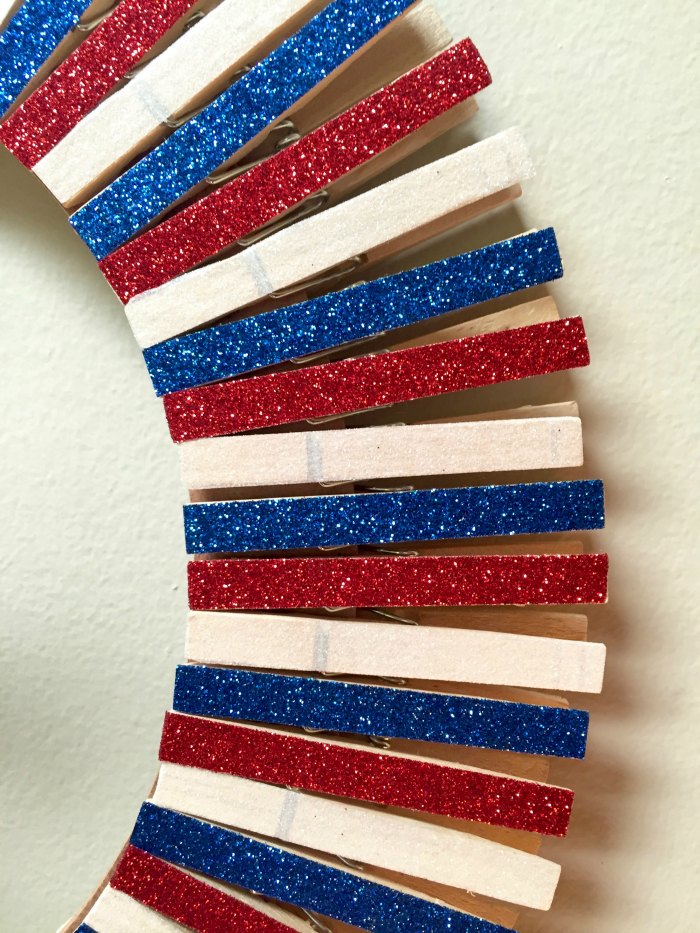
Start by deciding what kind of pattern you want to make. I decided that I wanted to do two by two for the colors. But you could just as easily do one of each pin to make a pattern around the ring.
Take your floral craft ring and start placing the clothespins around. Be sure to keep the clothespin close together so there’s no gap around the inner part of the wreath.
I liked the natural wood showing on the clothespins for the wreath. And actually, when you step away, you really only notice the color on top of the clothespins.
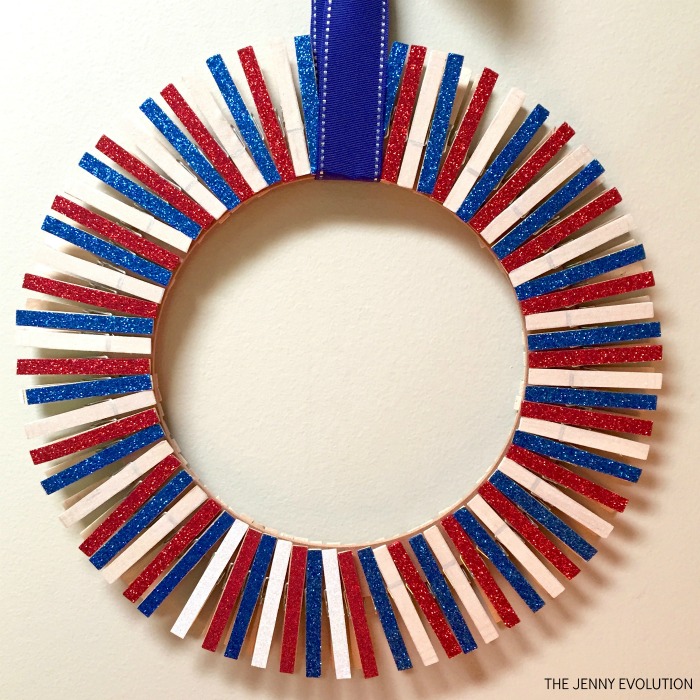
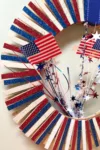
When you’re done, add some thick ribbon to hang it from. Be sure to leave some length for the ribbon to hang down. It adds a touch of softness to the clothespin wreath.
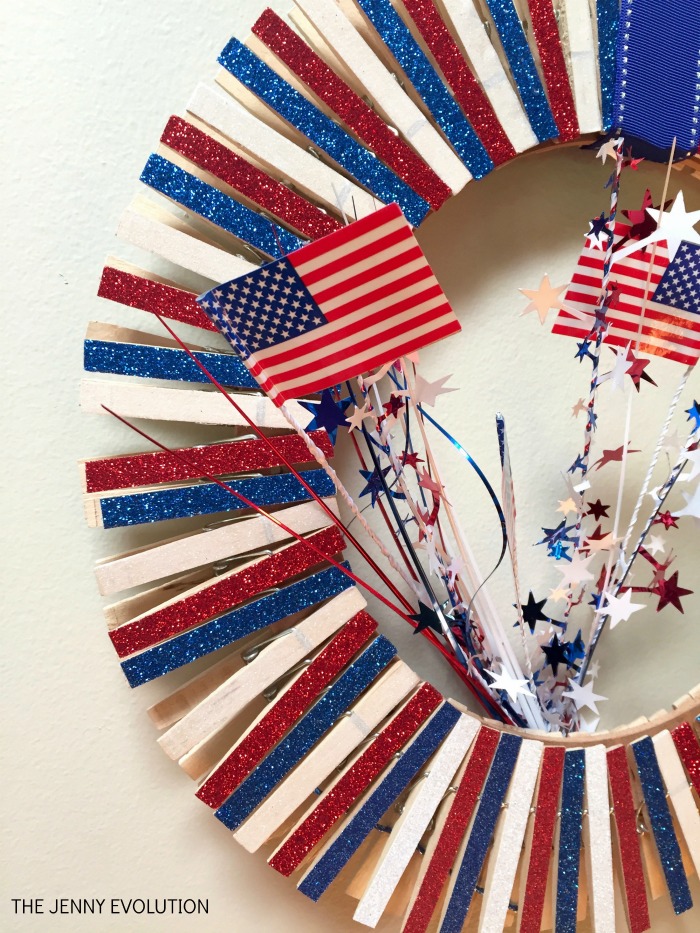
You could also easily add some 4th of July decorations to add a little something extra. But I’m quite pleased with the pop of color. Welcome to our home, Summer!
The whole process took me about two hours (and approximately 76 clothespins) — but that’s with two boys constantly interrupting me. So I’m guessing if you can actually focus, you’ll easily get this clothespin wreath completed within an hour.
More 4th of July Decor
Add extra patriotic flair to your celebrations with more 4th of July decor ideas!
- FREE 4th of July Printables
- Patriotic 4th of July Mantel
- DIY Ribbon Flag
- Colorful Patriotic Small Porch Decor
- Paper Plate Wreath Patriotic Craft
Be sure to check out our other 4th of July activities!
very cute and patriotic!! Thanks for sharing at Dishing It & Digging It! 🙂
Very creative and pretty! Love it! 😀
Love your project! Congrats – you are featured at Inspire Me Monday at Create With Joy this week!