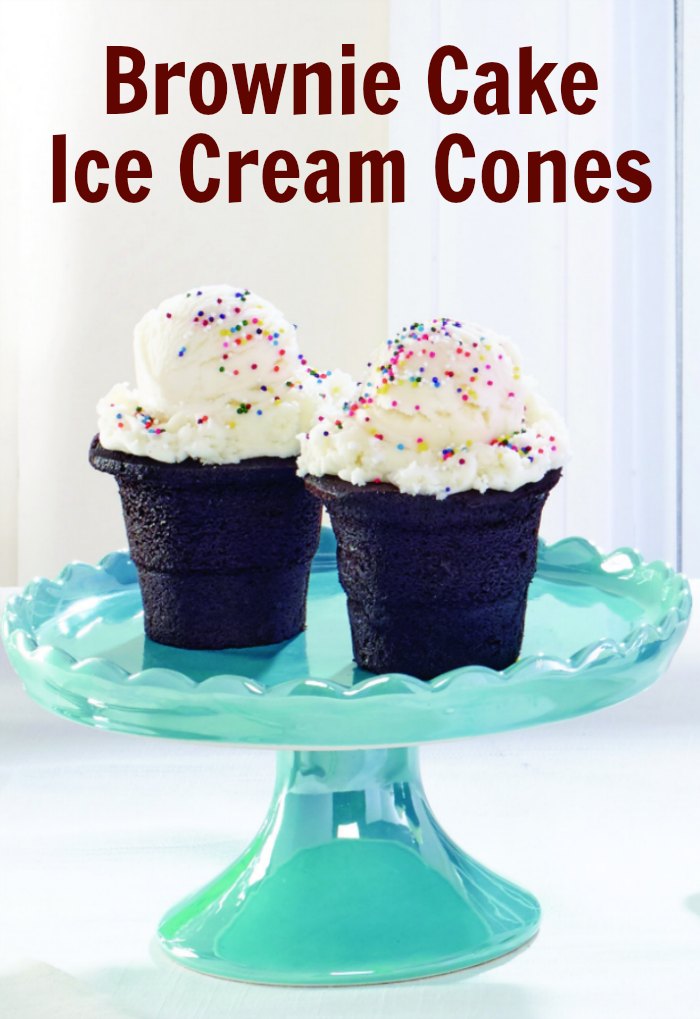
Brownie Cake Ice Cream Cones
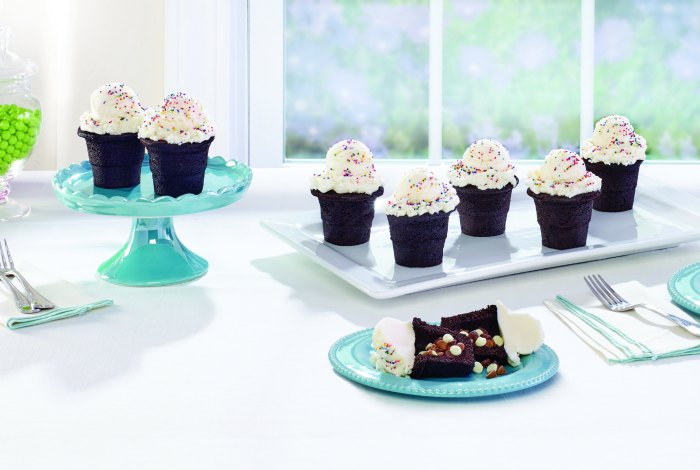
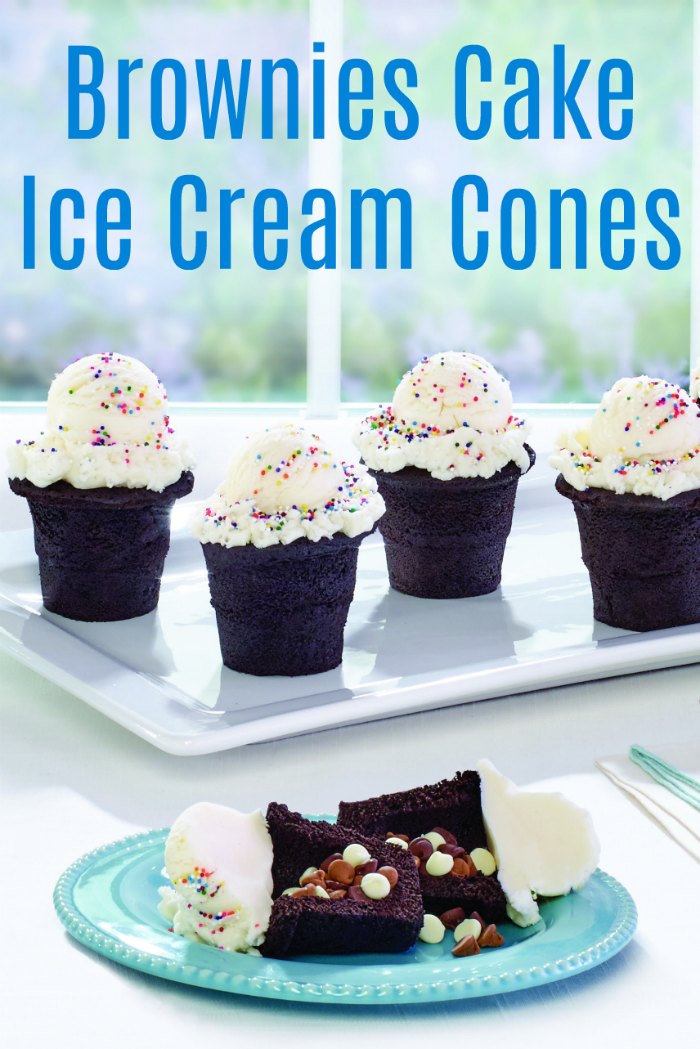
Creative, unexpected and delightful, these brownie cake ice cream cones will have people talking.
Creating one-of-a-kind desserts like these brownie cake ice cream cones doesn’t have to take hours in the kitchen or even exceptional baking skills.
With a little imagination and the right tools, you can whip up surprisingly delicious sweets that will surprise and delight your friends and family.
Be sure to check out our other dessert recipes, too!
This post contains affiliate links.
Focus on flavor
If your baking repertoire typically consists of white cake and chocolate frosting, spice things up a bit by experimenting with new fillings and flavor combinations.
Opt for complementary or contrasting tastes for a truly delectable dessert.
For example, pair fudgy chocolate cake with tangy berries, or see how a bold flavor like lemon adds a new dimension to a mild vanilla.
Add a special touch
Infusing new flavors into your favorite cake or brownie recipe is surprisingly easy when you use bakeware made for the purpose.
Baker’s Advantage Fillables Bakeware helps home bakers easily create “treat-filled” desserts. Each bakeware set comes with two pans:
One pan creates the bottom half of the cake and forms indentations in the cake you can fill with fruit, puddings, candy and more, while the second pan creates the top half of the cake, which hides the surprise fillings.
Shape it up
Artfully applied frosting and other decorations can instantly dress up a basic cake, but another option is upgrading the shape of the cake itself.
In addition to traditional square, round and sheet cake pans, the Baker’s Advantage Fillables Bakeware collection includes mini heart cakes, fluted cakes, mini loaf cakes and a cake cones pan. These special shapes make it easy to create enviable desserts out of classic recipes.
Silicone Baking Mats Wilton 3-Tier Folding Cooling Grid
 Measuring Cups and Spoons – Set of 20
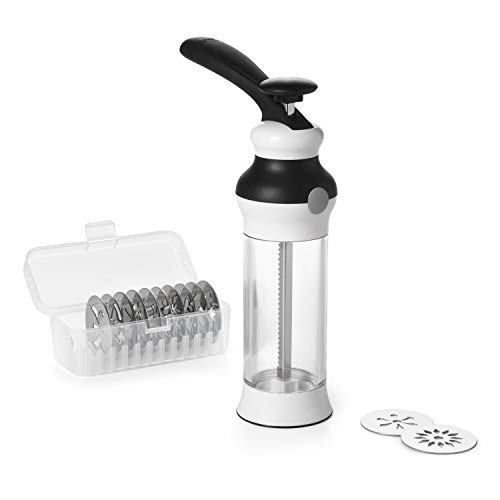
 OXO Good Grips 14-Piece Cookie Press Set
This recipe is courtesy of Baker’s Advantage/Alissa Wallers. Find more surprisingly easy dessert ideas at FillablesbyBakersAdvantage.com.
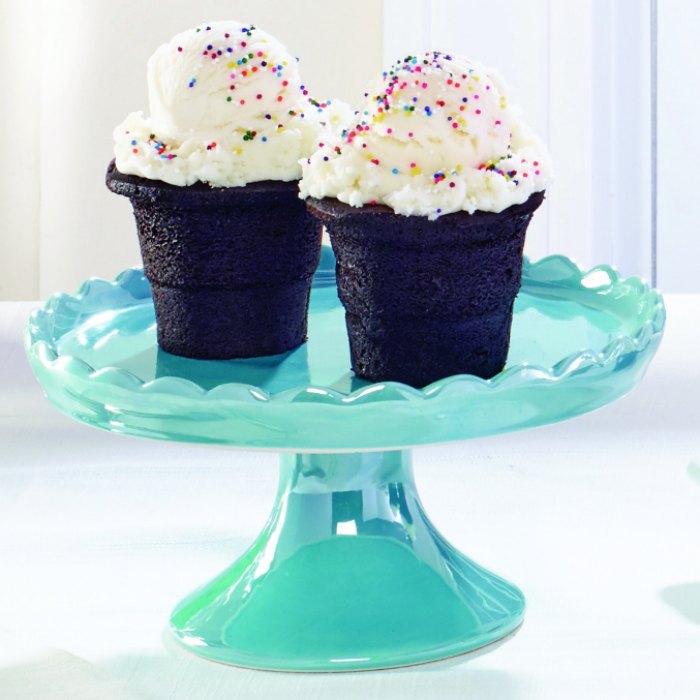
Brownie Cake Ice Cream Cones
Ingredients:
- 3 ounces unsweetened chocolate
- 2 sticks butter
- 1/2 cup cocoa powder
- 2 1/2 cups sugar
- 3 eggs
- 1 tablespoon vanilla extract
- 1 1/2 cups flour
- 1/2 teaspoon salt
- 2 teaspoons baking powder
- nonstick cooking spray
- Vanilla Frosting or ice cream
Directions for Brownie Cake Ice Cream Cones:
Step 1: Heat oven to 350 F.
Step 2: In double boiler, melt chocolate and butter.
Step 3: When melted, place in large bowl and whisk in cocoa powder until smooth. Add sugar and mix.
Step 4: Combine eggs and vanilla; gently mix with fork or whisk to break up eggs. Add eggs and vanilla to batter.
Step 5: Sift together flour, salt and baking powder. Fold in flour until just combined.
Step 6: Spray Fillables 8 Cup Cake Cone Pan with nonstick cooking spray. Fill bottom pan with batter to line in middle of pan then place insert on top and snap together.
Step 7: Place on middle of rack in oven and bake 15-18 minutes. Allow to cool before removing from pan.
Filling suggestions:
- Graham crackers, chocolate chips and marshmallows
- Whipped cream and berries
- Ice cream or pudding
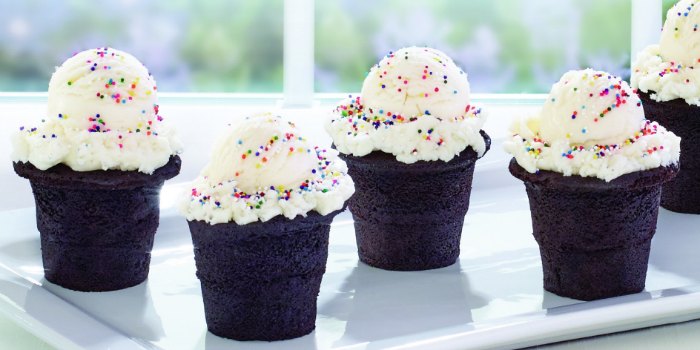
Add fillings inside cone, top with Vanilla Frosting or ice cream, and serve.
Brownie Cake Ice Cream Cones
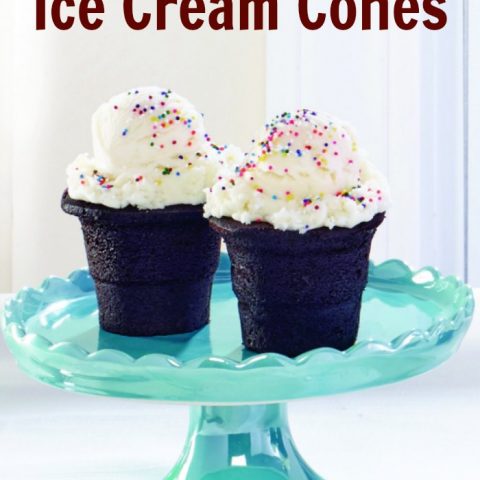
Creative, unexpected and delightful, these brownie cake ice cream cones will have people talking.
Ingredients
- 3 ounces unsweetened chocolate
- 2 sticks butter
- 1/2 cup cocoa powder
- 2 1/2 cups sugar
- 3 eggs
- 1 tablespoon vanilla extract
- 1 1/2 cups flour
- 1/2 teaspoon salt
- 2 teaspoons baking powder
- nonstick cooking spray
- Vanilla Frosting or ice cream
Instructions
- Heat oven to 350 F.
- In double boiler, melt chocolate and butter.
- When melted, place in large bowl and whisk in cocoa powder until smooth. Add sugar and mix.
- Combine eggs and vanilla; gently mix with fork or whisk to break up eggs. Add eggs and vanilla to batter.
- Sift together flour, salt and baking powder. Fold in flour until just combined.
- Spray Fillables 8 Cup Cake Cone Pan with nonstick cooking spray. Fill bottom pan with batter to line in middle of pan then place insert on top and snap together.
- Place on middle of rack in oven and bake 15-18 minutes. Allow to cool before removing from pan.
Recommended Products
As an Amazon Associate and member of other affiliate programs, I earn from qualifying purchases.
Nutrition Information:
Yield: 8 Serving Size: 1Amount Per Serving: Calories: 705Total Fat: 34gSaturated Fat: 20gTrans Fat: 1gUnsaturated Fat: 11gCholesterol: 138mgSodium: 488mgCarbohydrates: 94gFiber: 4gSugar: 69gProtein: 8g
Nutrient values are only estimates provided by online calculators. Various factors can change the nutritional information in any given recipe.
Don’t miss out on our other family friendly recipes!




These look so yummy!!!! Thanks for sharing!
These are SOOO darling!! Thanks for sharing on Dishing It and Diggin It
Those look so yummy.. I am definitely going to have to add that pan to our kitchen! Pinned
Oh my, do these look yummy! What a treat these would be for dessert this summer with meals alfresco. Visiting from the Dishing & Digging It party where your link caught my eye. Pinned 🙂
Wow! These look so cute and delicious!
Yum! These look so delicious! They’re adorable too, to boot. 🙂
What a great dessert, we will love these little cones! Thanks so much for sharing with us on Full Plate Thursday and come back real soon!
Miz Helen
These are so cute! Pinning.