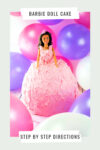
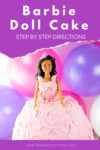
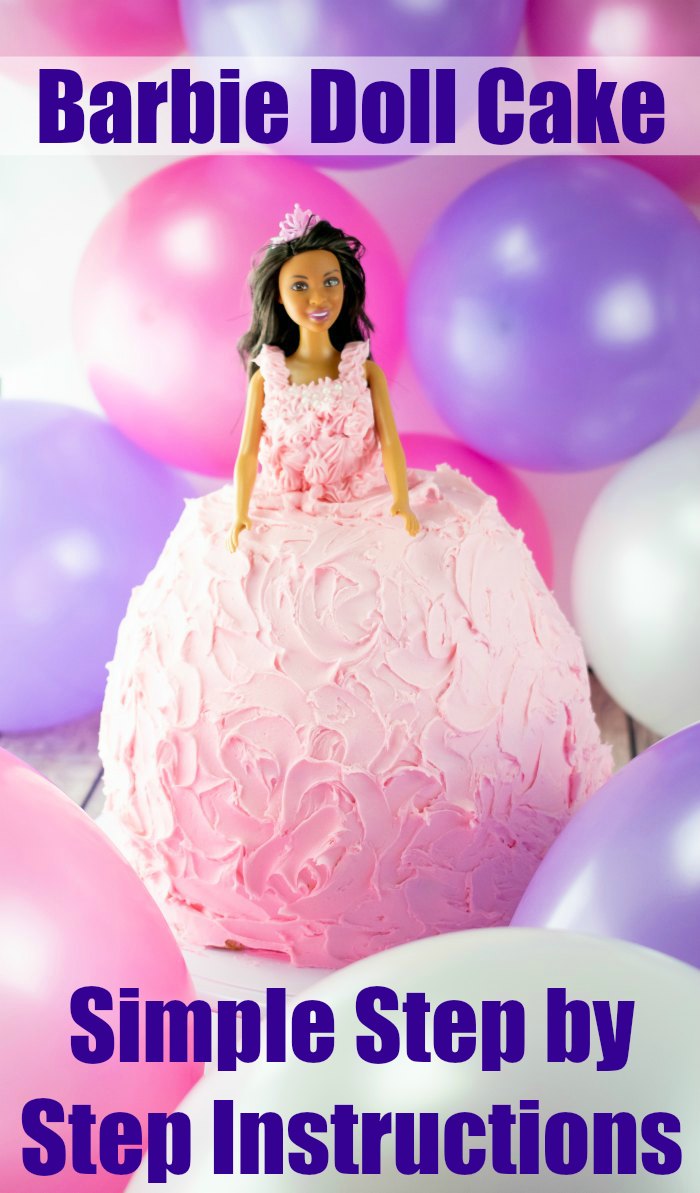
How to Make a Barbie Doll Cake – Step by Step Instructions


As the mom of boys, I’ve never had to make a Barbie Doll Cake. Which got me to thinking, how on earth do folks really make one?
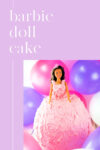
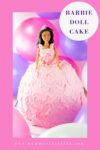
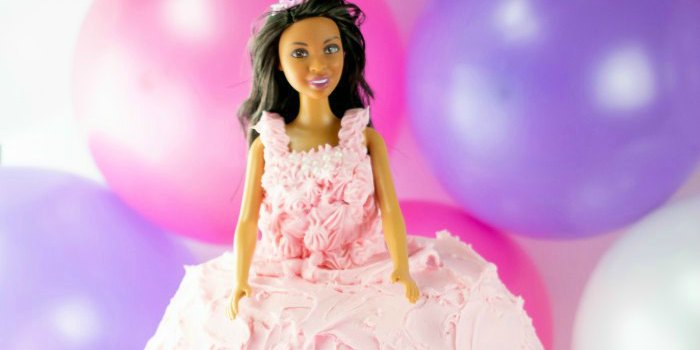
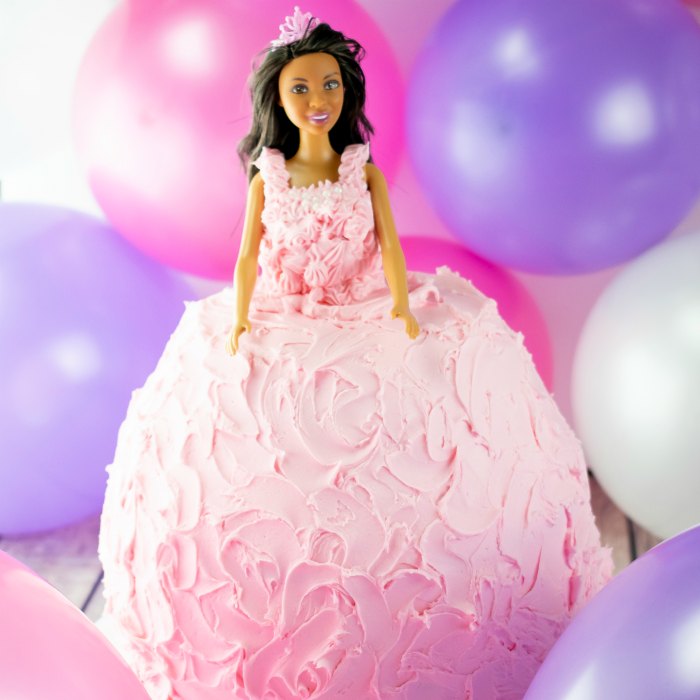
The cake is shaped like a doll’s skirt, with a Barbie doll placed in the center, making it a popular choice for little girls’ birthday parties.
The cake can be decorated with frosting, fondant or even candy, giving you endless options for customization.
Whether you are an experienced baker or a novice, Barbie Cakes sure to impress your guests and make your celebration a memorable one.
This post contains affiliate links.
Don’t be intimidated! It’s a lot easier to make than you think.
Just follow the step-by-step instructions and you’ll be rolling out this Barbie doll cake recipe for all to admire and enjoy at your party.
I’ve been to enough princess parties where the little birthday girl has asked for a barbie doll cake.
They really do make the perfect princess cake for your own little princess. And now you can easily make your own at home!
Table of Contents
Why You’ll Love This Recipe
Here’s why you’ll love the Barbie Doll Cake recipe:
- Show-Stopping Centerpiece: This cake transforms a simple birthday into a magical event, captivating guests with its whimsical design.
- Customizable Design: Choose your favorite Barbie doll and color scheme to create a personalized cake that reflects your style.
- Fun for All Ages: Whether you’re a seasoned baker or a beginner, assembling this cake is a delightful and rewarding experience.
- Delicious Layers: Combine your preferred cake flavors and frosting to ensure the cake is as tasty as it is beautiful.
- Keepsake Gift: After the celebration, the Barbie doll can be kept as a memento or reused for future occasions.

This recipe will become your new go-to dessert option!
And a special thanks to Culinary.net for this fabulous tutorial.
Items you’ll need for a Barbie Doll Cake
- 4 Cake box mixes (flavor of your choice) or make the cakes from scratch.
- 4-5 containers of pre-made buttercream icing (color of choice or you can buy white and tint your own) or you can use your favorite homemade buttercream icing recipe, your choice.
- 1 Barbie doll
- 1 Piping bag
- 1 Piping tip – tip size and design of your choice
- 1 Icing spatula
- 1 bottle of sprinkles (if desired)
- Parchment Paper
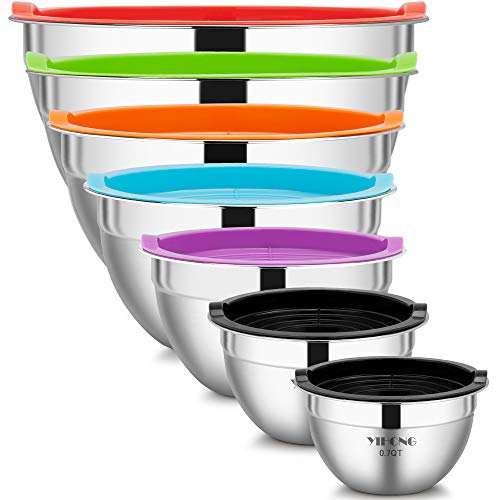
- Oven-safe 2.5 quart glass bowl
How to Make a Barbie Doll Cake
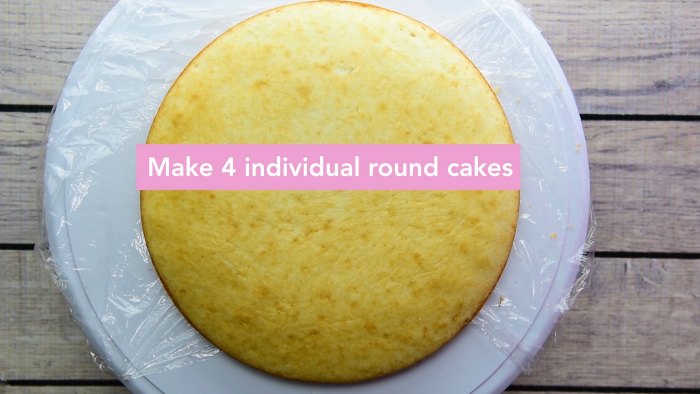
Step 1: Make 4 – 8″ round cakes. We used 2 – Duncan Hines White cake box mixes.
Tip: To make the cake white and moist, only add in the egg whites that the box calls for. Try this adorable egg white separator!
Bake at 325°F for 25 minutes in metal pans. Cool on wire racks.
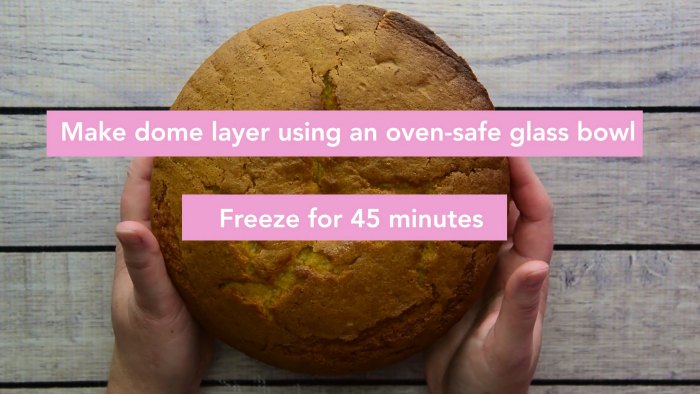
Step 2: Make 2 more white cake mixes and pour into the oven-safe glass bowl.
Bake at 325°F. First, bake for 45 minutes then check every 15 minutes until cake is thoroughly baked.
Cake is done when toothpick or straw comes out clean from the center of the cake. Our cake took a little over an hour to bake.
Cool on wire rack. Carefully remove cake from glass bowl, do not force it.
Step 3: Wrap all layers in cellophane and place in freezer for 45 minutes. This will significantly make it easier for your to cut and frost the cake.
I wish someone had taught this to me years ago! I had to figure it out from a baking show 🙂
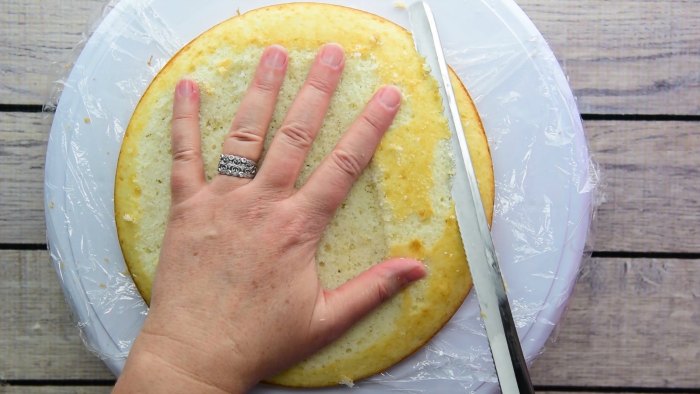
Step 4: Trim off the top of the round layers to make layers more level.
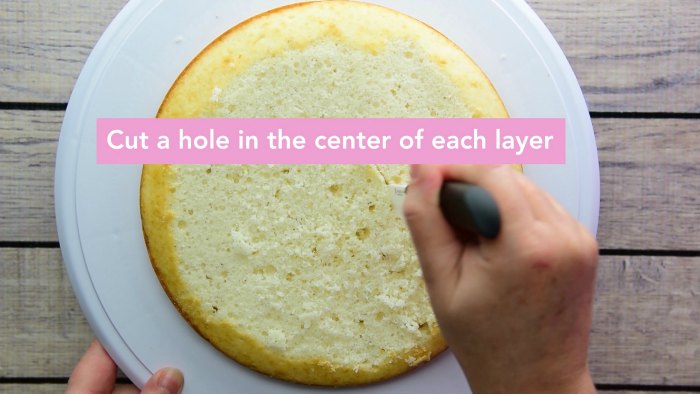
Step 5: Cut a hole in the center of each round layer.
Tip: Using a bread knife will make trimming the cake easier.
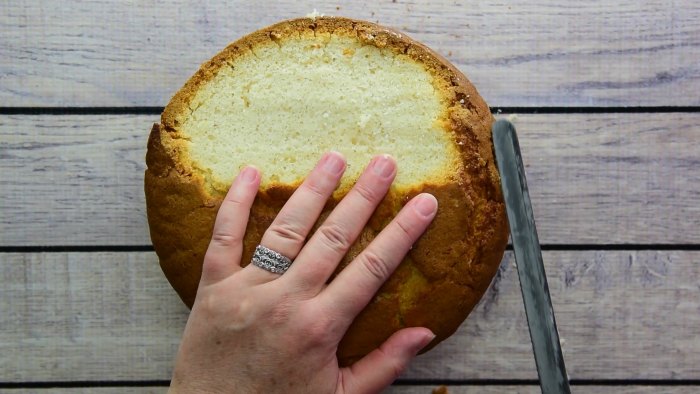
Step 6: Trim off the flat end of the dome layer until it fits with one of the round layers. It may not fit exactly and that is perfectly fine.
Step 7: Cut a hole in the middle of the dome layer.

Step 8: 1st layer: place the layer on top of either a plate or a cake turntable.
Step 9: Put 3 dollops of icing on the first layer and spread around the top of the layer.

Step 10: Place parchment paper pieces underneath the edge of the layer to keep plate or turntable clean of icing.
Step 11: Place the 2nd layer on top of the 1st layer, lining up the cut-out center, then dollop with icing and spread over the top of that layer.
Step 12: Do the same for the 3rd and 4th layer ensuring the cut-out center is lining up.
Step 13: Place the final layer, the dome, on the top. Dollop the layer with icing and spread it over the dome.
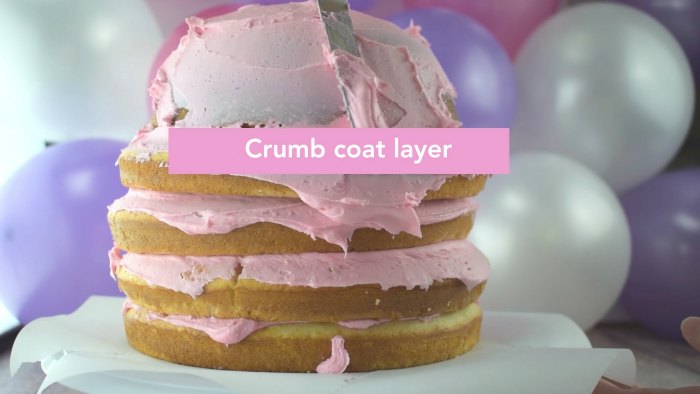
Step 14: Crumb coat: Place a dollop of icing at the top of the cake and start working down the sides of the cake adding more icing to create a thin layer on the entire cake.
Step 15: Place in freezer for 45 minutes.

Step 16: Final Layer: Place a few generous dollops of icing at the top of the cake and start working your way down the sides of the cake adding more icing to completely cover the cake.
Be sure to take your icing spatula and wipe icing inside the cut-out area.

Step 17: Take your spatula and make swirly moves all over the cake to give the cake some texture.
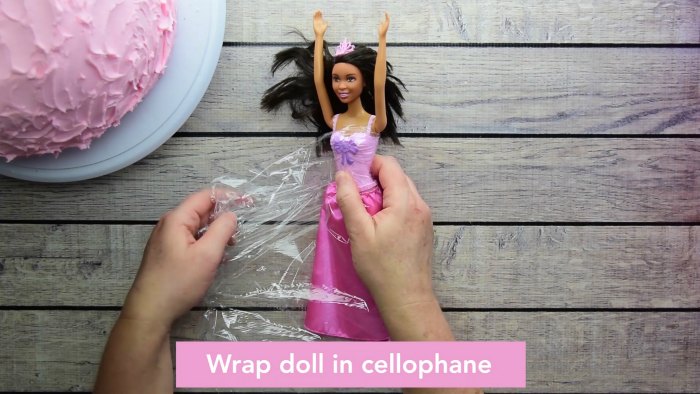
Step 18: Wrap the doll in cellophane, under the arms to the feet, to protect the outfit that comes with the doll.
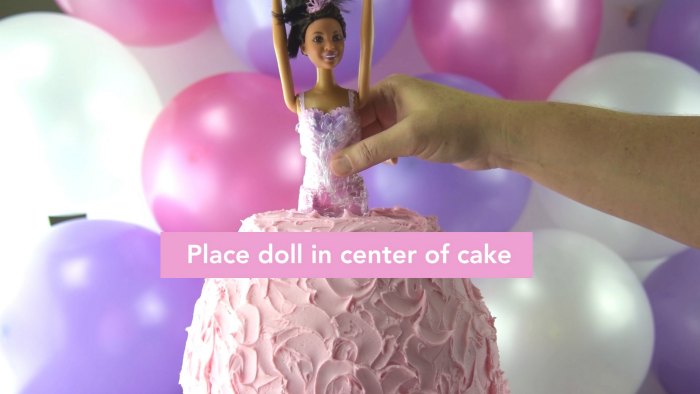
Step 19: Place the doll in the center of the cake.
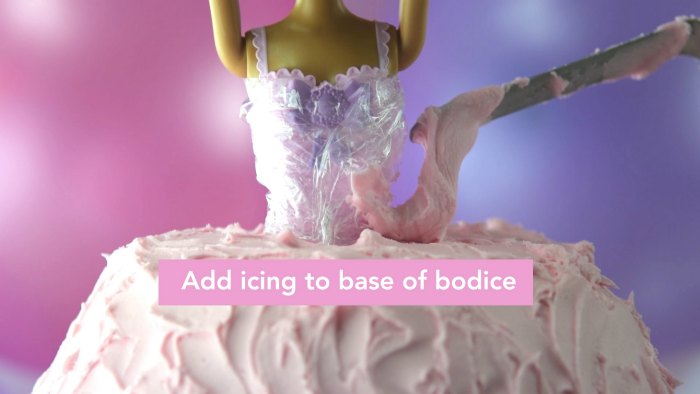
Step 20: Using the icing spatula, add some icing where the doll and the cake meet to cover any gaps.

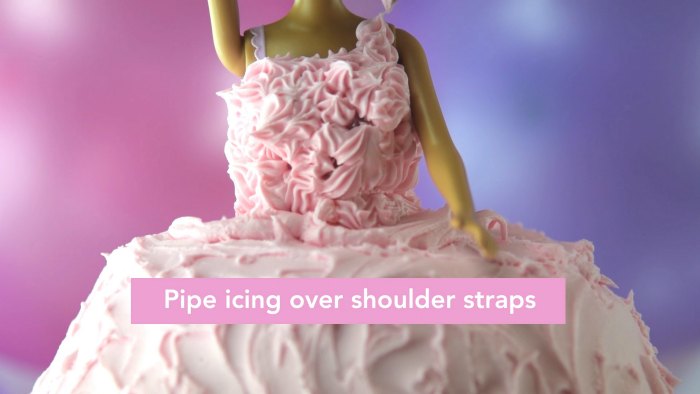
Step 21: With the piping bag and tip, pipe on the bodice of the doll and over the shoulders for straps.
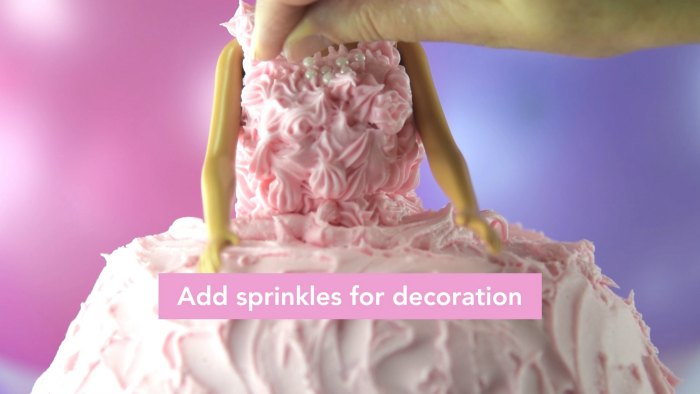
Step 22: If desired, add sprinkles, of your choice, and put on the bodice or anywhere else you desire.
If it’s easier or you’re a visual learning, watch this step by step video on how to make a Barbie doll cake at home!
More Barbie Party Ideas
- Barbie Cake Topper Ideas
- Free Barbie Birthday Party Invitations
- Pretty in Pink Desserts
- The Best Barbie Storage Ideas
- Happy Birthday Barbie?
- DIY Toy Story Barbie Costume
- Barbie Birthday Party
How to Make a Barbie Doll Cake
Just follow the step-by-step instructions and you'll be rolling out this Barbie doll cake for all to admire and enjoy at your party.
Ingredients
- 4 boxes cake mix
- Vegetable Oil
- Eggs
- 4-5 containers of pre-made buttercream icing or your favorite homemade buttercream icing recipe
- 1 Barbie doll
- 1 Piping bag
- 1 Piping tip - tip size and design of your choice
- 1 Icing spatula
- 1 bottle of sprinkles (style to your choice) - if desired
- Parchment Paper
- Oven safe 2.5 quart glass bowl
Instructions
- Step 1: Make 4 - 8" round white cakes.
- Bake at 325°F for 25 minutes in metal pans. Cool on wire racks.
- Make 2 more white cake mixes[ and pour into the oven-safe glass bowl.
- Bake at 325°F. First, bake for 45 minutes then check every 15 minutes until cake is thoroughly baked.
- Cool on wire rack. Carefully remove cake from glass bowl, do not force it.
- Wrap all layers in cellophane and place in freezer for 45 minutes.
- Trim off the top of the round layers to make layers more level.
- Cut a hole in the center of each round layer.
- Trim off the flat end of the dome layer until it fits with one of the round layers. It may not fit exactly and that is perfectly fine.
- Cut a hole in the middle of the dome layer.
- st layer: place the layer on top of either a plate or a cake turntable.
- Put 3 dollops of icing on the first layer and spread around the top of the layer.
- Place parchment paper pieces underneath the edge of the layer to keep plate or turntable clean of icing.
- Place the 2nd layer on top of the 1st layer, lining up the cut-out center, then dollop with icing and spread over the top of that layer.
- Do the same for the 3rd and 4th layer ensuring the cut-out center is lining up.
- Place the final layer, the dome, on the top. Dollop the layer with icing and spread it over the dome.
- Crumb coat: Place a dollop of icing at the top of the cake and start working down the sides of the cake adding more icing to create a thin layer on the entire cake.
- Place in freezer for 45 minutes.
- Final Layer: Place a few generous dollops of icing at the top of the cake and start working your way down the sides of the cake adding more icing to completely cover the cake.
- Be sure to take your icing spatula and wipe icing inside the cut-out area.
- Take your icing spatula and make swirly moves all over the cake to give the cake some texture.
- Wrap the doll in cellophane, under the arms to the feet, to protect the outfit that comes with the doll.
- Place the doll in the center of the cake.
- Using the icing spatula, add some icing where the doll and the cake meet to cover any gaps.
- With the piping bag and tip, pipe on the bodice of the doll and over the shoulders for straps.
- If desired, add sprinkles, of your choice, and put on the bodice or anywhere else you desire.
Notes
Tip: To make the cake white and moist, only add in the egg whites that the box calls for. Try this adorable egg white separator!
Recommended Products
As an Amazon Associate and member of other affiliate programs, I earn from qualifying purchases.


Nutrition Information:
Yield: 16 Serving Size: 1Amount Per Serving: Calories: 526Total Fat: 7gSaturated Fat: 3gTrans Fat: 0gUnsaturated Fat: 3gCholesterol: 14mgSodium: 961mgCarbohydrates: 111gFiber: 2gSugar: 60gProtein: 5g
Nutrient values are only estimates provided by online calculators. Various factors can change the nutritional information in any given recipe.
For more mouth-watering cake ideas!
The Perfect Cake: Your Ultimate Guide to Classic, Modern, and Whimsical Cakes Cake Decorating for Beginners: A Step-by-Step Guide to Decorating Like a ProMartha Stewart’s Cake Perfection: 100+ Recipes for the Sweet Classic, from Simple to Stunning: A Baking BookThe Great British Baking Show: The Big Book of Amazing Cakes


Don’t miss out on our other family friendly recipes!