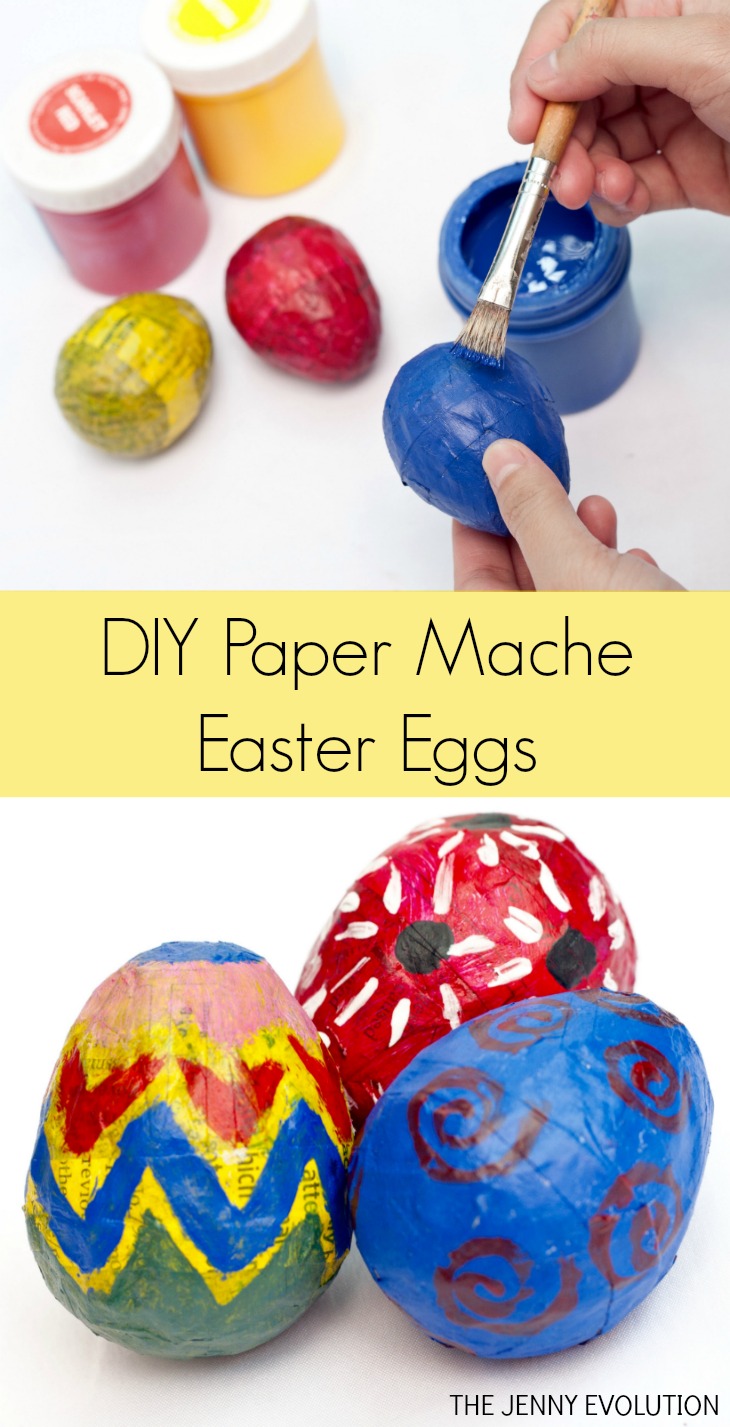
DIY Paper Mache Eggs
Whether you’re gearing up for Easter or just decorating for the coming of Spring, DIY Paper Mache Eggs are fun to make and look lovely in your home.
Did you know Easters eggs are commonly seen during the season because they symbolize rebirth and fertility? But I just love them because they make me think of the melting snow and the new daffodils that are sure to spring up soon!
Let’s begin making some paper mache eggs to decorate for the season! And join me for even more Easter crafts and activities to do with the family.
This post contains affiliate links.
DIY Paper Mache Eggs
When you’re done, these colorful paper mache Easter eggs can be used as your decorations or as part of the Easter egg hunting game.
You can also put some treats inside (e.g. small chocolates or gummy bears), that will surely make these eggs more inviting to kids.
Plus kids get to work on their own creativity — getting to put some designs on their own eggs as well!
Materials needed for Paper Mache Eggs:
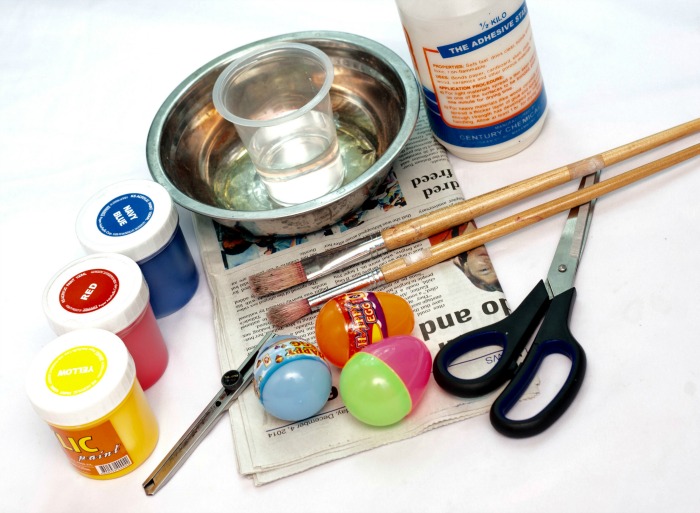
- newspapers
- white glue
- bowl
- water
- paint brushes
- acrylic paints
- X-Acto knife
- plastic egg
- a pair of scissors
Directions to Make Your Own Paper Mache Eggs
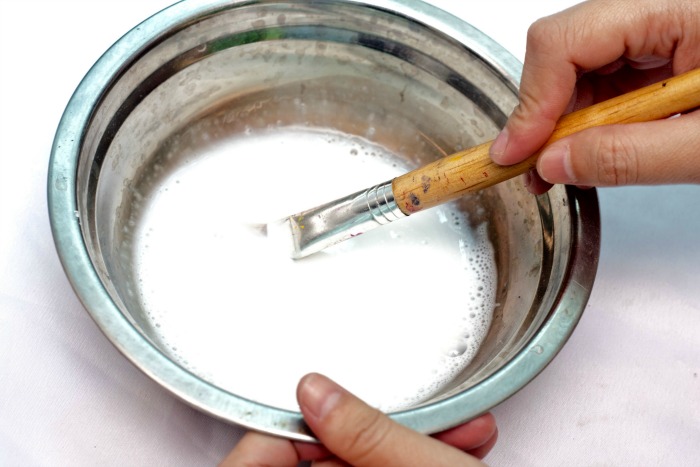
Step 1: Pour a considerable amount of white glue on the bowl.
Step 2: Pour water on the bowl. The ratio of white glue to water should be 3:2.
Step 3: Stir the mixture until homogenized.
Step 4: Cut small strips of newspaper and put it on the glue mixture.
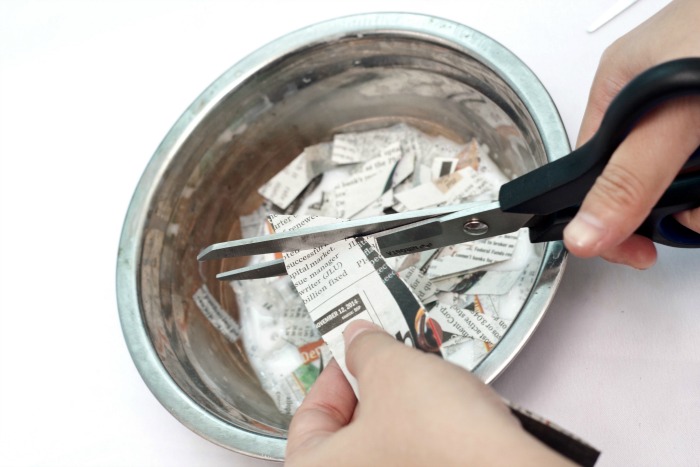
Step 5: Completely submerge the newspaper strips on the mixture for a better mache mixture.
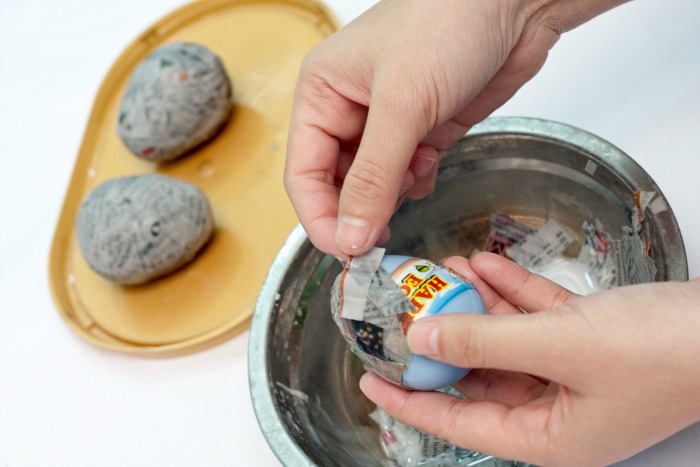
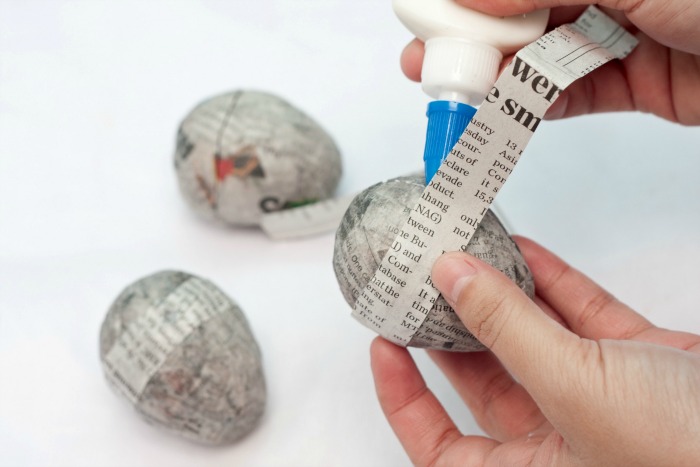
Step 6: Completely cover the plastic eggs with the glued paper strips.
Continue doing this until you achieve the thickness of the mache layers.
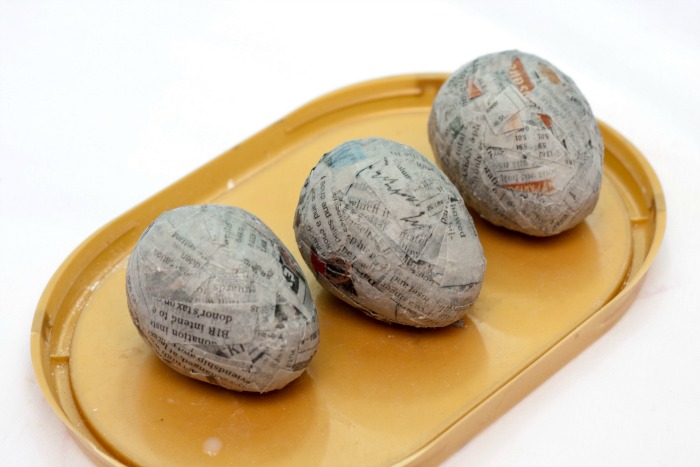
Step 7: Let the eggs dry for a day or two.
Observe that the eggs will be as hard as the rock once you complete the drying process.
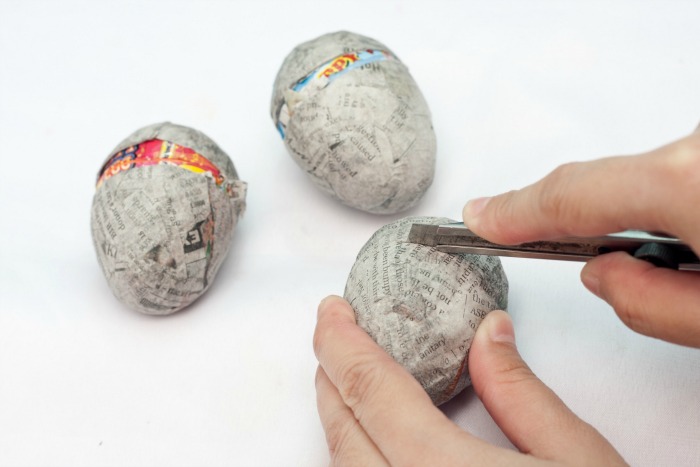
Step 8: Using an X-Acto knife, carefully cut the mid section of the egg.
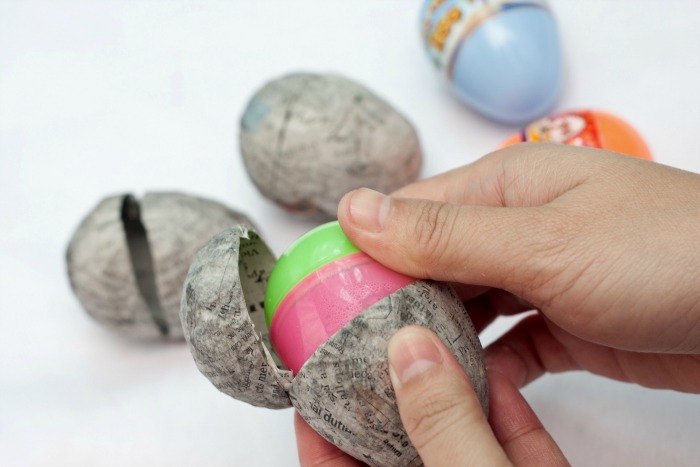
Step 9: Remove the egg mache on the egg plastic.
Step 10: Cut a long strip of newspaper and use this to seal the egg mache together.
Use white glue for this.
Smoothen out the sides of the new strip, so that the sealer strip wouldn’t be obvious.
Let it dry for 5 to 6 hours.
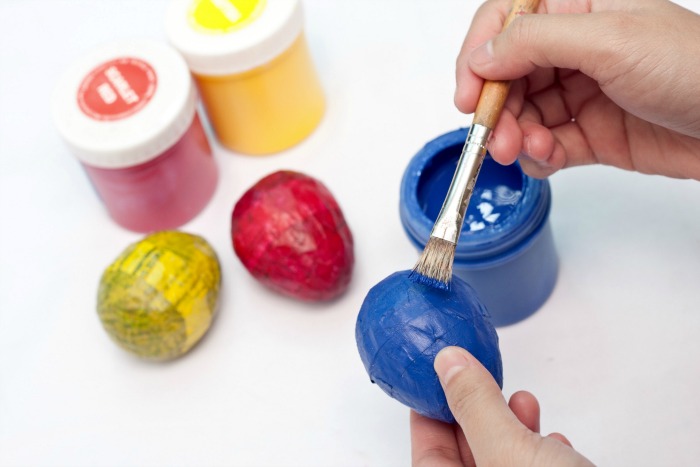
Step 11: Paint the eggs. Do a double coating for better results.
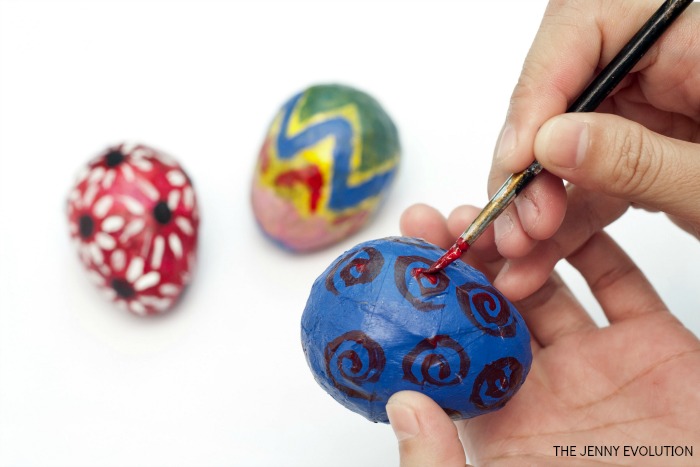
Step 12: Paint various designs on the egg. Get creative!
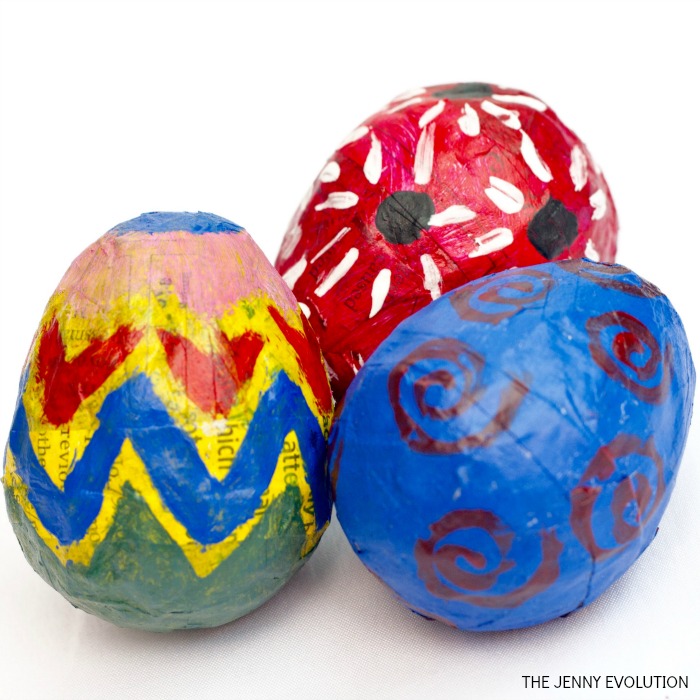
Step 13: Finally done! You now have an Easter paper mache egg!
I remember doing these back in school, but haven’t done them since!!! I am excited to try it again 🙂 Thank you! I remember having so much fun with it.
Absolutely! And have fun! I never made these as a kid…. but I think my heart would have swooned as a kiddo making these 🙂
What a cute idea! These are so adorable and my daughters would LOVE making them!
How colourful they look great! Thanks for sharing with us at #OvertheMoon Link Party. I’ve pinned and shared.
Jenny, These are so fun! My favorite kind of get a little messy and giggle kind of fun! Thanks for sharing with us at Snickerdoodle! Pinned too!
Those turned out great! Thanks for sharing i with us at the Dishing It & Digging It Link Party, hope you had fun and found some new friends 🙂
Have a great day!
These are so much fun! It is a perfect craft activity to do with my kids during spring break this year. Thanks for sharing your tutorial with us at Merry Monday this week!
Fun DIY / craft project. The eggs turned out pretty.
Thanks for sharing at the Inspiration Spotlight party. Pinned & sharing.
What a fun idea. Thank you for sharing this with us at Funtastic Friday link party.
This is such a wonderful post! With egg prices soaring across the country, I’ve been hesitant to paint real eggs this Easter. I’ve been looking for creative ways to keep the magic alive without using the real thing—and I’m so glad I came across your ideas. I’ll definitely be sharing this little hack with friends and family too!
Have fun making these! It’s a great project to do with the whole family.