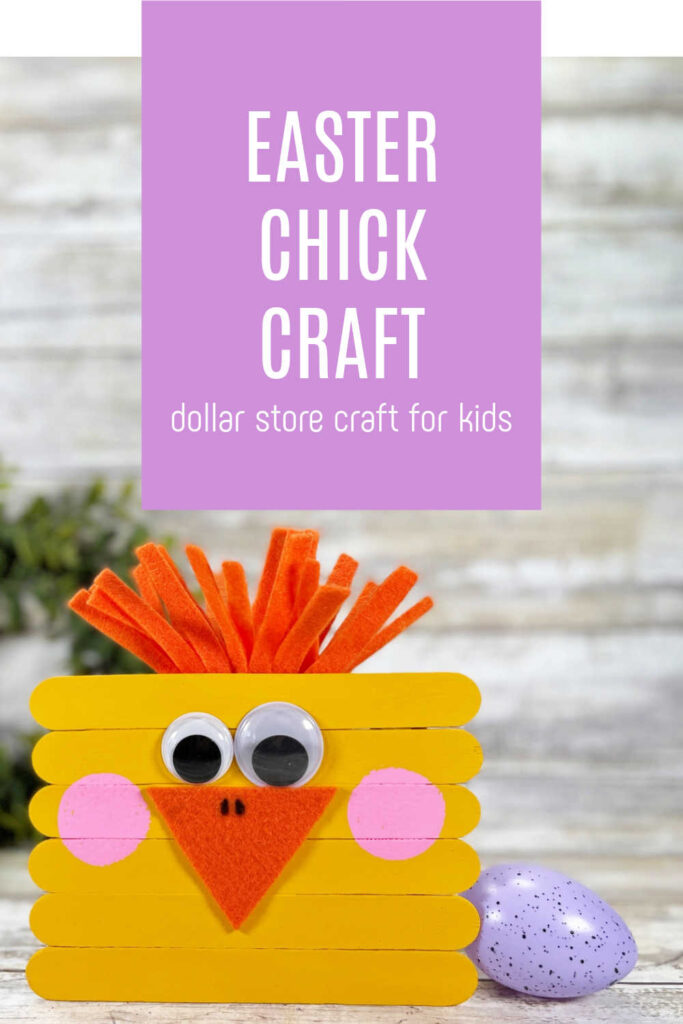
Dollar Store Easter Chick Craft
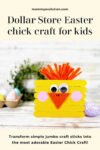
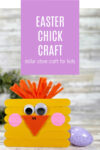
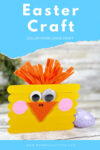
Transform simple jumbo craft sticks from the Dollar Store into the most adorable Easter Chick Craft just in time for Spring!
This easy and engaging craft is perfect for kids of all ages and skill levels and is sure to provide hours of entertainment and creativity.
This is a fun activity to keep the kiddos busy with coloring, counting and fine motor skills. Make this super cute wooden craft stick chick in just about 30 minutes and join us for even more Easter crafts!
This post contains affiliate links.
Why You’ll Love This Dollar Store Easter Chick Craft
- Budget‑friendly fun: Uses inexpensive supplies from the dollar store like jumbo craft sticks, wiggle eyes, paint and felt — perfect for affordable holiday crafting.
- Easy setup: Simple materials and straightforward steps make it a stress‑free project parents can prep quickly.
- Hands‑on creativity: Painting, cutting felt shapes and adding eyes and feathers gives kids plenty of artistic freedom.
- Fine motor skill practice: Cutting, gluing and stamping on paint help strengthen hand‑eye coordination in younger children.
- Seasonal excitement: Making an Easter chick ties perfectly into spring themes, helping kids engage with the holiday.
- Display‑worthy result: The finished chick makes a cheerful decoration for home or classroom displays.
- Family bonding: Parents and kids can enjoy creating together, making memories while crafting something cute.
This adorable Easter chick craft blends creativity, skill‑building and budget‑friendly supplies into a project kids will love and parents will enjoy doing with them.
Recommended Easter Books
When you’re done playing, enjoy these Easter Books that are perfect for your kids!
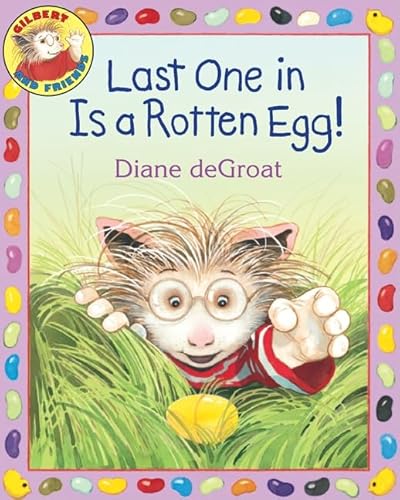
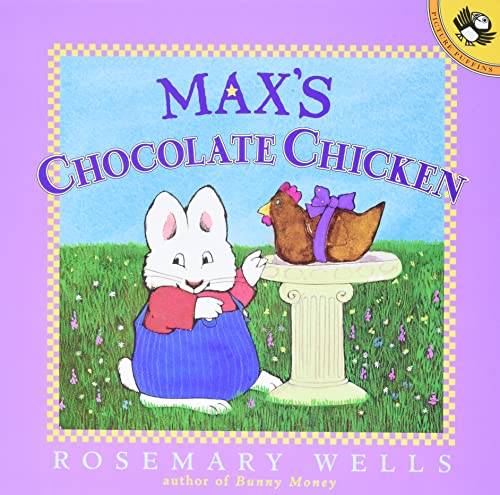
Pete the Cat: Big Easter AdventureHappy Easter, Little CritterLast One in Is a Rotten Egg!Max’s Chocolate Chicken (Max and Ruby)
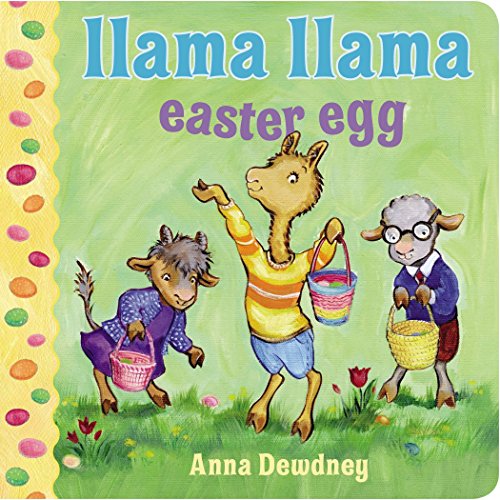
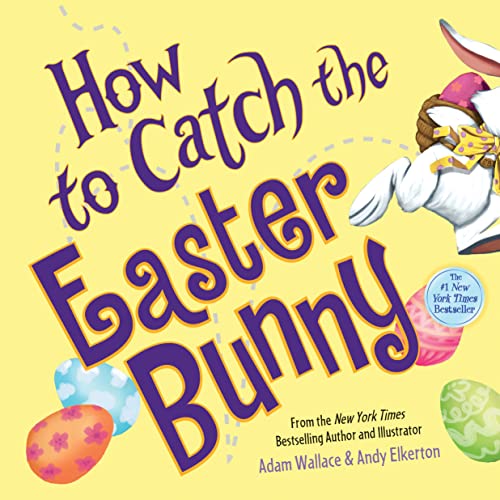
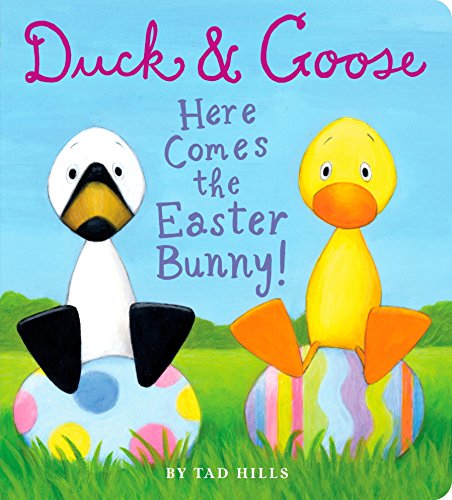
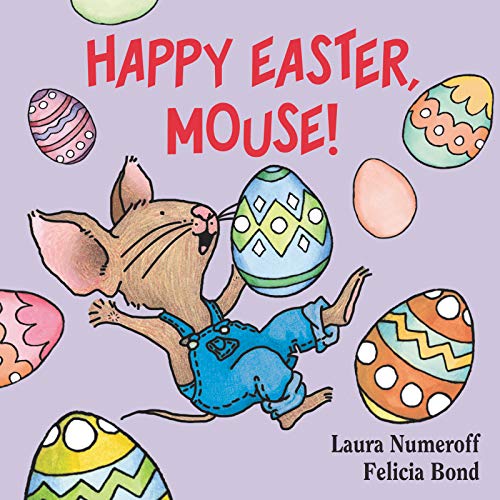
Llama Llama Easter EggHow to Catch the Easter BunnyDuck & Goose, Here Comes the Easter Bunny!Happy Easter, Mouse! (If You Give…)
Or enjoy these Easter Board Books and Delightful Easter Bunny Books with your child. It’s the perfect way to tie in the holiday to your Easter activities!
Enjoy these Easter Sensory Bins for your younger ones as well.
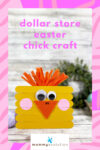
Dollar Store Easter Chick Craft
Looking for an affordable and fun Easter craft to do with your kids?
Look no further than this Dollar Store Easter Chick Craft!
With just a few inexpensive supplies from your local dollar store, you can create adorable and festive Easter decorations that your kids will love.
Get ready to hop into the Easter spirit with this charming and affordable craft idea!
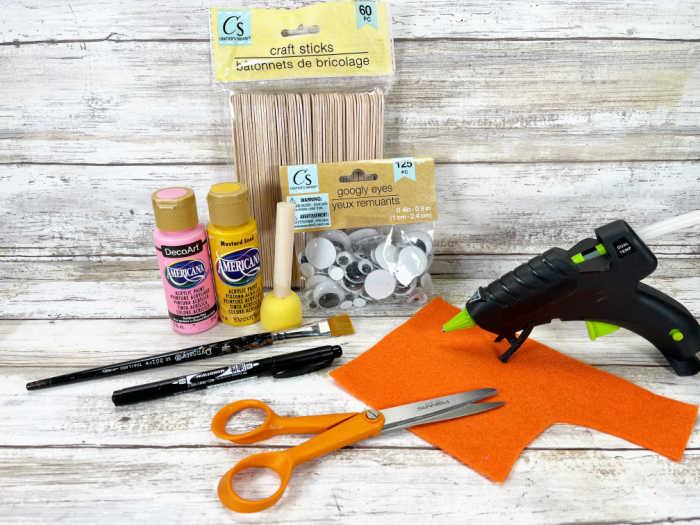
Materials
- Wooden Craft Sticks, Jumbo – Dollar Store
- Wiggle Eyes – Dollar Store
- Craft Paint – Yellow, Pink
- Craft Felt – Orange
- Craft Stick Chick Patterns
Tools for Project
- Glue Gun and Glue Sticks – Dollar Store
- Sponge Dabber – Dollar Store
- Paintbrush
- Scissors
- Permanent Marker
Instructions for Chick Craft
STEP ONE
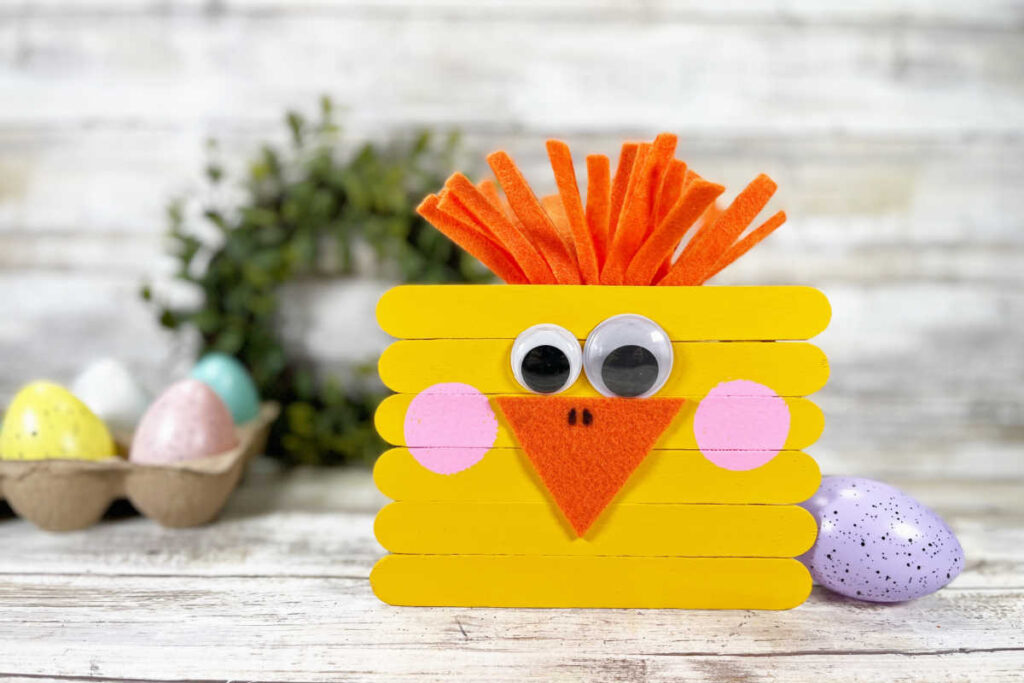
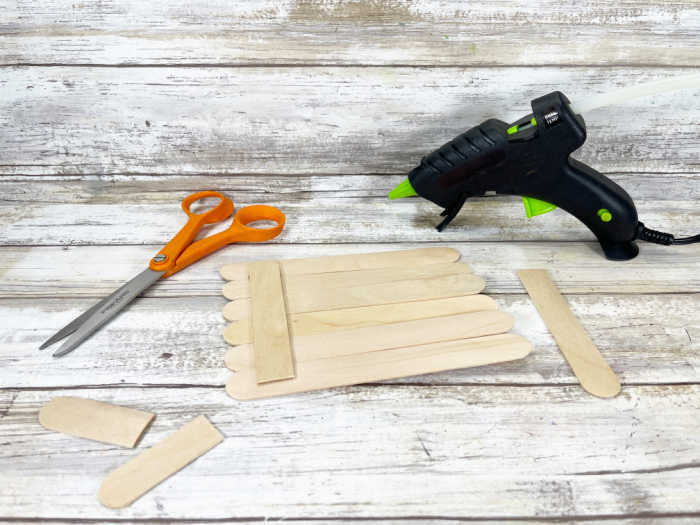
Gather all supplies. To create the Chick, line up six jumbo craft sticks on your work surface.
Using scissors, trim additional jumbo craft sticks to the width of the Chick and attach with a glue gun and glue sticks.
TIP: You can use liquid craft glue for this project, but you will have to wait for it to dry.
STEP TWO
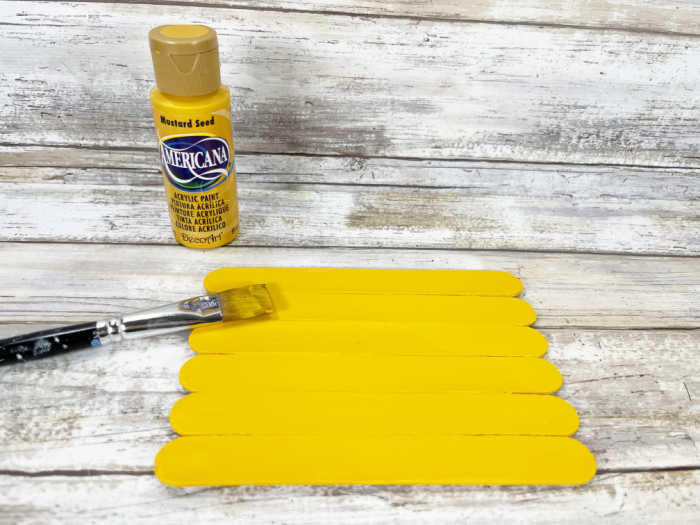
Base coat the front and sides of the Chick with yellow acrylic craft paint.
Set aside to dry and apply a second coat, if necessary.
STEP THREE
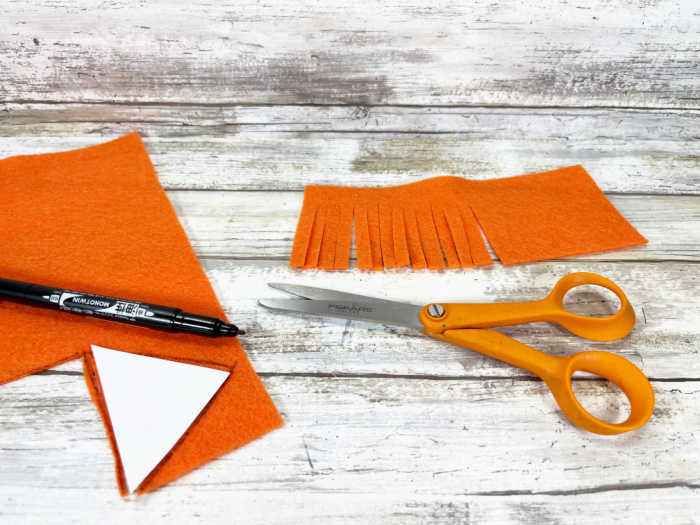
Download and print the Craft Stick Chick Patterns, then cut out with scissors.
Trace the beak once onto orange craft felt. Trace the head feather rectangle once onto orange craft felt.
Cut out all patterns with scissors making sure to cut inside the traced lines for a clean, finished project.
Fringe the length of the orange felt rectangle with scissors, but do not cut all the way through.
You could also use colored cardstock or craft foam instead of felt for this project.
STEP FOUR
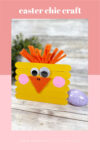
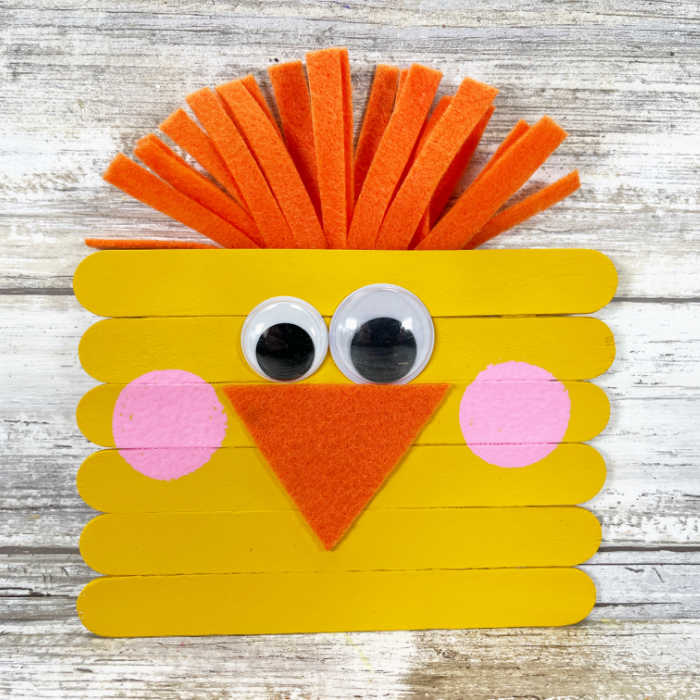
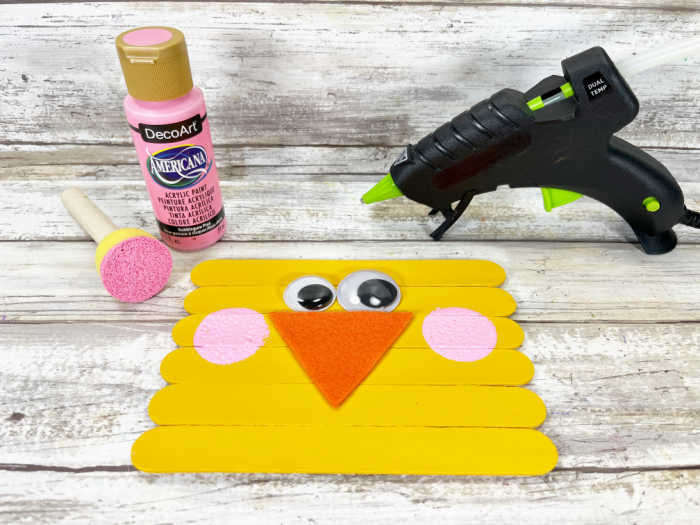
Attach two wiggle eyes to the Chick’s face with a glue gun and glue sticks.
Create cheeks by dipping a sponge dabber into pink acrylic craft paint and stamping on either side of the face.
Glue the Chick’s beak just under the eyes.
Draw two dots at the top center of the beak with a permanent marker.
STEP FIVE
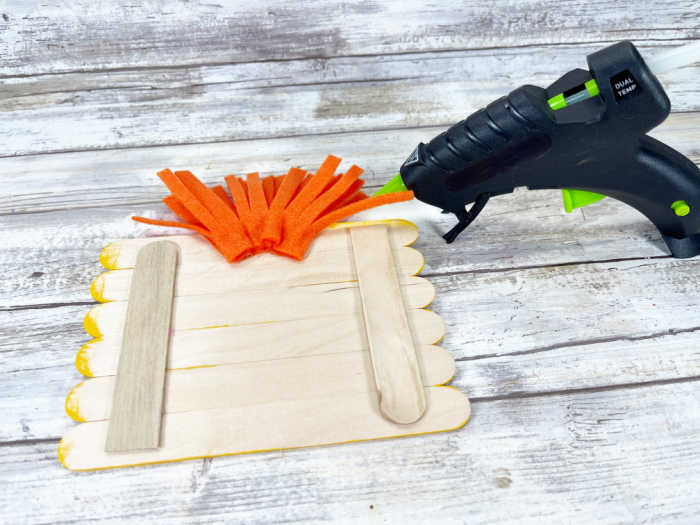
Fold the Chick’s head feather into thirds and secure with a glue gun and glue sticks.
Flip the craft stick Chick over and attach the fringed feather to the top center of the back of the Chick’s head with a glue gun and glue sticks.
More Easter Crafts
Discover more Easter crafts that bring creativity and festive fun to the season!
- Chick and Bunny Easter Candles
- Button Easter Egg
- Chocolate Easter Egg Tree
- Easter Egg Ornament
- DIY Easter Egg Garland
- Felt Bunny Craft
- Free Easter Bookmarks
- Easter Soaps
- Paper Mache Eggs
Don’t miss out our other fun family-friendly kids crafts!