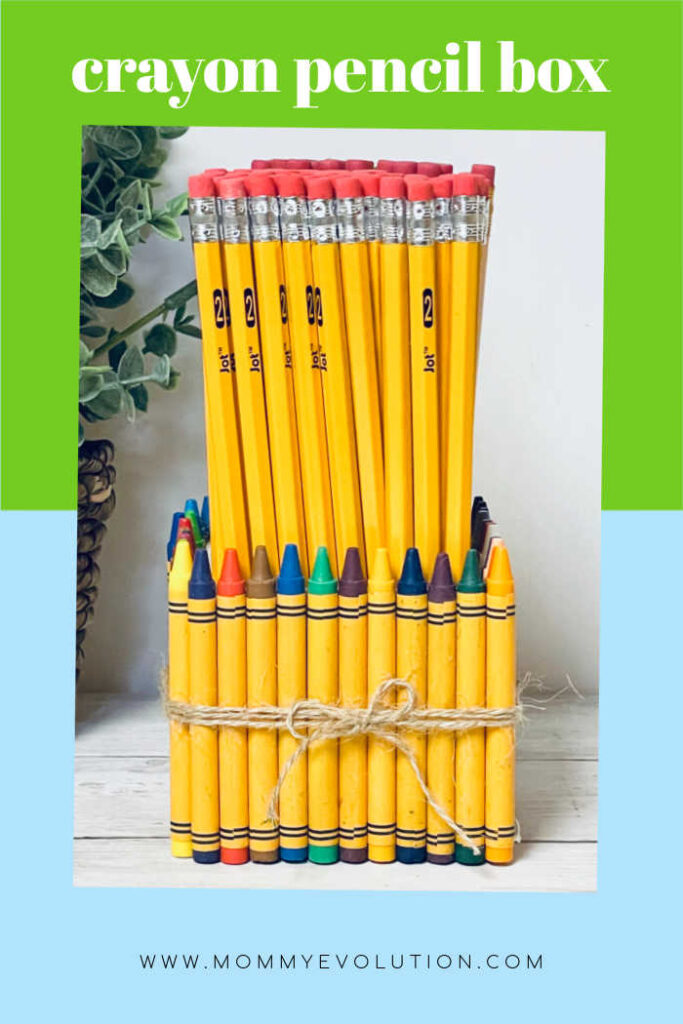
Pencil Holder Craft


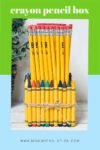
Combine the vibrant world of crayons with the practicality of a Pencil Holder Craft! A perfect back to school craft for kids to enjoy themselves or give as a teach appreciate gift.
Get ready for an exciting and imaginative crafting adventure as we create a crayon pencil holder that will add a splash of color to any desk or workspace!

This post contains affiliate links.
This delightful craft is perfect for kids and adults alike, offering a fun and functional way to organize your favorite writing and drawing tools while showcasing your artistic flair.
Table of Contents
Why You’ll Love This Pencil Holder Craft
- Creative and practical: Kids get to make a colorful pencil holder they can actually use for school supplies or art tools.
- Encourages organization: Creating a personalized holder makes keeping pencils and markers tidy more exciting for kids.
- Hands-on fine motor practice: Gluing, arranging decorations, and assembling the holder help strengthen coordination and dexterity.
- Perfect for back-to-school fun: This craft combines creativity with school prep, making it both enjoyable and useful.
- Customizable design: Kids can decorate their pencil holder with favorite colors, patterns, and craft supplies to make it unique.
- Parent-friendly activity: Simple materials and straightforward steps make setup easy and stress-free.
- Display-worthy result: The finished pencil holder adds a cheerful, handmade touch to desks, homework stations, or classrooms.
This pencil holder craft blends creativity, organization, and skill-building into a fun project kids love making and parents appreciate using.
Dollar Store Supplies
You can easily find all of the materials you need at your local Dollar Store or on Amazon.
Directions for Pencil Holder Craft
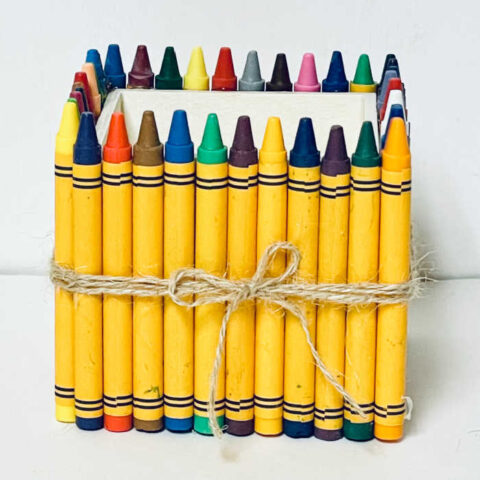
Add a line of hot glue along the top and bottom of the box and press the crayon on firmly.
Make sure not to add too much glue as it dries quickly once it hits the box.
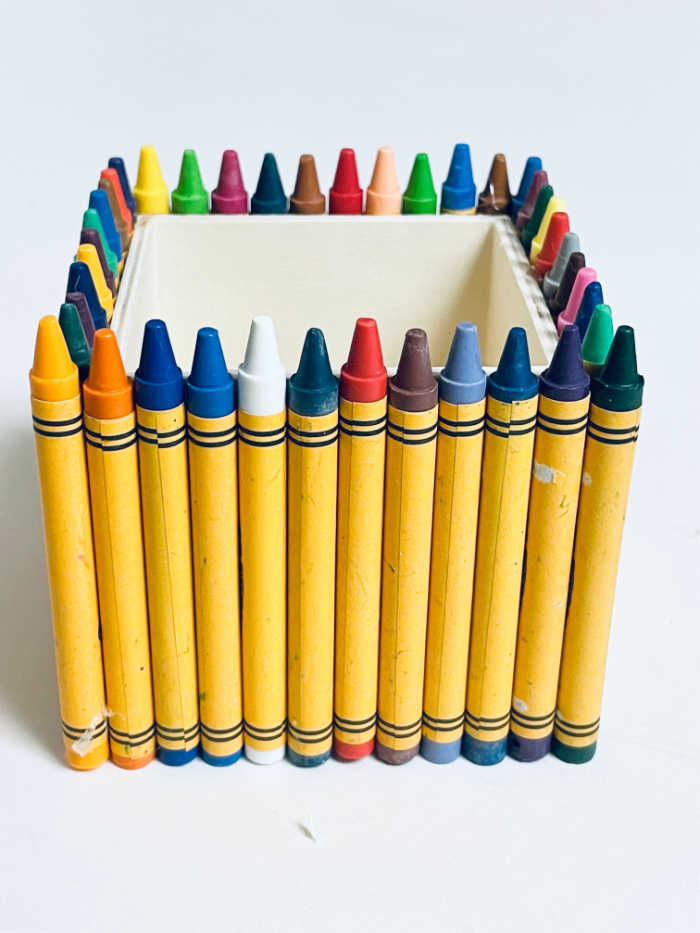
Repeat this the entire way around the box.
Next I took a long piece of twine and wrapped it around the box a few times and tied a simple bow!
Tip: I added crayons to the corners once I had finished going all the way around the box.

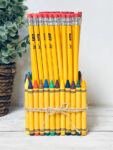
The Crayon Pencil Holder Craft is a delightful way to merge creativity with functionality, making it a perfect addition for any classroom or a child’s craft area.
More Teacher Appreciation Gift Ideaes
Teacher appreciation gifts are a wonderful way to express gratitude and acknowledge the dedication of educators who play a vital role in shaping young minds.
Thoughtful gift ideas can include personalized items, such as custom mugs or engraved pens, to remind teachers of the impact they’ve made.
Gift cards for bookstores, office supply stores or coffee shops are practical and always appreciated. Deliver them in a homemade container – like a Sharpie bouquet or a teacher quote clipboard.
Handwritten letters or cards from students and parents are heartfelt gestures that convey sincere appreciation.
Additionally, classroom supplies or educational materials can be valuable presents to support their teaching efforts.
Regardless of the gift chosen, the sentiment behind these tokens of appreciation serves as a powerful acknowledgment of the profound influence teachers have on their students’ lives.
With a burst of vibrant colors and the practicality of organizing your pens and pencils, this charming pencil holder will undoubtedly inspire creativity every time they reach for their favorite writing tools.
So, gather your crayons, unleash your artistic spirit, and create a one-of-a-kind pencil holder that brightens up any desk in the most colorful way possible!
Pencil Holder Craft
Combine the vibrant world of crayons with the practicality of a Pencil Holder Craft! A perfect back to school craft for kids to enjoy themselves or give as a teach appreciate gift.
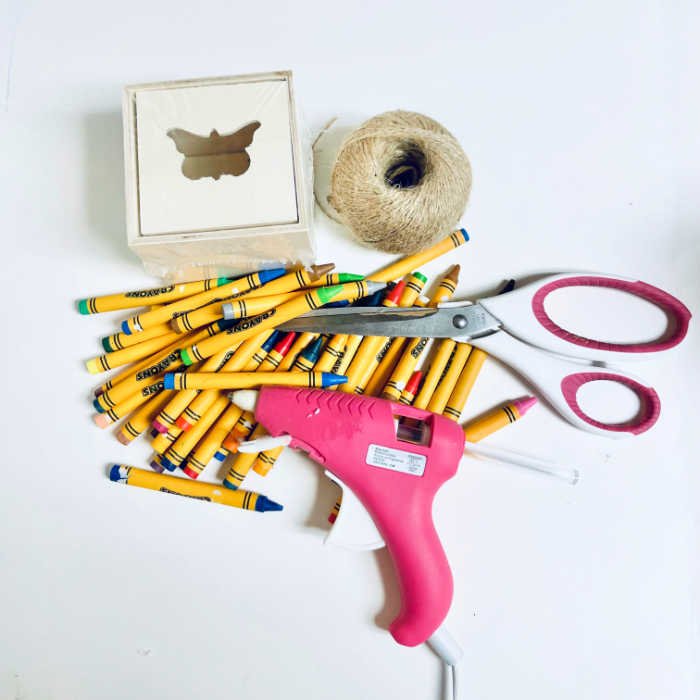
Materials
- Wooden Box
- 24 pack of crayons
- Twine
Tools
- Hot Glue Gun/ glue sticks
- Scissors
Instructions
- Add a line of hot glue along the top and bottom of the box and press the crayon on firmly.
- Make sure not to add too much glue as it dries quickly once it hits the box.
- Repeat this the entire way around the box.
- Next I took a long piece of twine and wrapped it around the box a few times and tied a simple bow!
Notes
I added crayons to the corners once I had finished going all the way around the box to fill in the box well.
Don’t miss out our other fun family-friendly kids crafts!